Project details
Skill
Cost
Estimated Time
Steps for Replacing Pedestal Sink Parts:
1. Start by shutting off the hot and cold water valves to the sink. Open the faucet to ensure the shutoffs hold.
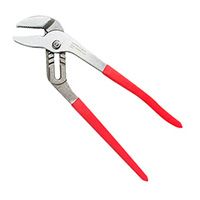
2. Disconnect the hot and cold water supply lines using pliers. There will still be a little bit of water in these hoses so be prepared with a small bucket or a rag to catch the water.
3. Remove the basin of the sink from the base of the pedestal.
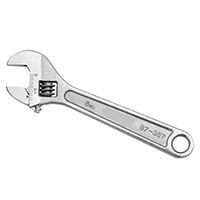
a. The basin is usually held against the wall by two bolts, which can be loosened using a wrench.
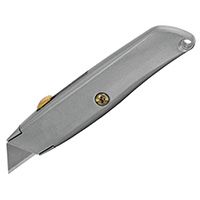
b. Richard recommends scoring along the wall with a utility knife to prevent any caulking between the sink and the wall from damaging the wall.
c. To loosen the drain connection, carefully slide the pedestal away from the basin until you can get a wrench around the drain.
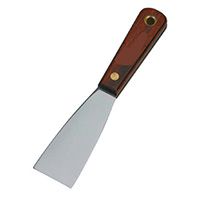
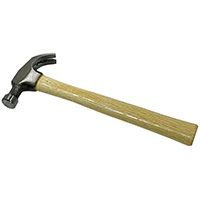
d. Once everything is disconnected, pull the basin away. Richard suggests sliding a putty knife in between the score marks from the utility knife with a hammer to ensure that all the caulking has been separated from the sink.
4. With the sink removed from the wall, replace any parts that require replacing.
a. To replace the supply hoses: disconnect the nuts from the base of the sink using a basin wrench. Secure the new hoses using the same process in reverse.
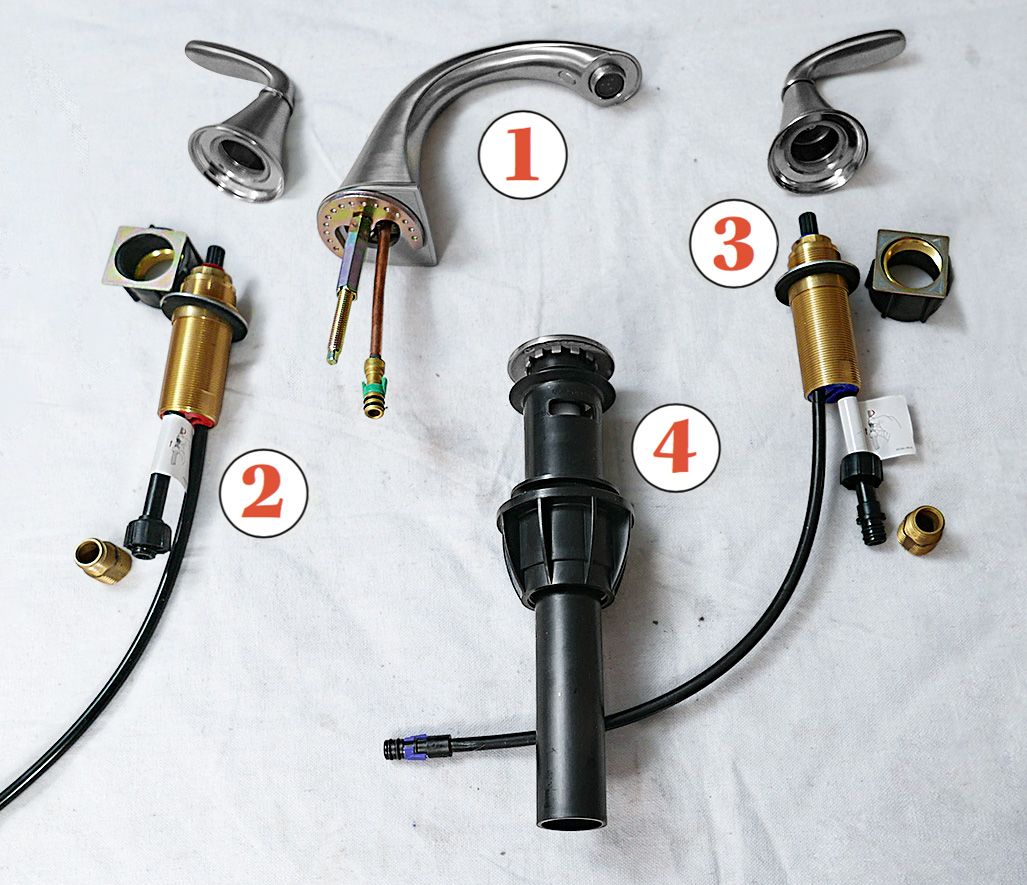
b. To replace the pop-up assembly: loosen the drain connection using the basin wrench. Disassemble the linkages for the pop-up and pull the plunger from the top of the sink. Reverse this process for the installation. In the case of the video, Richard replaced the pop-up with a push-button drain that required no linkages and came with the faucet.
c. To replace the faucet: disconnect the nuts underneath the hot and cold handles using the basin wrench. Pull the faucet and the handles out of the sink. Slide the new faucet into the hole. Apply plumber’s putty underneath the faucet on the face of the basin. Tighten the new nut from the underside of the basin. Make all the new hose connections to the faucet. Newer models have plastic push connections that can be made without any tools.
5. Place the sink back on the bolts against the wall and on top of the drain.
6. Tighten the bolts and the nut for the drain using a wrench.
7. Slide the pedestal fully into position.
8. Connect the hot and cold water lines to the hot and cold shutoffs using the wrench.
9. Turn the water back on.
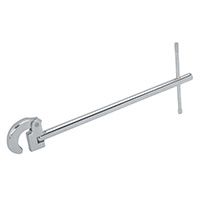
About the Basin Wrench

Invented by plumber Arthur Andree in 1920, this wrench enables plumbers to reach otherwise inaccessible nuts in the tight spaces under sinks. Its single jaw applies torque in only one direction, but because the jaw head pivots, the tool can both loosen and tighten.
Resources:
Richard installed a Pfister Pasadena faucet in a brushed nickel finish. The faucet also came with a stopper, drain pipe, and an installation tool to do all the work.
The other tools and materials Richard used to remove the old faucet and install the new one, including the wrenches and the plumber’s putty, can be found at home centers and plumbing supply houses.