Project details
Skill
Cost
Estimated Time

Q: Our bath fan doesn’t keep moisture off the walls, even if we open a window. Do we need a bigger fan?
—Bill Jackson, Olyphant, Pa.
Matt Tomis of Tomis Electrical Contractors replies: You shouldn’t have to open a window! Maybe the fan is clogged with dust. Take off its cover and vacuum out its housing. And, if you can get to the fan’s duct, make sure it isn’t pinched or blocked. If that doesn’t help, it’s probably time for a new fan.
You want one with a cubic-feet-per-minute (cfm) rating that’s high enough to pull all the air out of your bathroom in 7½ minutes. To determine the fan’s minimum cfm, divide your bathroom’s volume by 7.5. Go with a higher cfm if the duct run exceeds 20 feet or has more than one elbow. Also, put the fan on a timer so that it runs for at least 20 minutes after you finish showering and exhausts all the moisture.
The fan I’m installing here has a built-in timer. Finally, compare sone ratings; the lower the number, the quieter the fan. It has an important job, but nobody wants to hear it working.
Step 1
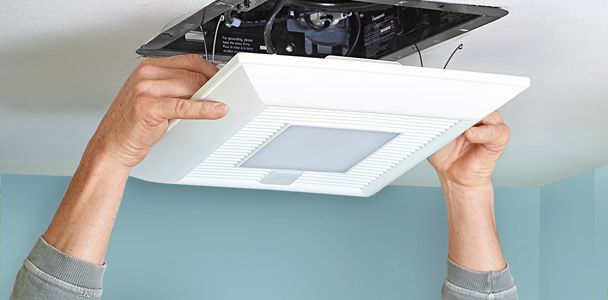
Remove The Old Fan
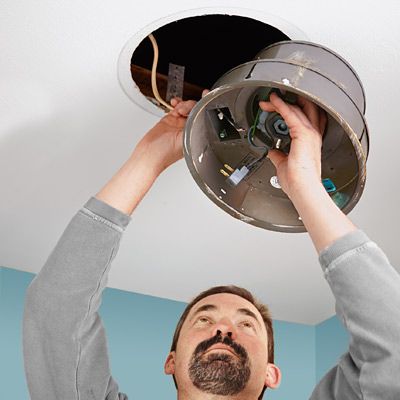
Turn off power to the fan at the circuit breaker, and lay down a drop cloth to collect debris. Pop off the fan’s cover and remove the screws holding the fan’s housing to the ceiling. (With a fan that’s screwed directly to a joist, you may need to trim back the drywall to access the screws.) Pull down the motor housing and disconnect the wires.
Step 2
Prep The Opening
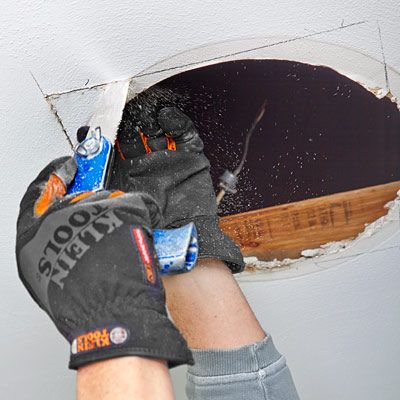
Compare the size of the existing opening to the size of the new fan’s housing by placing the housing against the ceiling. If the opening is smaller or has a different shape than the new housing, as was the case here, trace the outline of the housing on the ceiling, then cut along the line with a jab saw. If the hole is bigger than the new housing, you’ll need to fill in around it.
Step 3
Insert The Fan
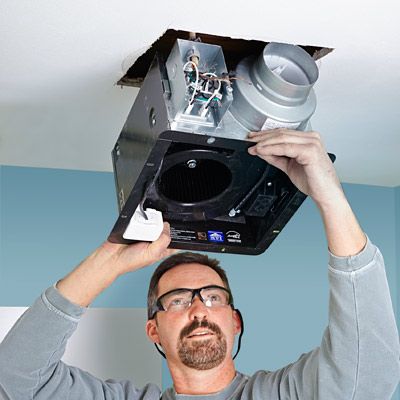
Tilt the fan into the opening, and screw one lip of the housing to the bottom edge of a joist. If there isn’t a joist in the right spot, get a helper to hold the fan from below while you attach brackets to the faces of two joists from above (see Step 4). If you can’t access the fan from above, enlarge the ceiling hole enough for you to reach in and attach the brackets from below.
Step 4
Fasten The Brackets
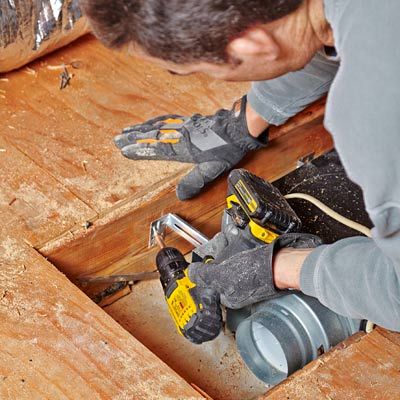
Up in the attic, extend the two support brackets to the facing joist, and screw each one in place, as shown.
Step 5
Connect The Wires
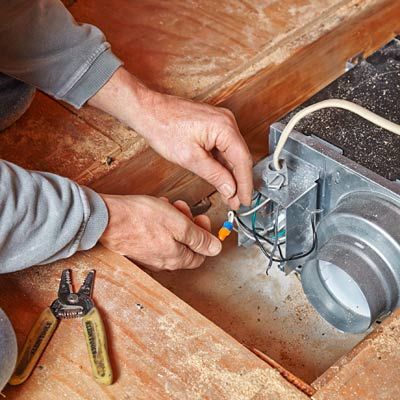
Thread the electric cable from the bathroom through a cable connector and into the junction box. Remove the box cover. Using wire nuts and electrical tape, connect the fan’s wires to the cable’s—black to black, white to white, green to bare copper—as illustrated in the fan’s instructions. Replace the cover.
Step 6
Attach The Duct
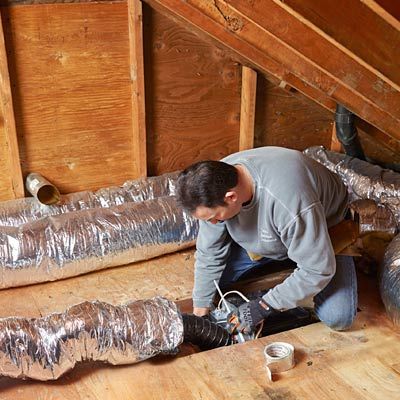
By code, a bath fan must vent moisture to the outside, ideally through a duct to the roof or, as shown here, through a gable wall. In cold climates, use insulated duct (above) to guard against condensation in the duct. Zip-tie the duct to the fan’s exhaust port and to the exhaust vent, then seal the connections with foil tape.