Project details
Skill
Cost
Estimated Time
Columns are a bedrock of traditional architecture. Used by the ancient Greeks and Romans as graceful supports for porches and porticos, they help define the style of a place. The sum of three parts—a capital, a shaft, and a base—columns can be fancy, with a fluted body and scrolled volutes on top, or simple and smooth, with a stacked-ring crown.
The earliest columns were carved from stone to match the great temples and monuments they adorned, but most American ones from the past century or so are made of wood, just like our more humble homes.
Because columns were typically used in multiples, you can often find matching ones at salvage yards today. This allows repurposers like me to reuse a series as porch supports, but it also expands our options for creative projects. A row of columns in a great room, for instance, allows you to define different activity zones without erecting walls or blocking views.
If you find only one column, don’t fret. You can slice it in half lengthwise. For my reuse project, I kept a single column whole. Fitted with shapely brass hooks and standing about 6 feet tall on a new plinth base, it’s the perfect coat tree. I love how the fluted shaft and the egg-and-dart molding on the capital add a touch of formality to what’s an otherwise casual entryway. To learn how to make your own coat tree out of a salvaged column, keep reading.
Salvaged Column Overview

I scored a fluted column at an antiques shop for just $90—a bargain, considering its stellar condition and detailed design. To repurpose it as a coat tree, all I had to do was add some hooks and build a new plinth base to replace the missing original. But rather than make a base from scratch, I assembled one by stacking three prefab wood boxes beneath a round plaque that I secured to the bottom of the column’s shaft. For $39 in supplies from Walnut Hollow, I saved myself hours in the workshop. The hooks came from House of Antique Hardware, where antique repros in a range of styles and finishes start at $3 each. To preserve the column’s aged finish and guard against lead in the old paint, I brushed the surface with a few coats of clear polyurethane in a matte sheen before starting the job.
Step 1: Cover the End of the Column Shaft
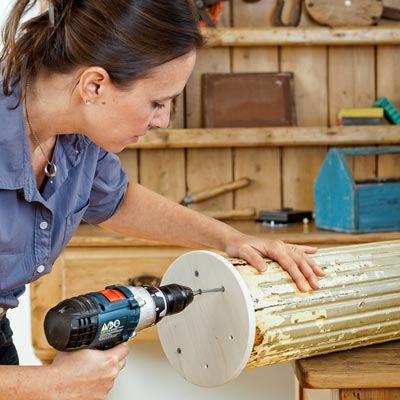
Cover the hollow end of the column shaft with a round wood plaque. Drill pilot holes for the fasteners, being sure to bore deep enough to penetrate the column’s solid sides. Secure the plaque with 2-inch wood screws.
Step 2: Attach the First Box
Center the smallest of the three boxes (8, 10, and 12 inches square) you’ll use to form the base on the plaque, with the box’s open side facing down. Hold it in place with painter’s tape and fasten with 1⅝-inch wood screws—no need for pilot holes.
Step 3: Mark the Second Box
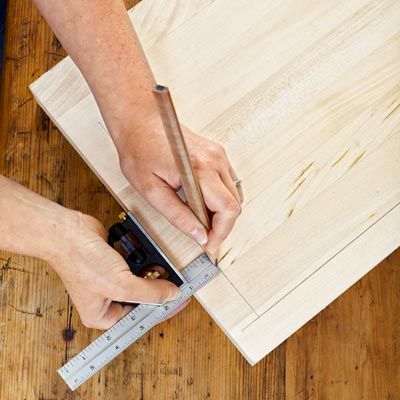
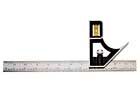
Lay the second box open-side down, and use a combination square and a pencil to mark the outline of the already attached box. Because each box is larger than the preceding one by 2 inches, split the difference and set the square at 1 inch.
Step 4: Mark the Box for Fasteners
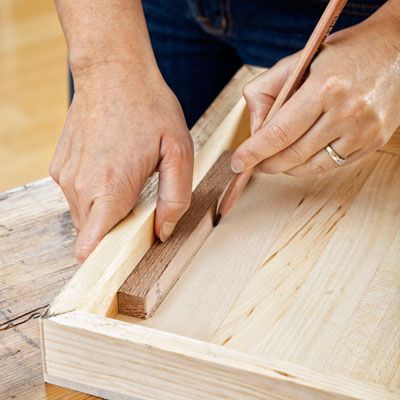
Flip the box open-side up, and mark where to drill holes for the fasteners. Use a wood spacer as a guide to ensure that the screws will be positioned in the center of the frame of the box above. In my case, the spacer was ⅝ inch thick.
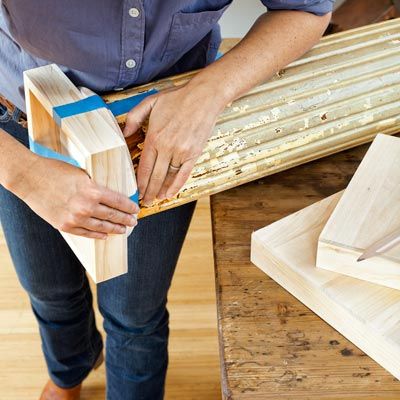
Step 5: Secure the Second Box
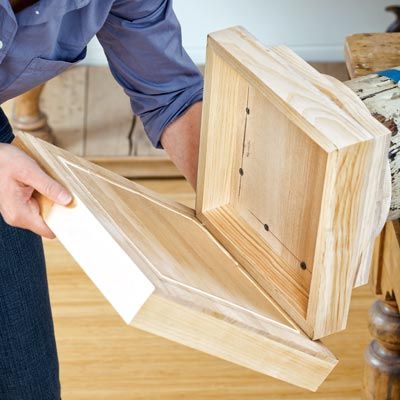
Secure the second box with glue and screws, and repeat the process with the third box (shown) to complete the base. Let sit for about 30 minutes while the glue dries.
Step 6: Map Out the Hook Placement
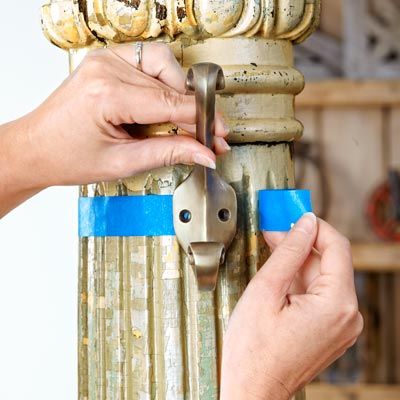
Determine the locations for the top row of three coat hooks by wrapping tape around the column to find its diameter. Remove the tape, divide its length by 3, and mark the spacing. Then put the tape back on the column and use the marks as a guide.
Step 7: Hang the Hooks
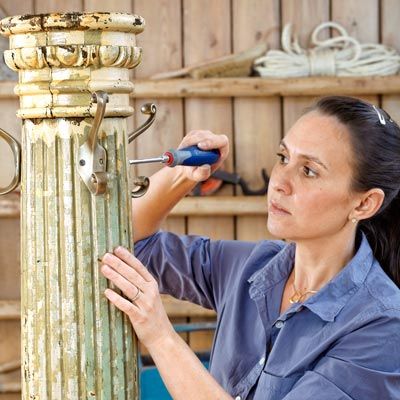
Drill pilot holes for the screws that come with the hooks, and use a screwdriver to turn them in by hand so as not to strip the soft metal. Repeat the measuring and installation process with the second row of hooks, but be sure to offset them from the row above.
Step 8: Paint the Base

Finish by painting the base. I used watered-down chalk paint in an eggshell-blue color to match traces of old chipped paint on the column shaft. Once the paint has dried, stand your new tree in the entryway and start piling it with coats.