Project details
Skill
3 out of 5Moderate
Cost
$75
Estimated Time
2 days
Steps for Replacing a Cracked Tile in Your Floor
- Cut the grout around the damaged tile carefully with a utility knife.
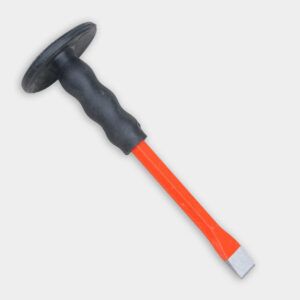
- Place the cold chisel on the deepest crack in the tile and carefully hit it with the hammer until the cold chisel is underneath the tile. Watch the grout lines around the tile to ensure the grout and surrounding tiles don’t also crack.
- Slowly pry the tile up with the cold chisel. Once it’s up, remove the rest of the tile with your hands. The tile is very sharp, so be extra cautious while removing the tile.
- Remove any loose adhesive remaining on the floor. Dampen a sponge and clean the floor.
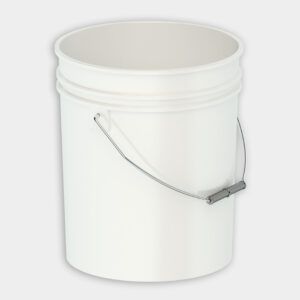
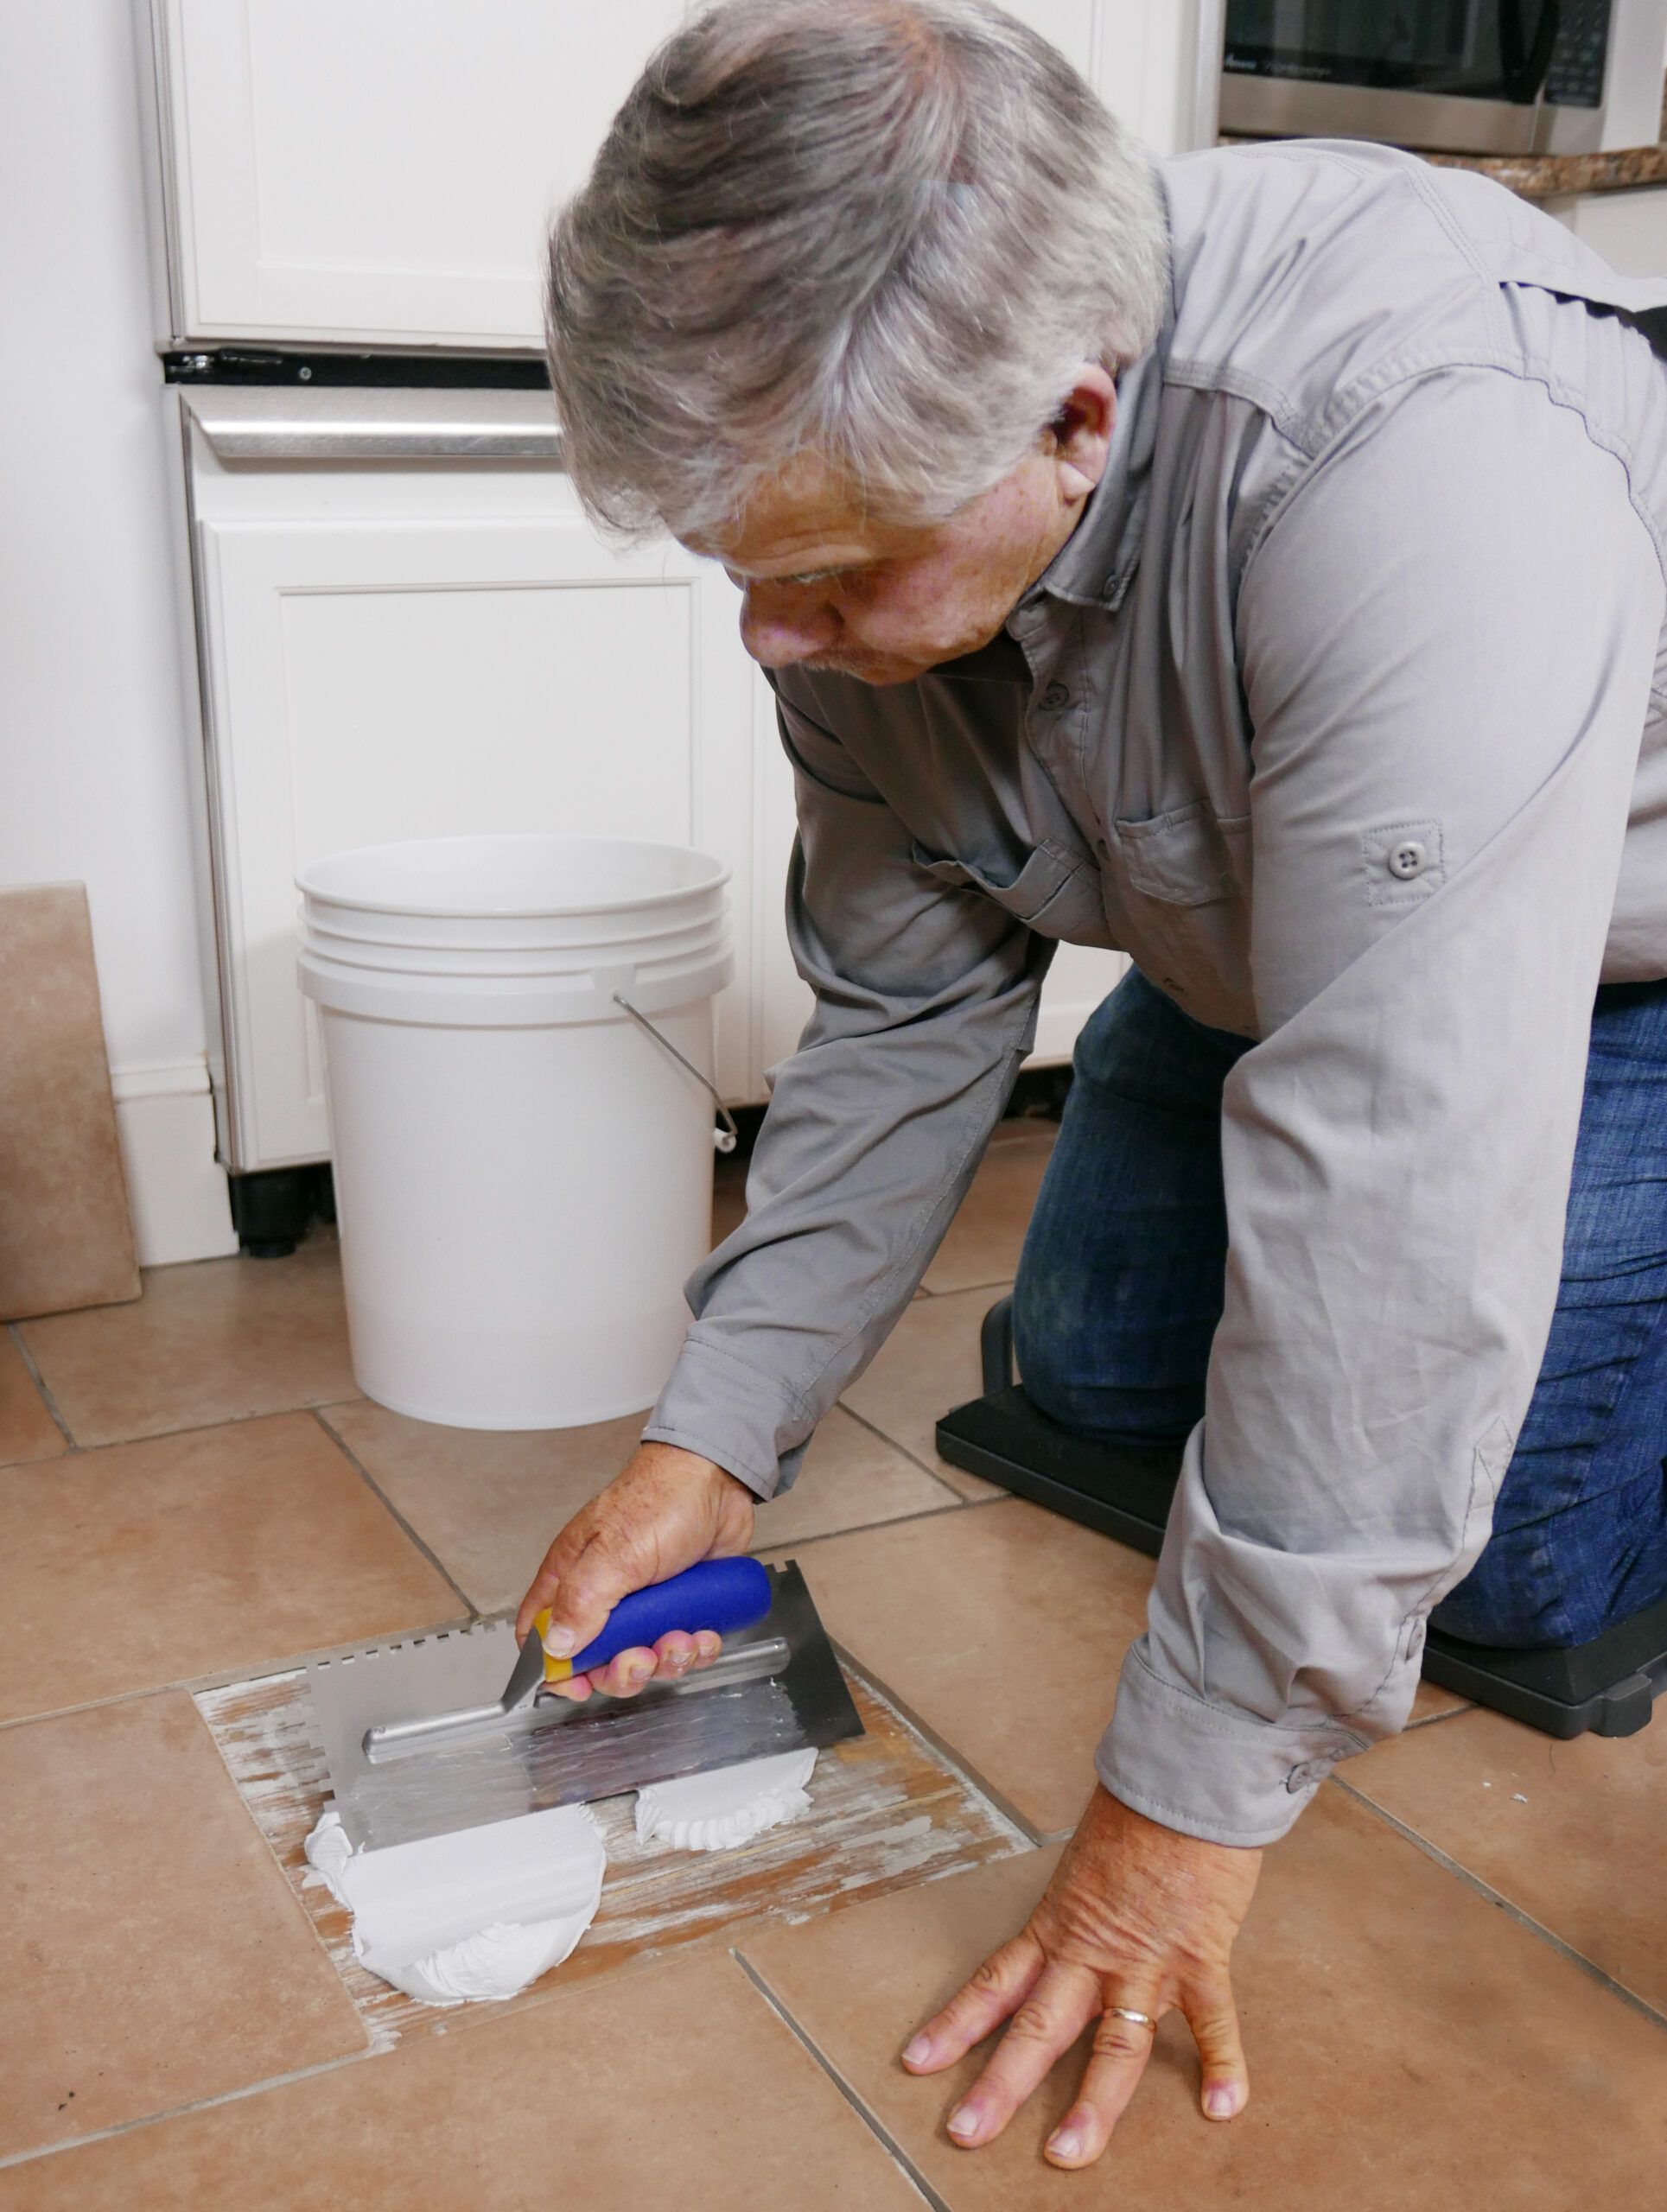
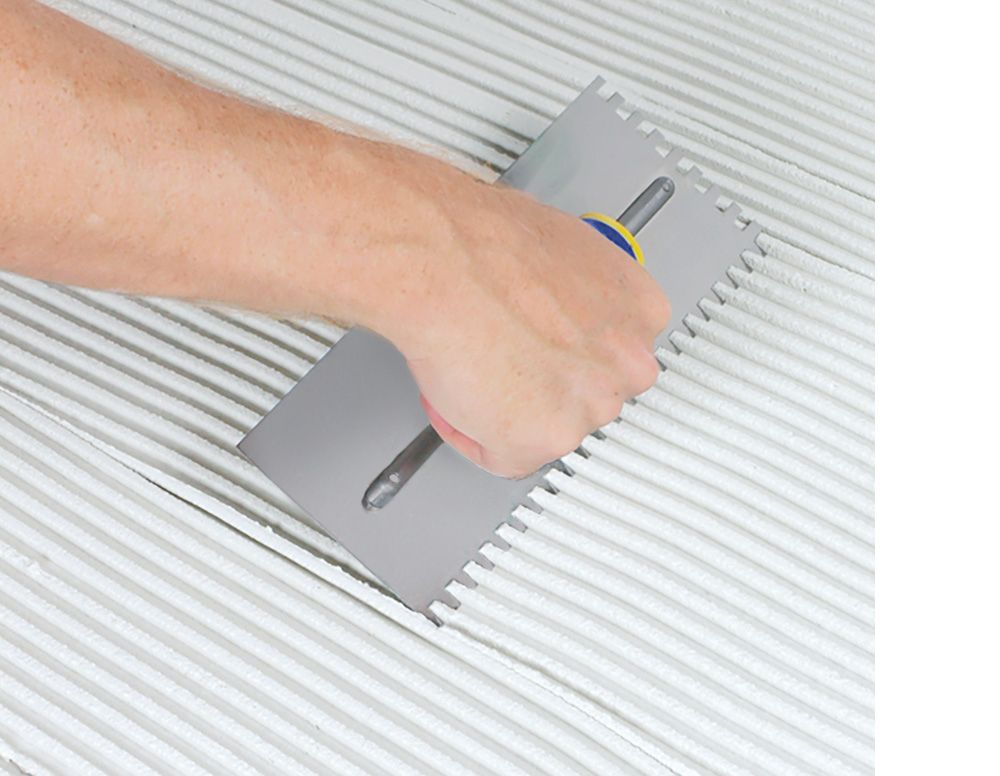
- Apply the acrylic floor adhesive generously to the floor. Use the flat side of the notched trowel to spread it out evenly, then use the notched side to groove the adhesive.
- Place the new tile on the floor. Make sure it is level with the rest of the floor.
- Clean the excess adhesive off the tile and the surrounding area. Let it dry for a few hours.
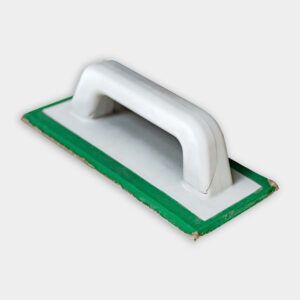
- Grout the tile into the floor using the rubber float. Apply the grout into the cracks diagonally.
- Use a round handle and drag it along the new grout lines to give it a clean, finished look.
- Clean off the excess the grout with a damp sponge and let it cure overnight.
Make Your Tile Job Last
In order for a tile job to hold up, the trowel used to apply the mastic or mortar adhesive has to have notches of the right size and shape. To find that information, consult the tile manufacturer’s spec sheet.
Resources:
Finding a matching tile can be difficult. Look on the underside of the tile for clues and bring the tile with you when looking for a match.
Everything Tom used to replace the tile, including the cold chisel, hammer, notched trowel, and grout can be found at The Home Depot.
The acrylic base Tom used in place of thinset is Acrylpro Professional Tile Adhesive, manufactured by Custom Building Products. It can be found at The Home Depot.