Project details
Skill
Cost
Estimated Time


In this video, This Old House general contractor Tom Silva uncovers a beautiful hardwood floor.
Steps:
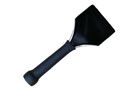
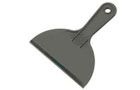
1. Starting at a threshold, use a wood chisel and wide, stiff-blade putty knife to pop loose one vinyl tile. Check the type and condition of the plywood underlayment beneath the tiles.
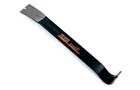
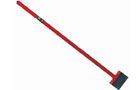
2. Use a flat pry bar and long-handled floor scraper to scrape up all the vinyl tiles. Discard the old tiles.
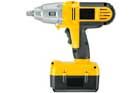
3. Use a cordless impact driver to remove all the screws holding down the ¼-inch plywood underlayment.
4. Pull up one piece of plywood underlayment and inspect the floor below.
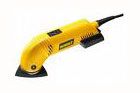
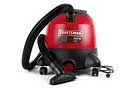
5. Use a detail sander to remove the old adhesive and reveal the original hardwood floor. Catch the sanding dust in a wet/dry vacuum.
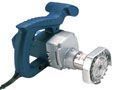
6. If the kitchen cabinets sit on top of the underlayment, use a toekick saw to cut flush up against the cabinets and through the underlayment. If necessary, set the saw on a piece of MDF or plywood to prevent the blade from cutting too deep.
7. Use an oscillating multi-tool fitted with a flush-cutting blade to saw through areas that the toekick saw was not able to reach, such as in corners and tight spaces.
8. Remove and discard all the plywood underlayment.
9. Vacuum the floor clean of all dust and debris.
10. Sand and refinish the original hardwood floor.