Steps for patching a plaster and lathe ceiling:
- When originally installed, wood lathe was nailed to the ceiling joists. Plaster mixed with horsehair or goat hair was then forced onto the lathe, forming a key that holds it to the lathe.
- One option is to cut out the damaged area and install a 3⁄8″ thick sheet of blue board and plaster.
- Cover the work area with drop cloths and work off of a rolling scaffolding platform, which can be rented or purchased.
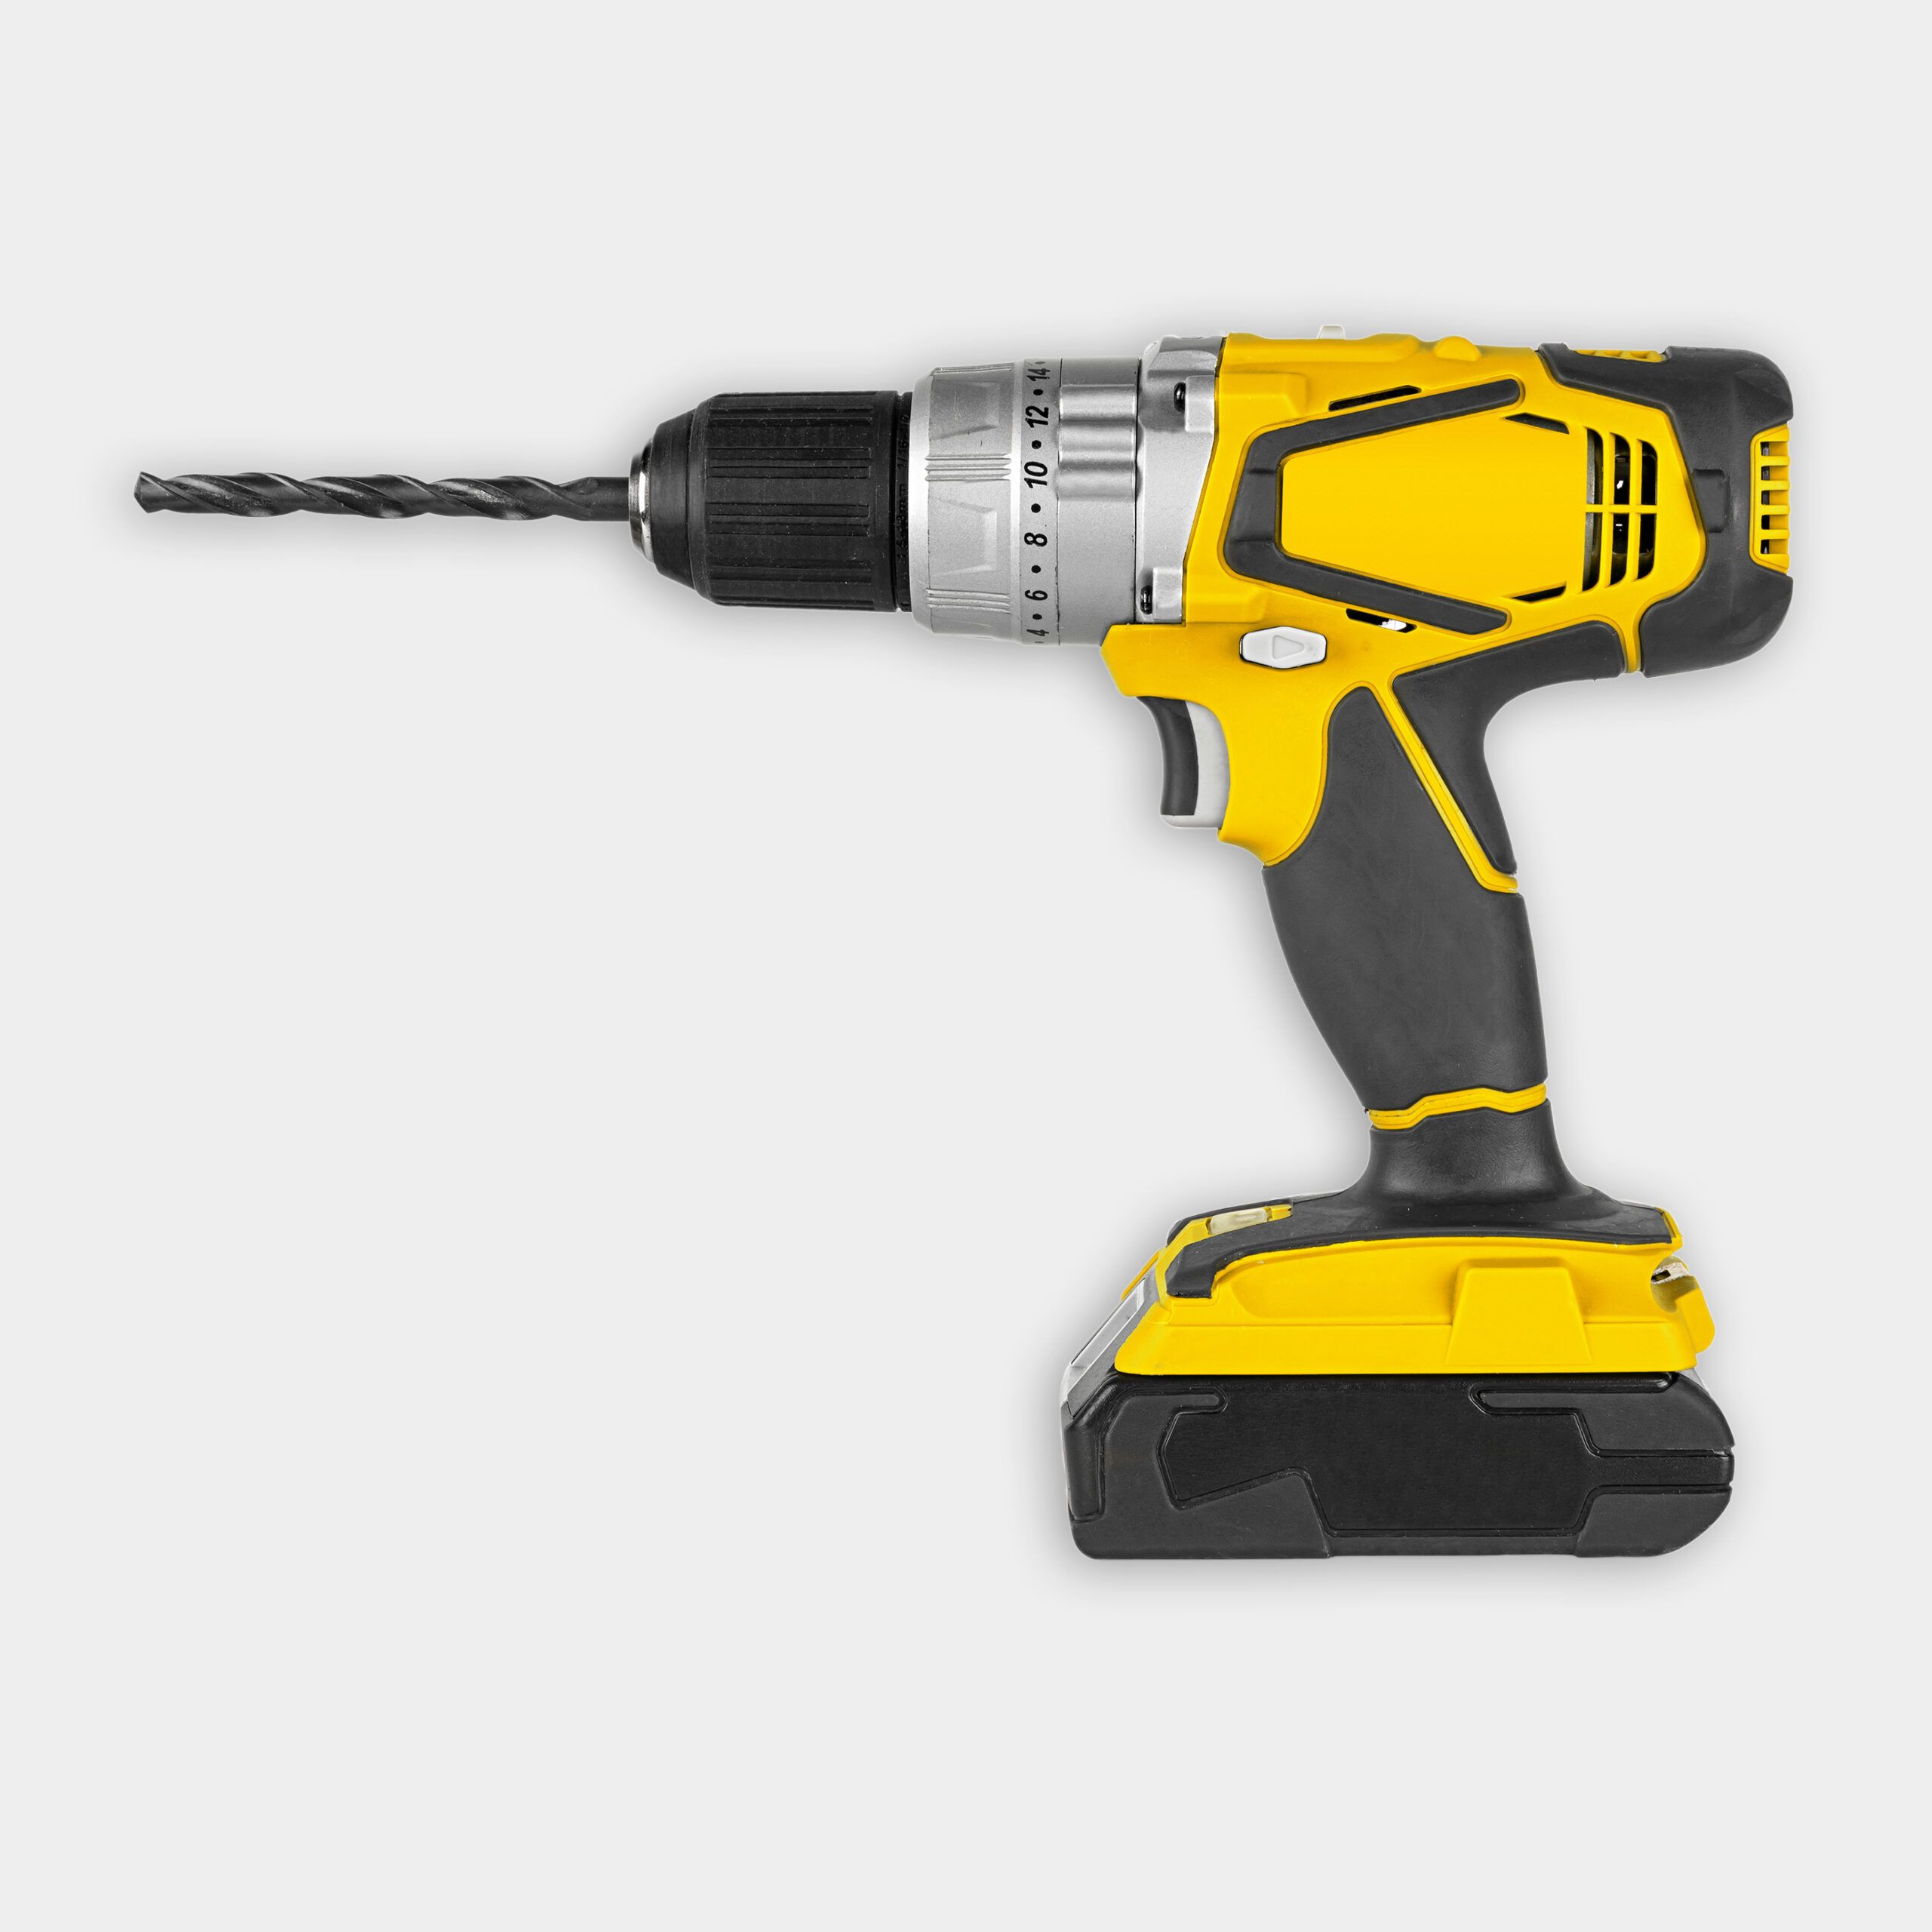
- Use a drill/driver to secure a piece of 1×3 strapping to the structure above the ceiling. Repeat this process several times in the area of the cracks.
- For areas where there is no structure above, attach a piece of strapping perpendicular to the others and insert filler pieces of strapping in the gaps between the strapping. Slowly tighten the perpendicular piece.
- Use a drywall screw with a plaster washer to re-secure the damaged sections of plaster to the lathe.
- Remove the strapping.
- For areas where the washers don’t hold or the plaster is very damaged, cut out the plaster and create a patch using drywall. Secure the patch with 1 5⁄8″ drywall screws.
- Scrape away any loose veneer.
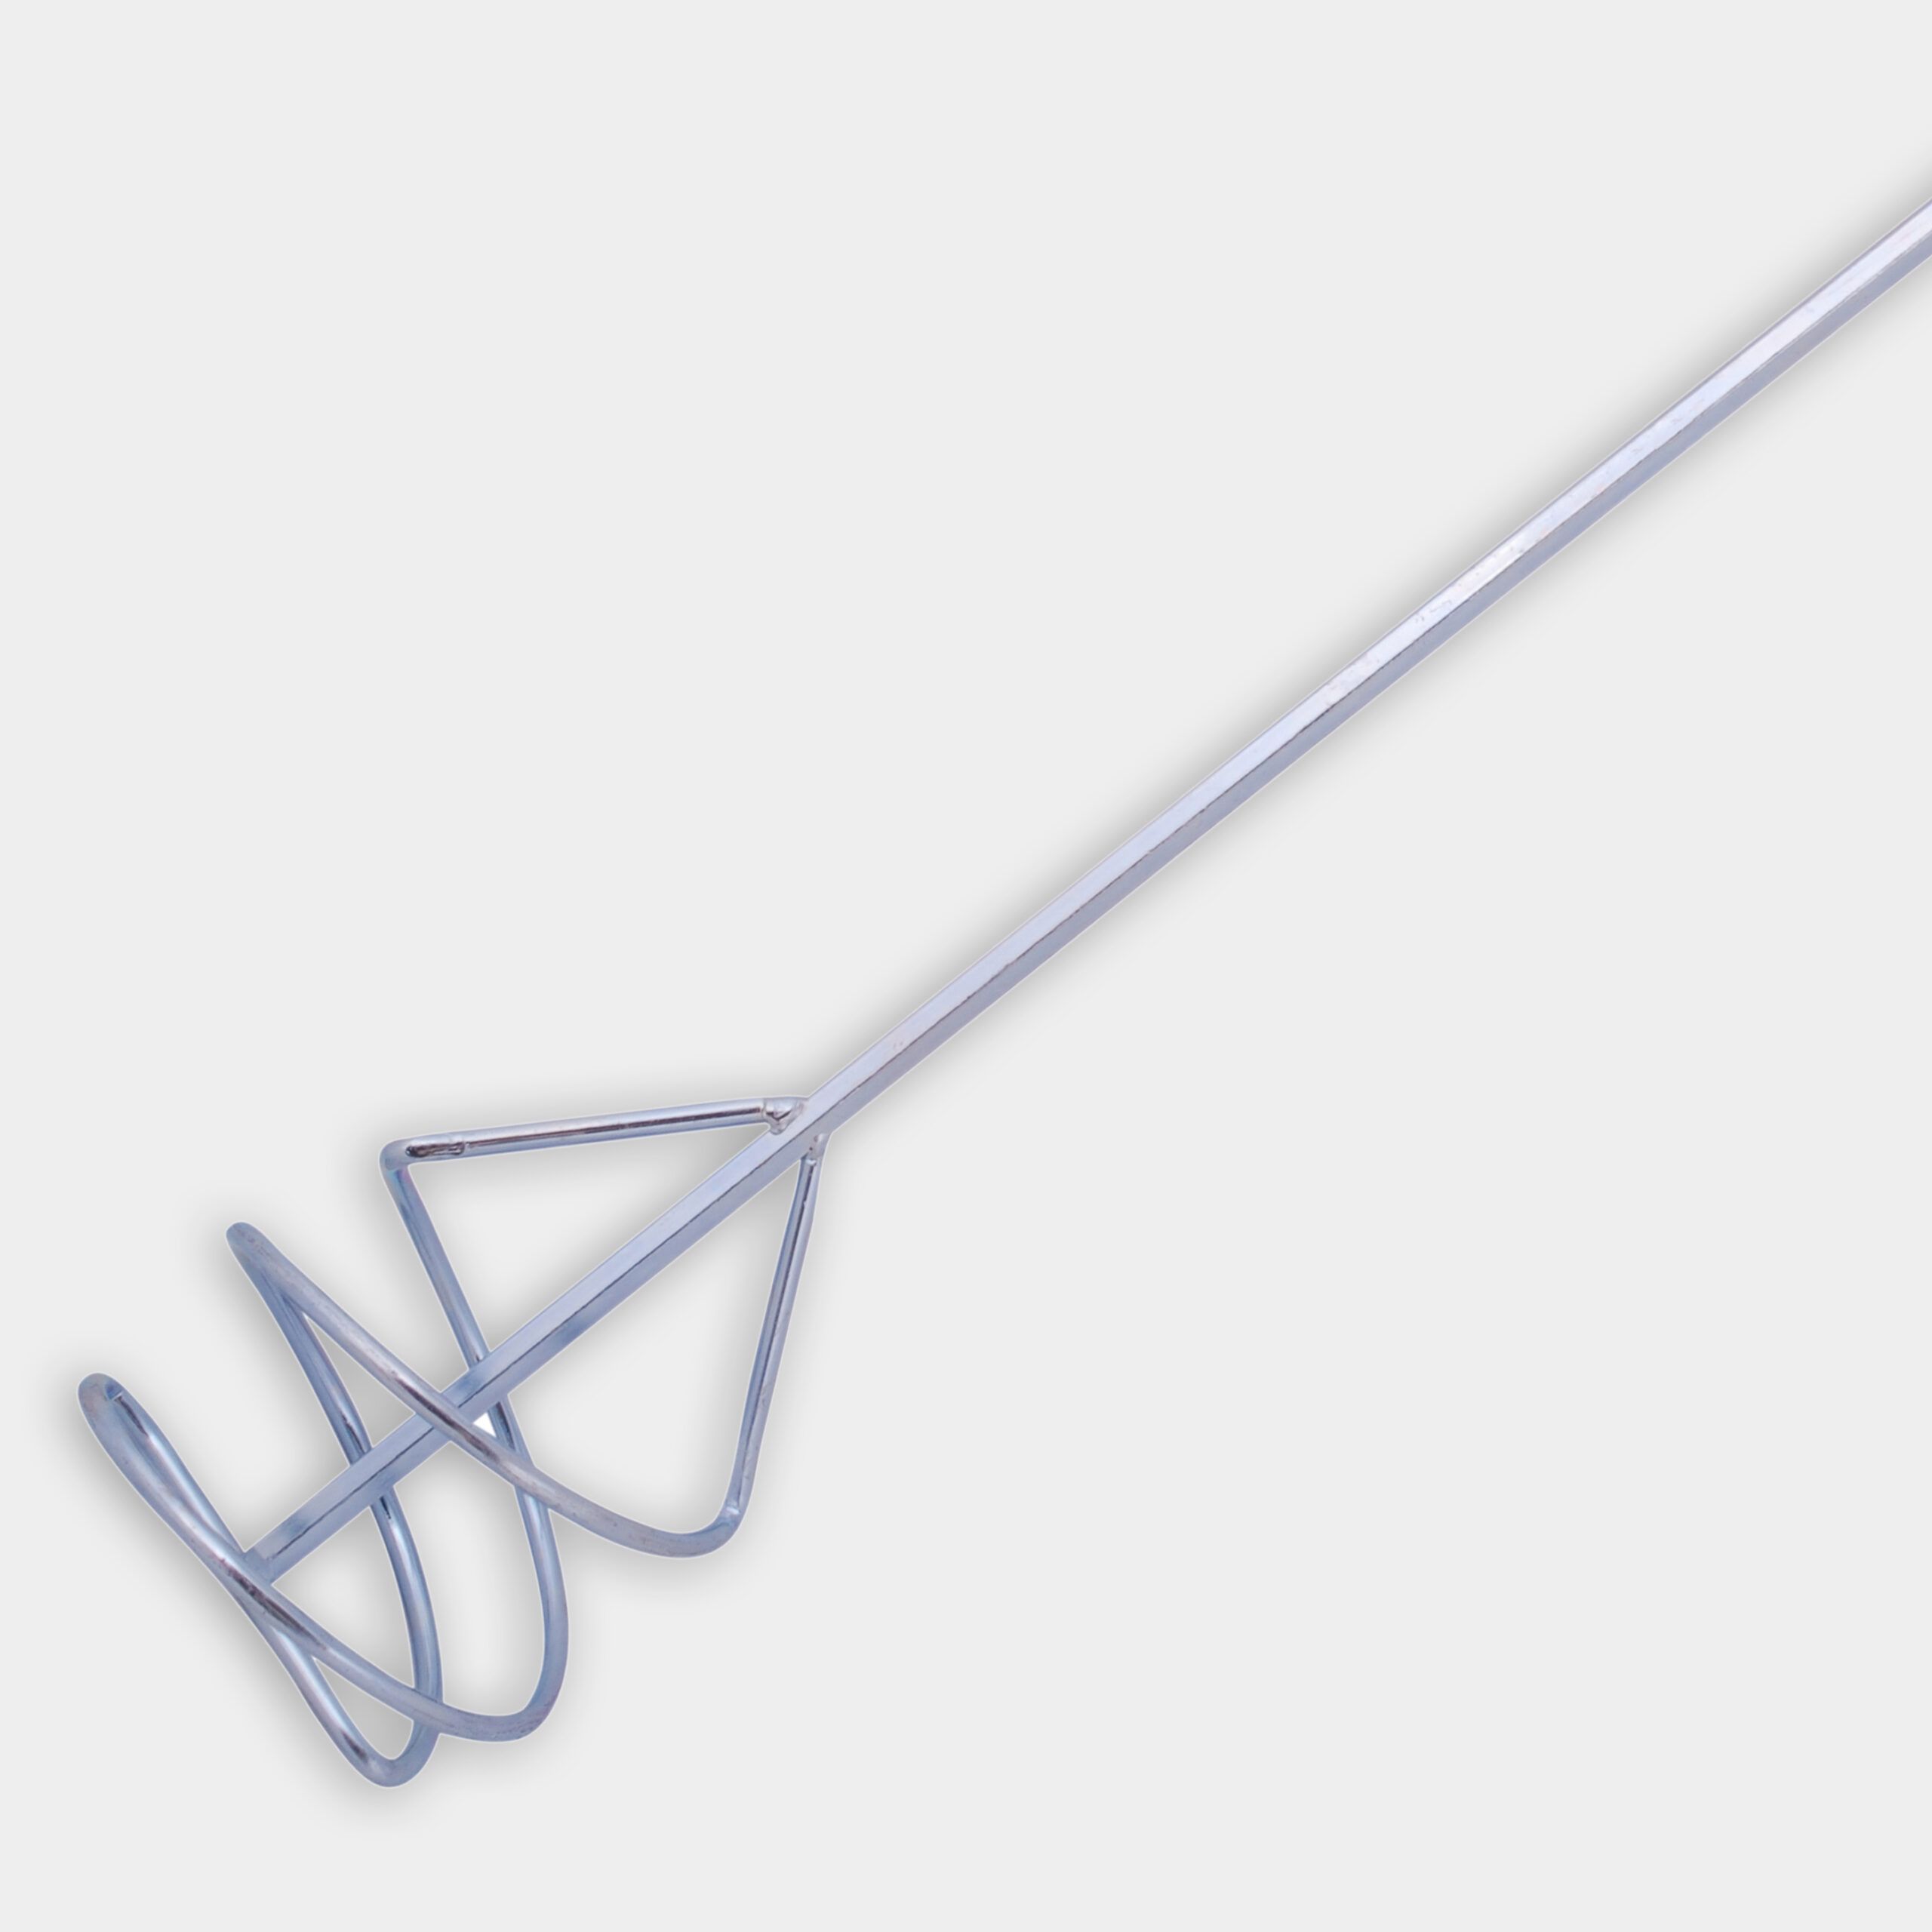
- Mix a batch of plaster and joint compound to ensure good adhesion.
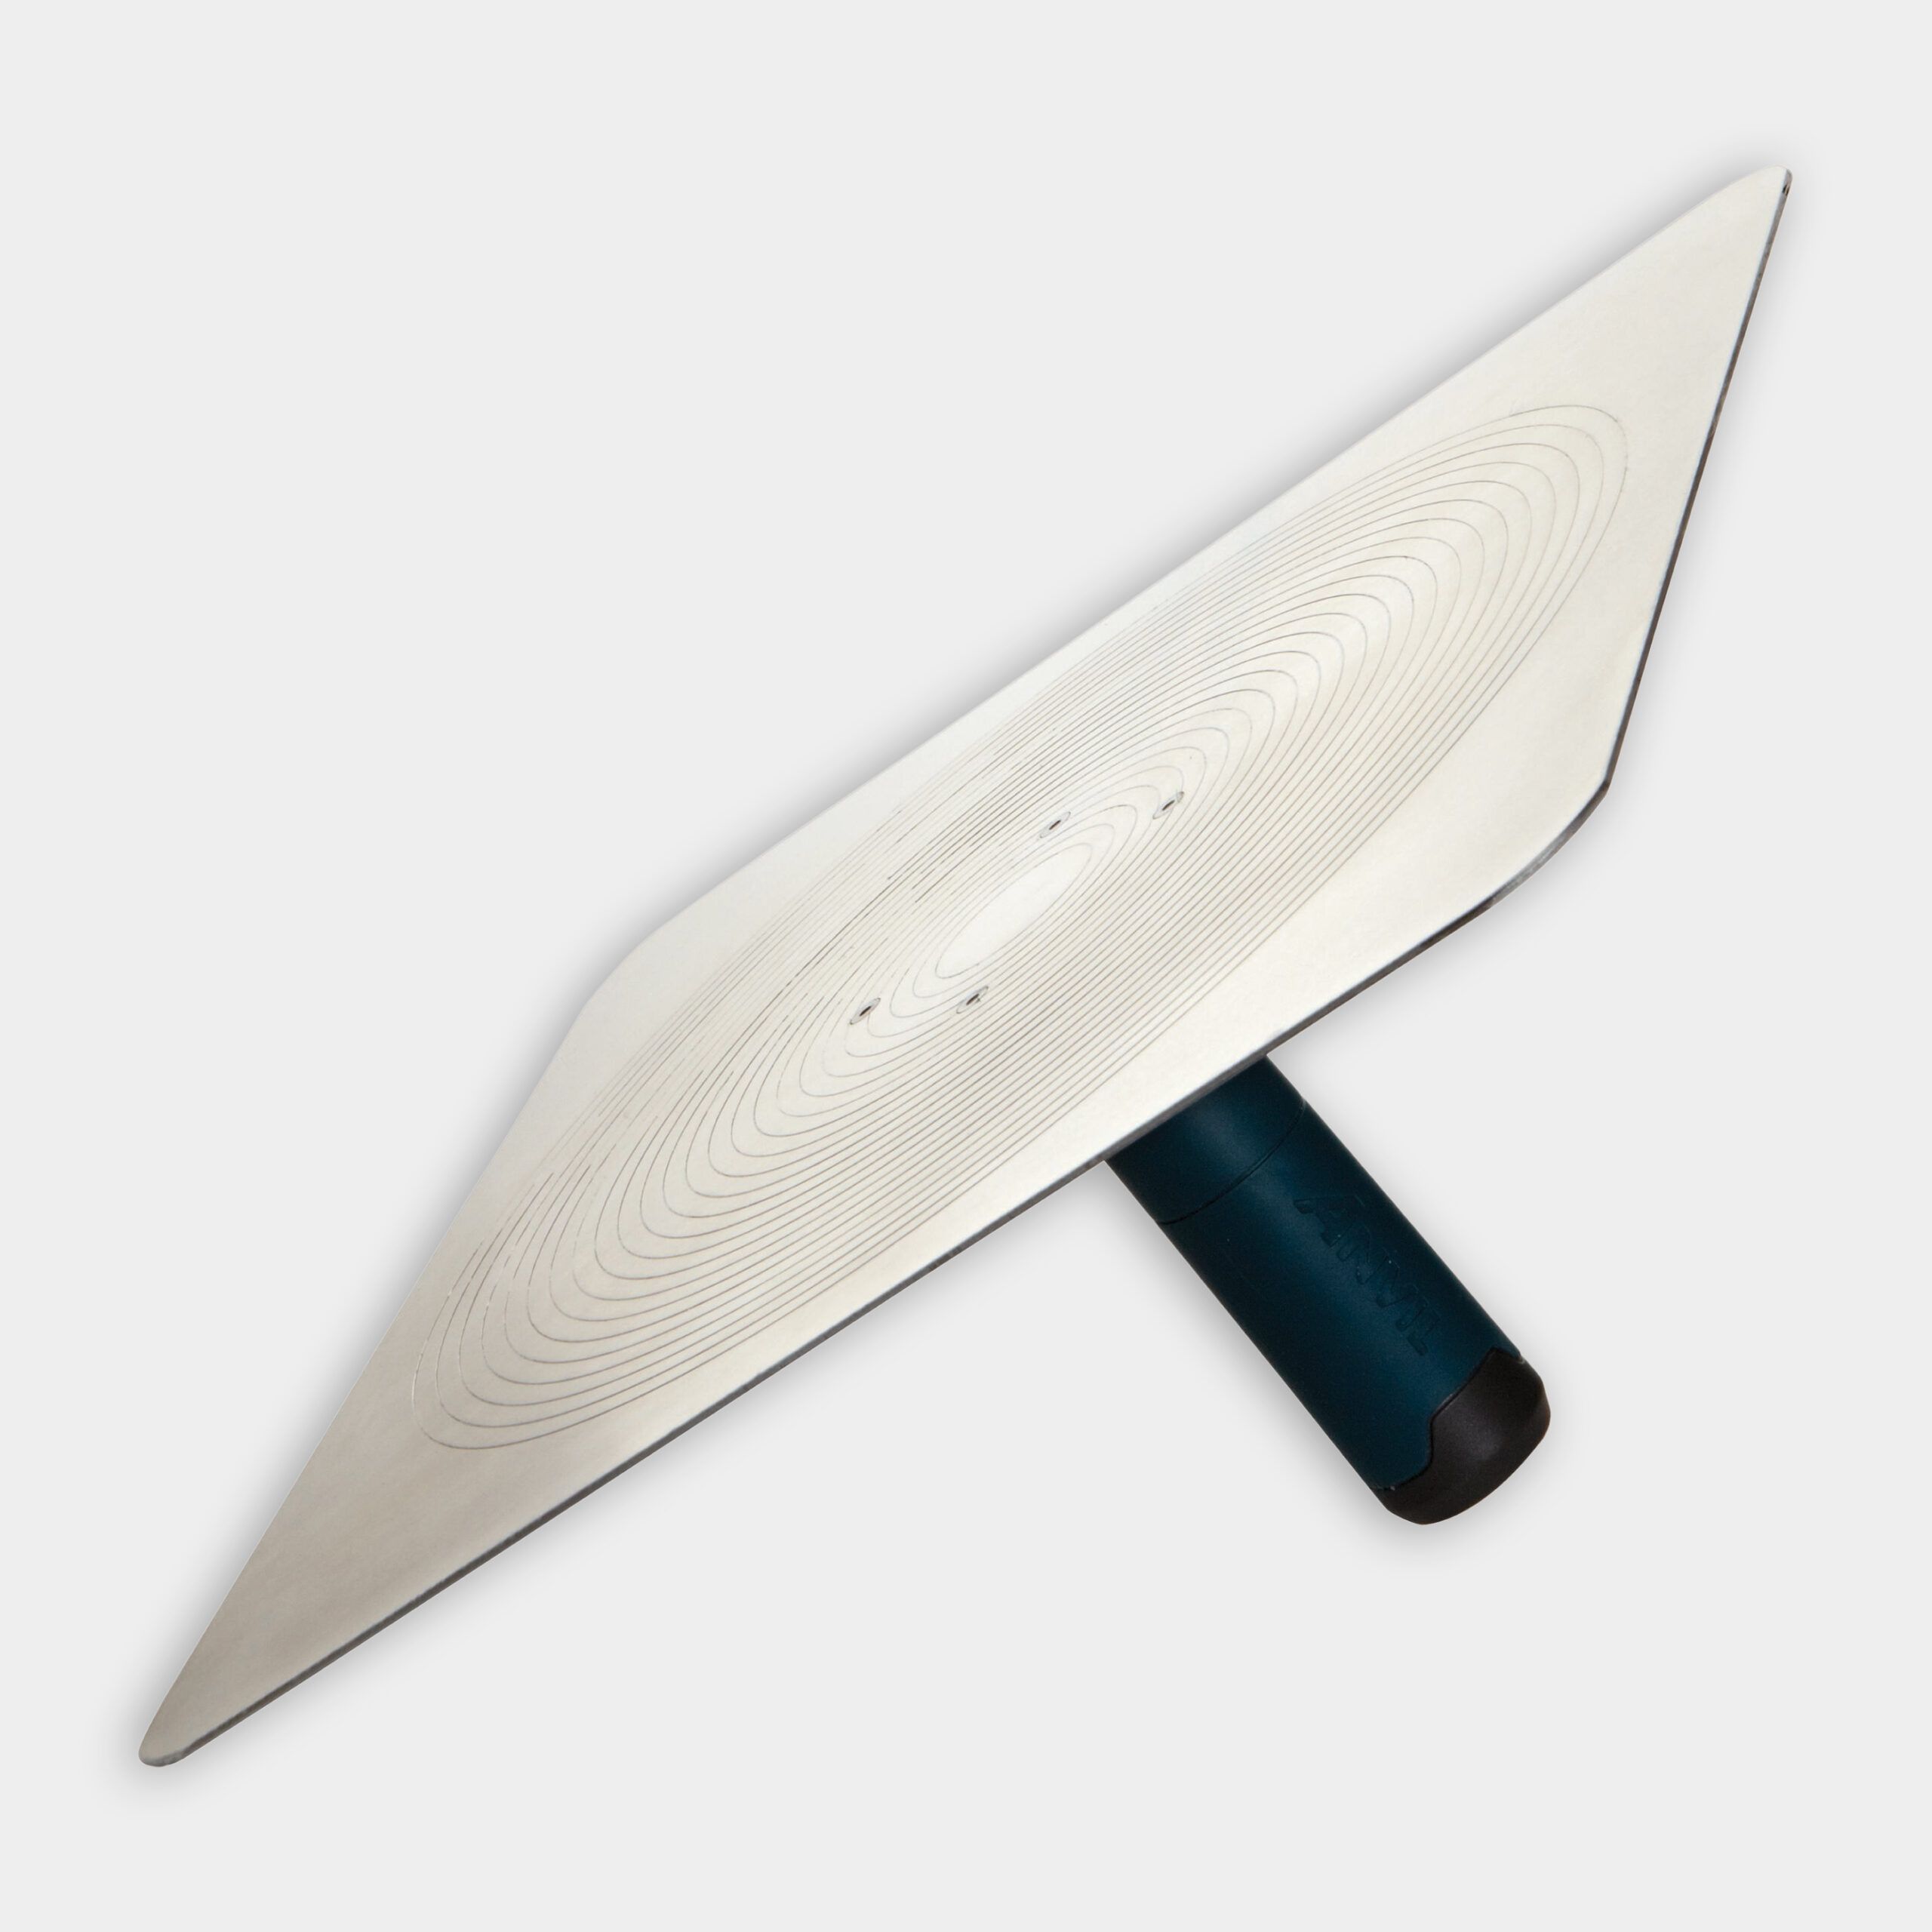
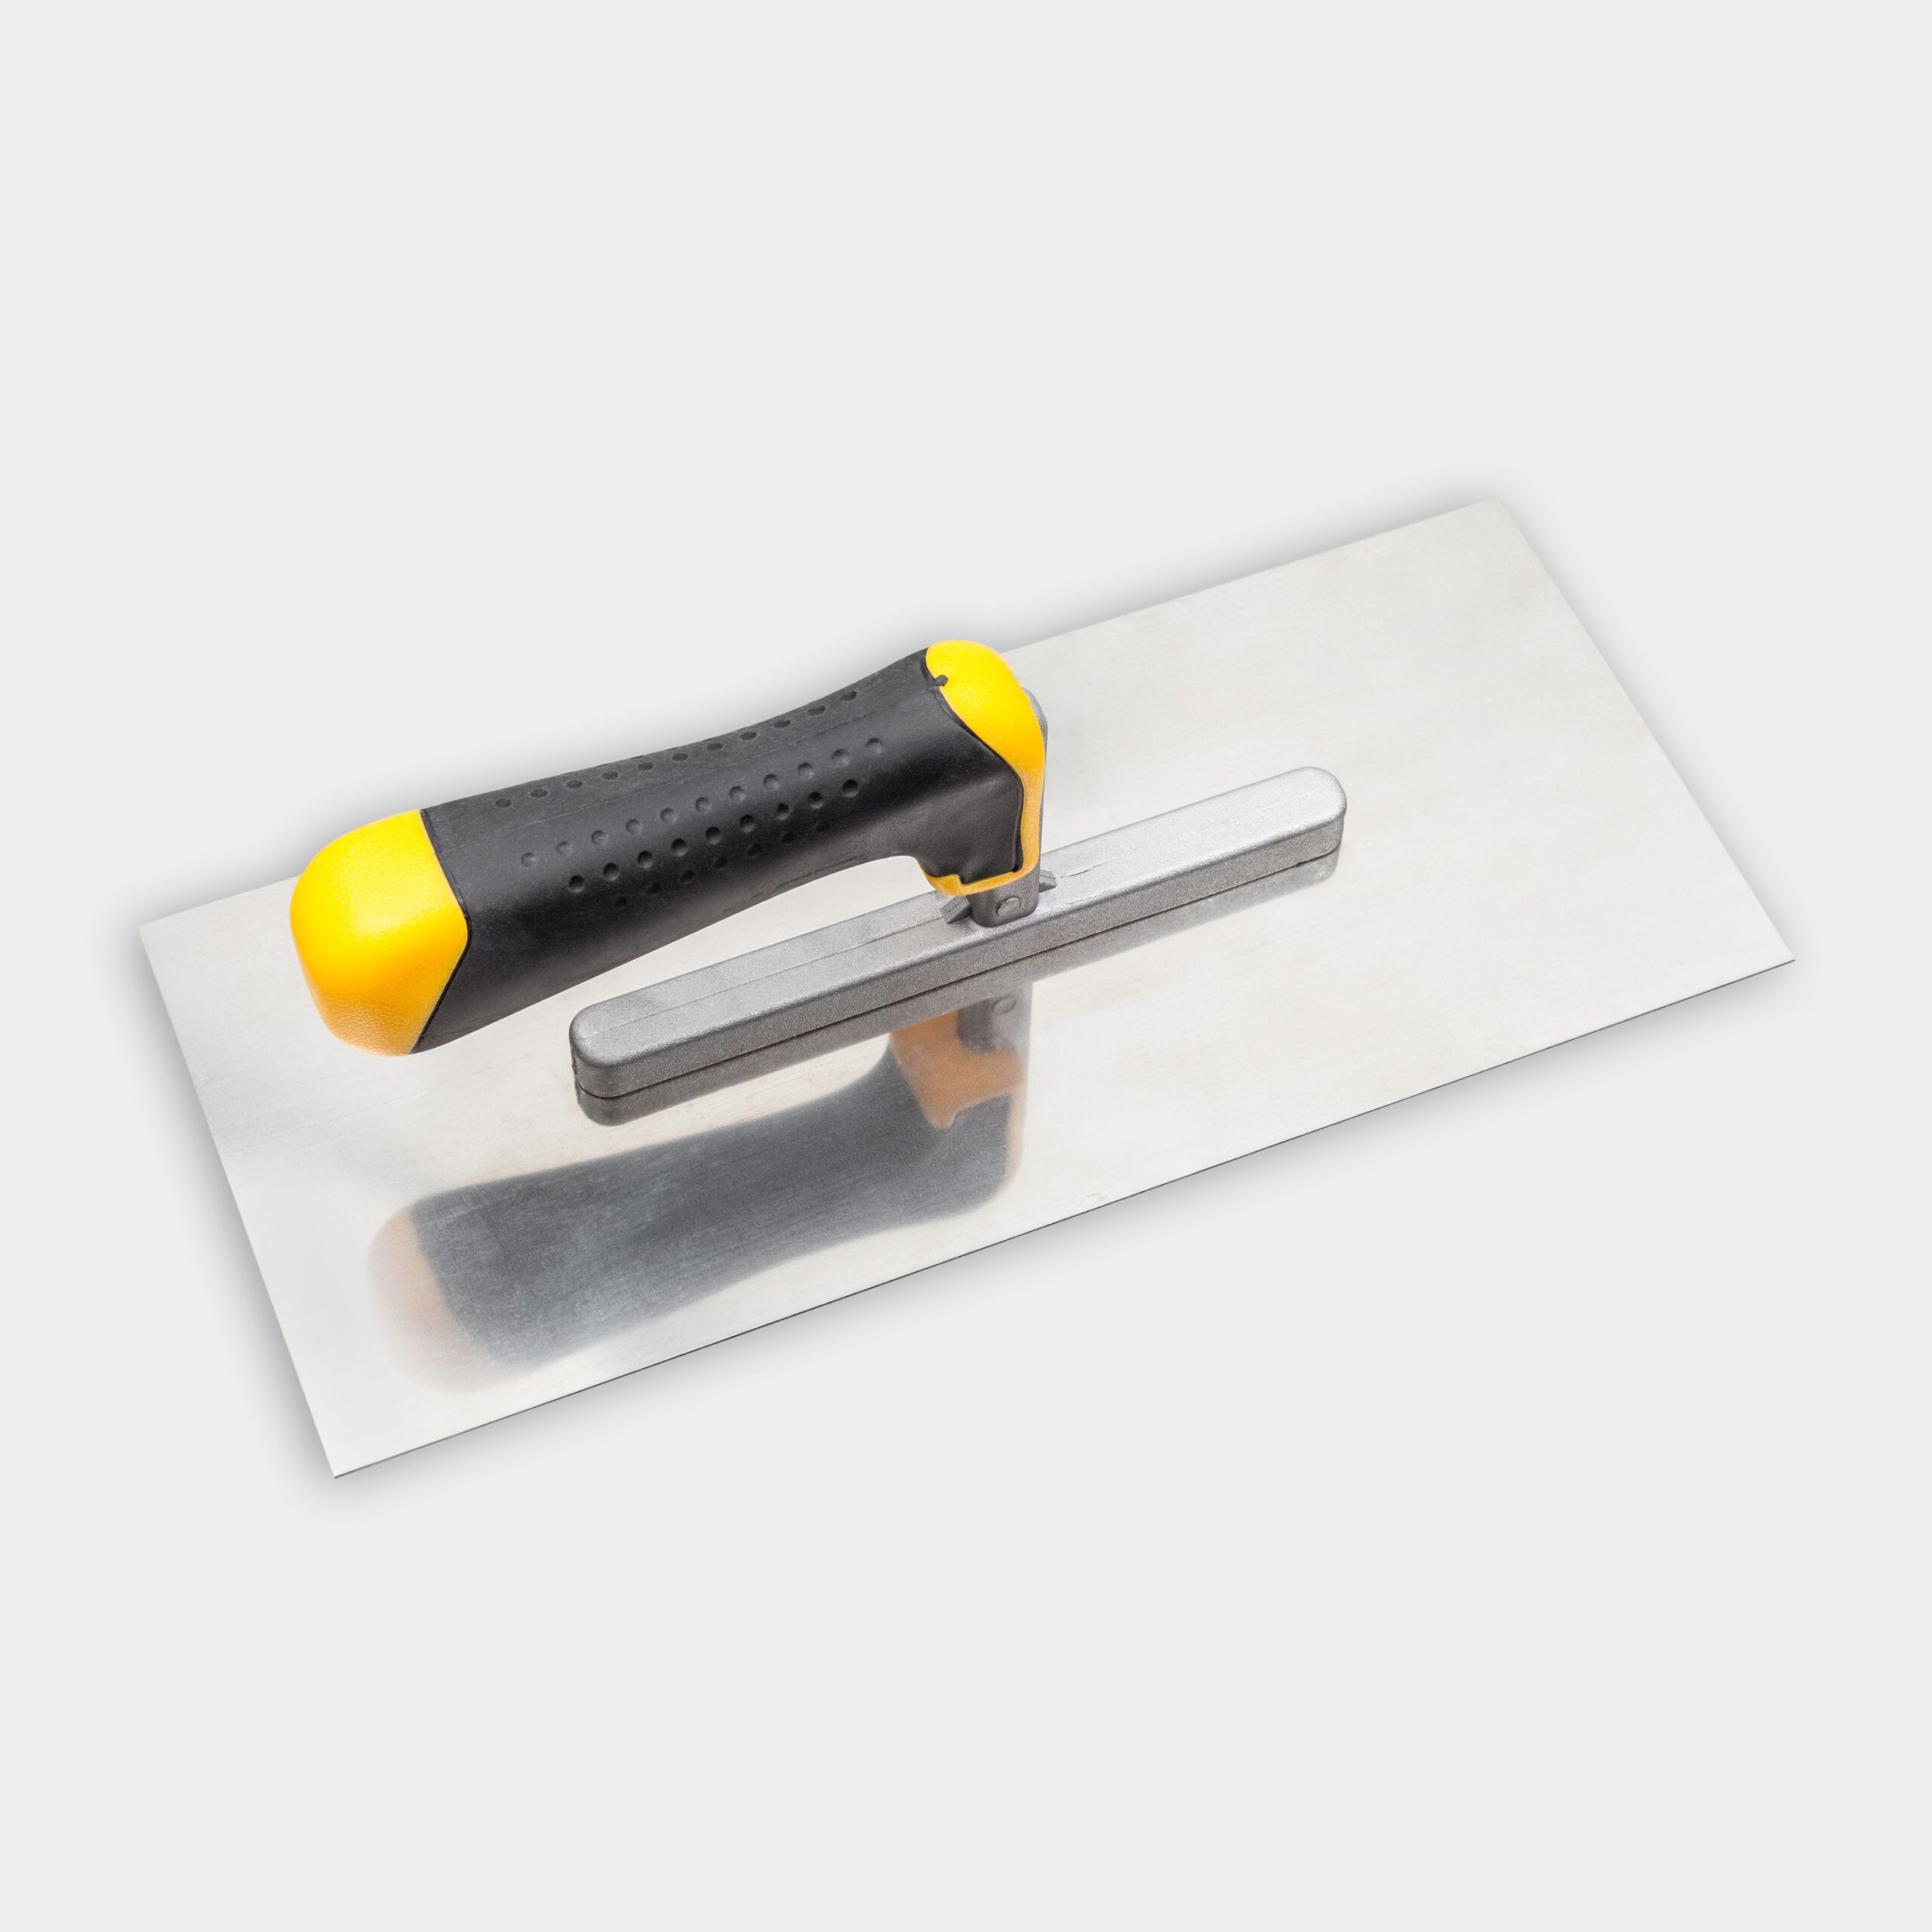
- Place the plaster mix on a hawk and trowel it over the damaged areas.
- To keep the plaster from cracking and to hide the screws, set a fiberglass screen into the first coat of plaster.
- After the first coat sets, apply a second coat, filling any voids.
- Use a felt pad to finish the job and smooth out the ceiling.
Resources:
The ceiling washers, drywall board, plaster, joint compound, fiberglass window screen, trowel, 13×13-inch magnesium hawk, and felt pad brush can be found at home centers and hardware stores.
Tools:
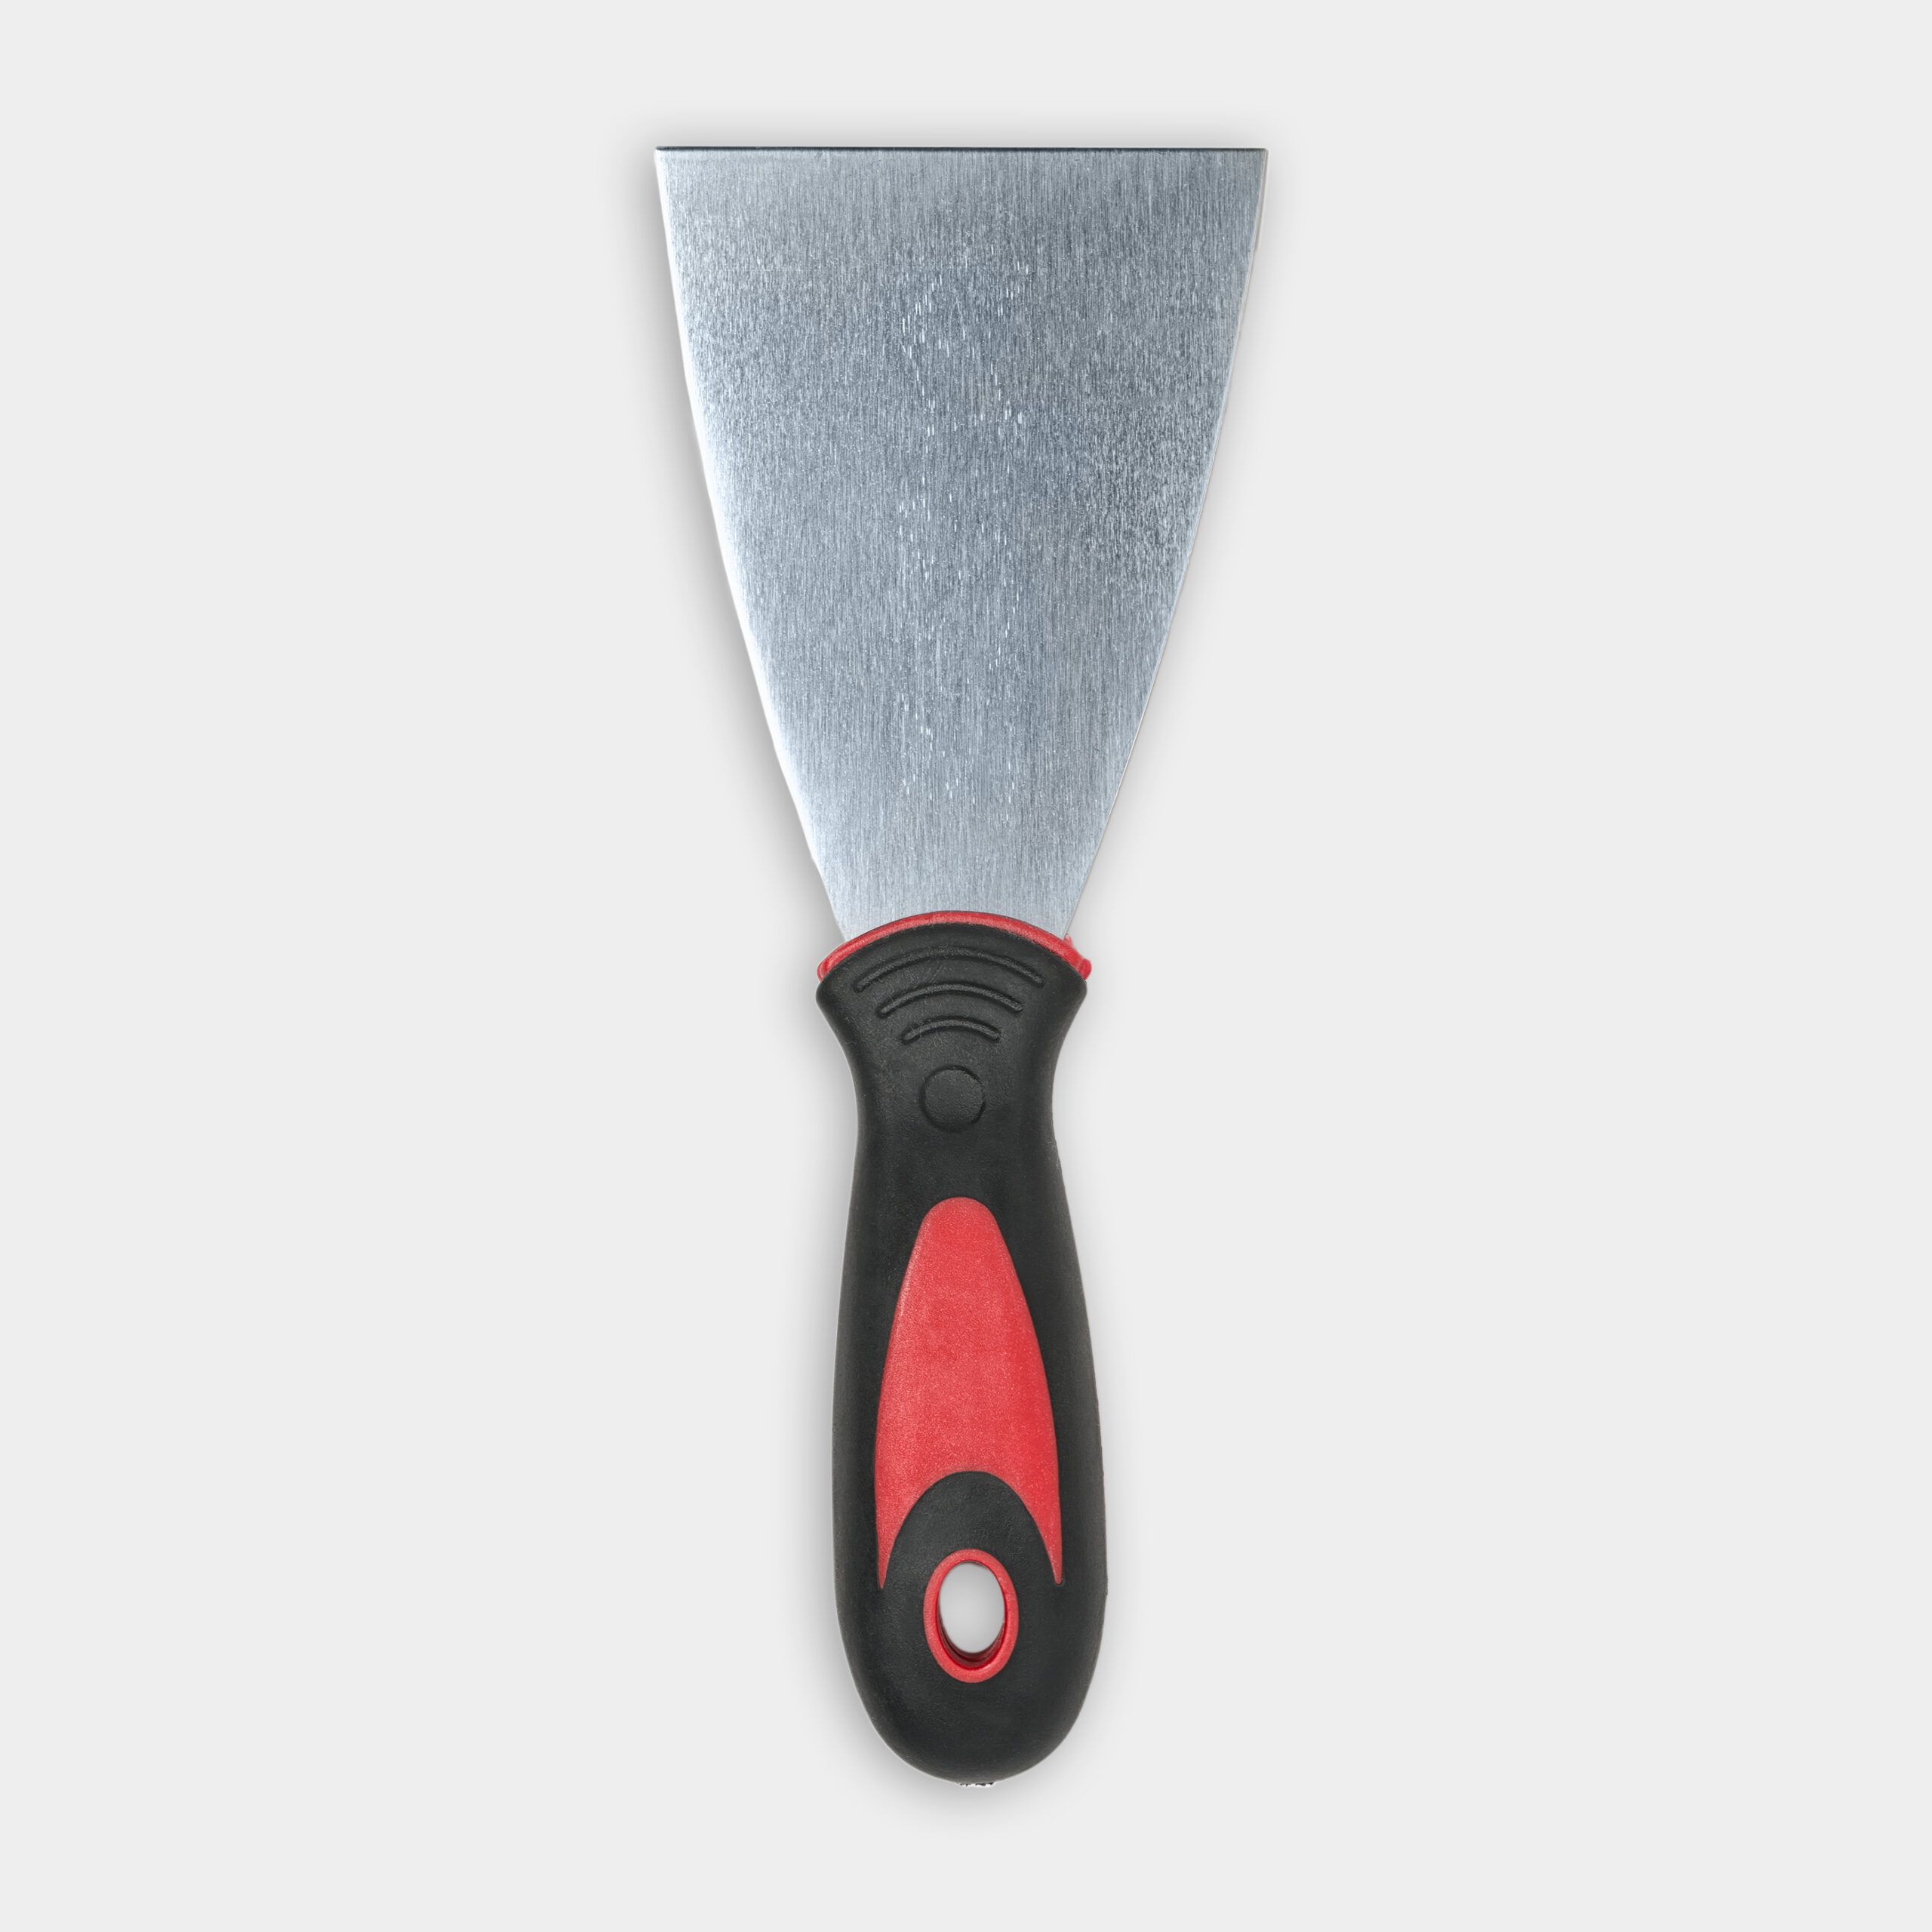
Tools & Materials