Project details
Skill
Cost
Estimated Time

Step 1
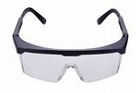
Score the Perimeter
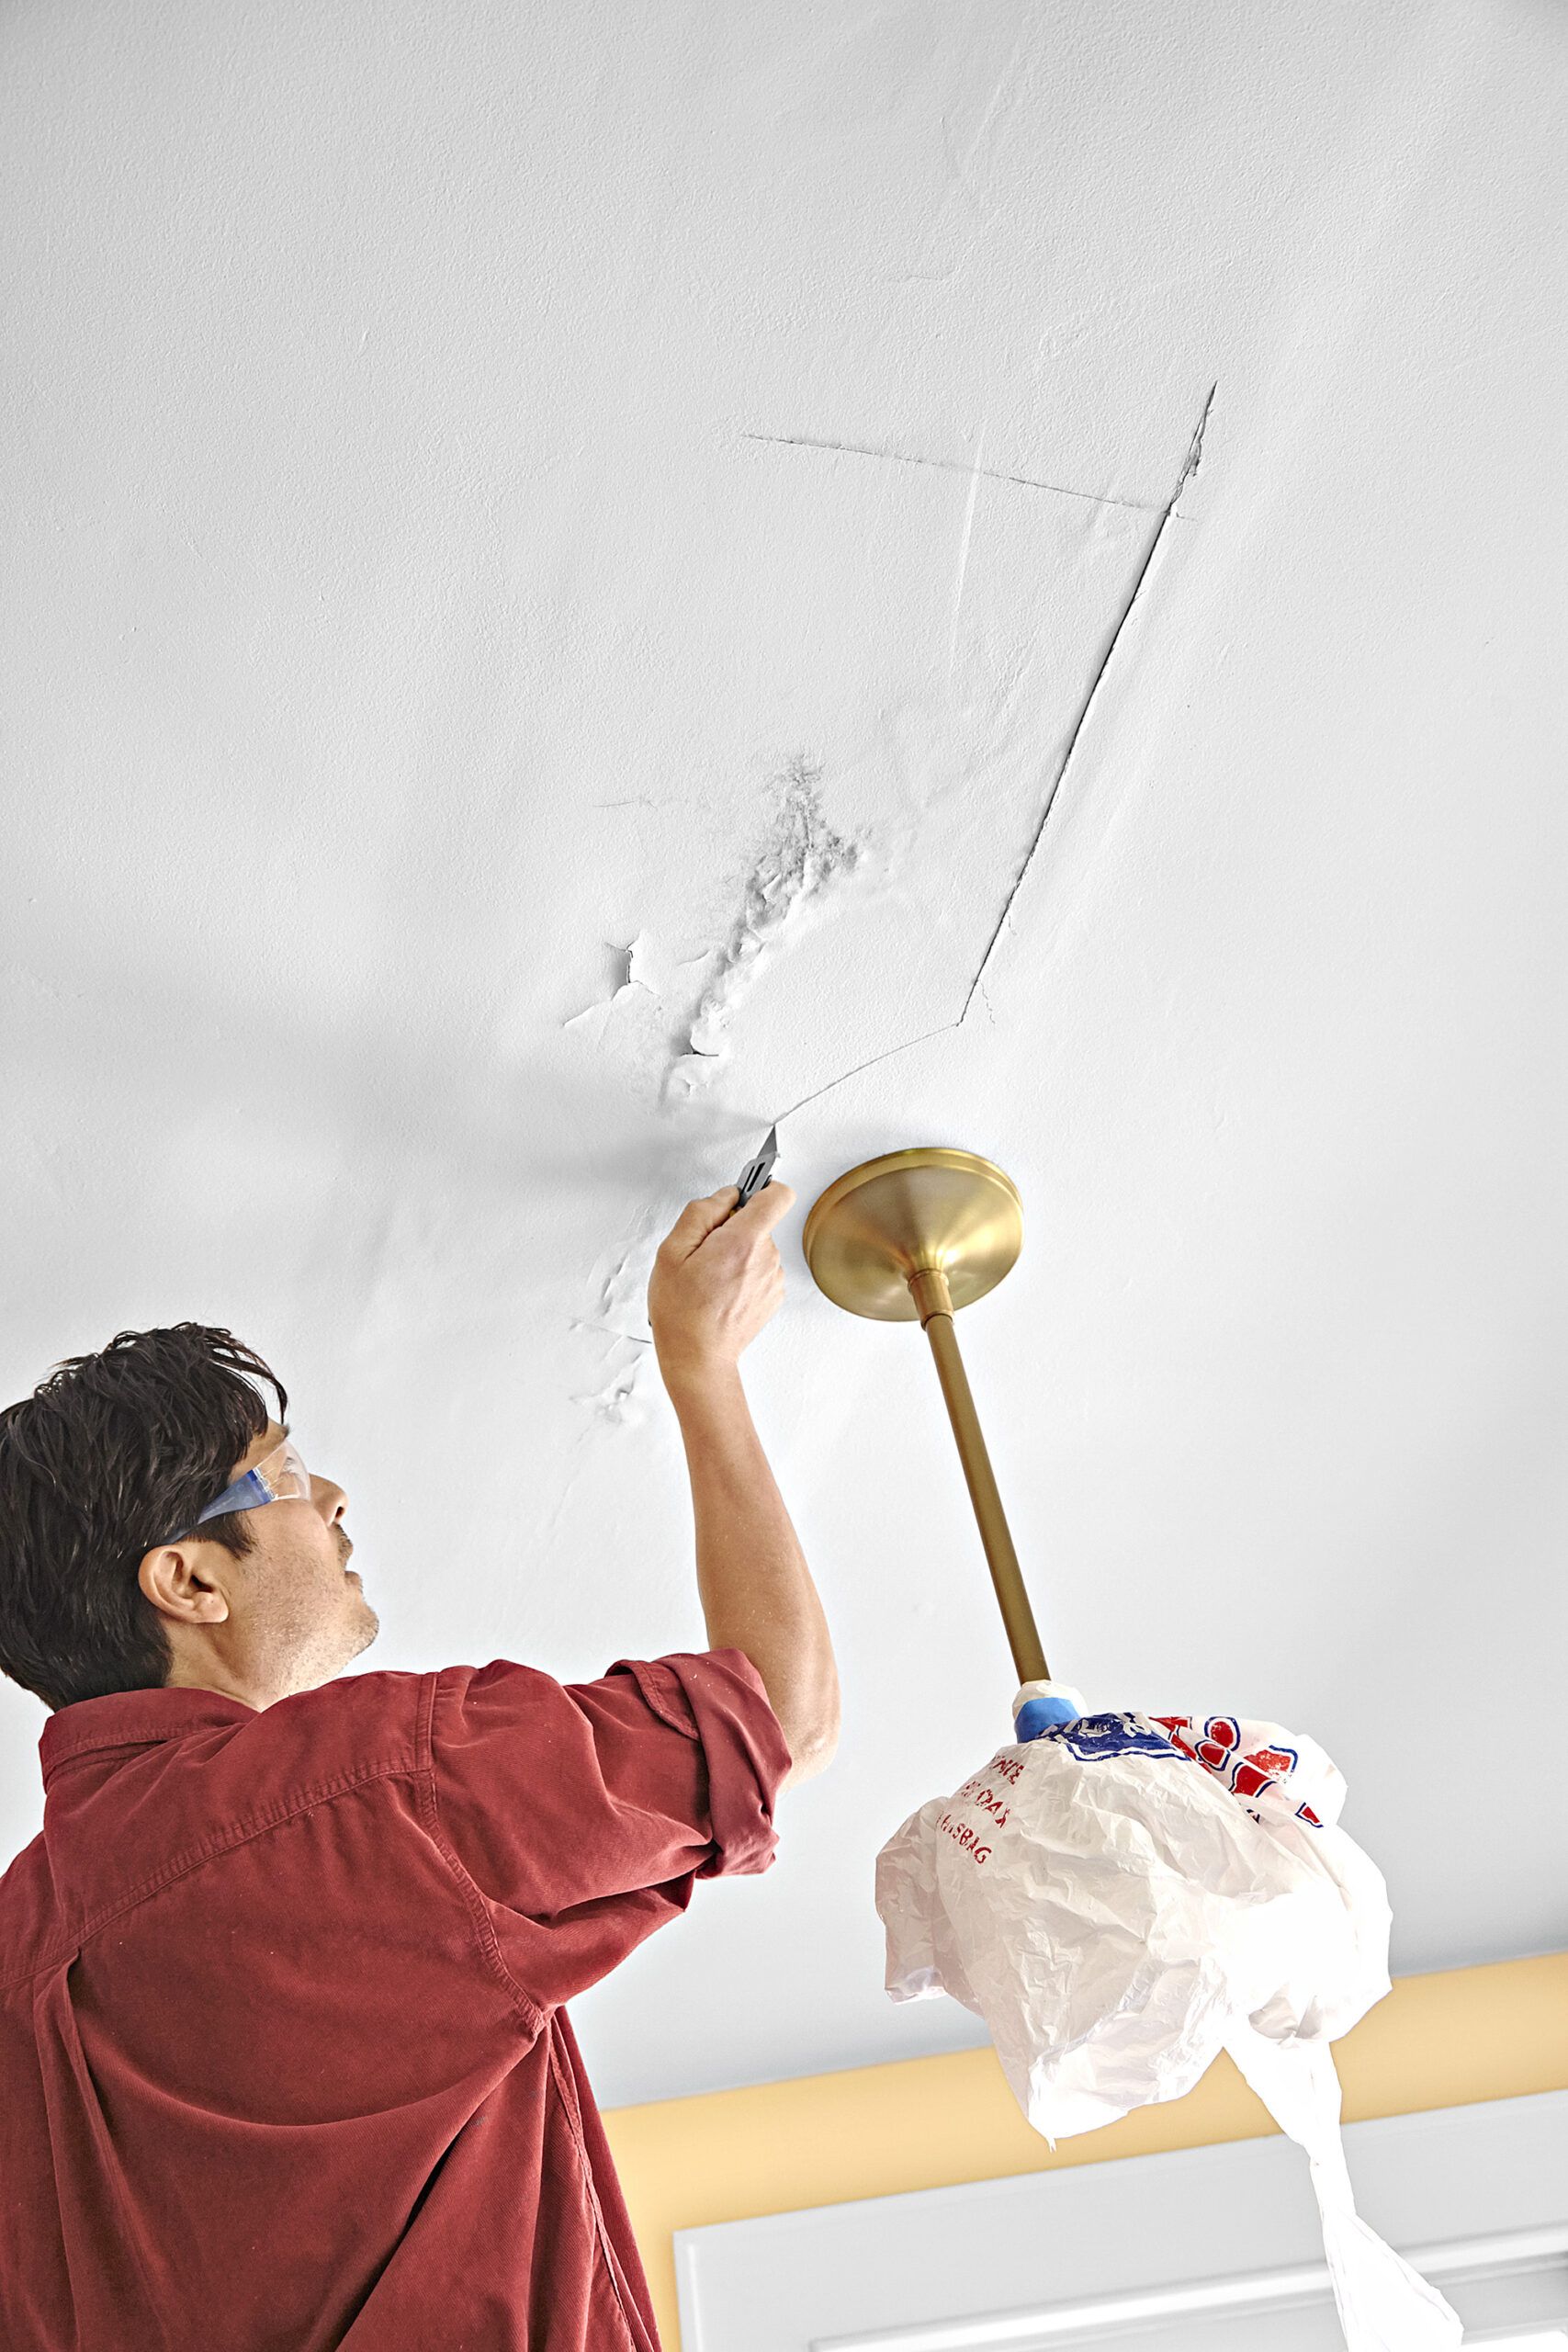
Place a drop cloth beneath the work area, put on safety glasses, then use a utility knife to make a shallow cut around the damaged area. This cut helps to keep you from inadvertently stripping the paper face off the undamaged drywall during the next step.
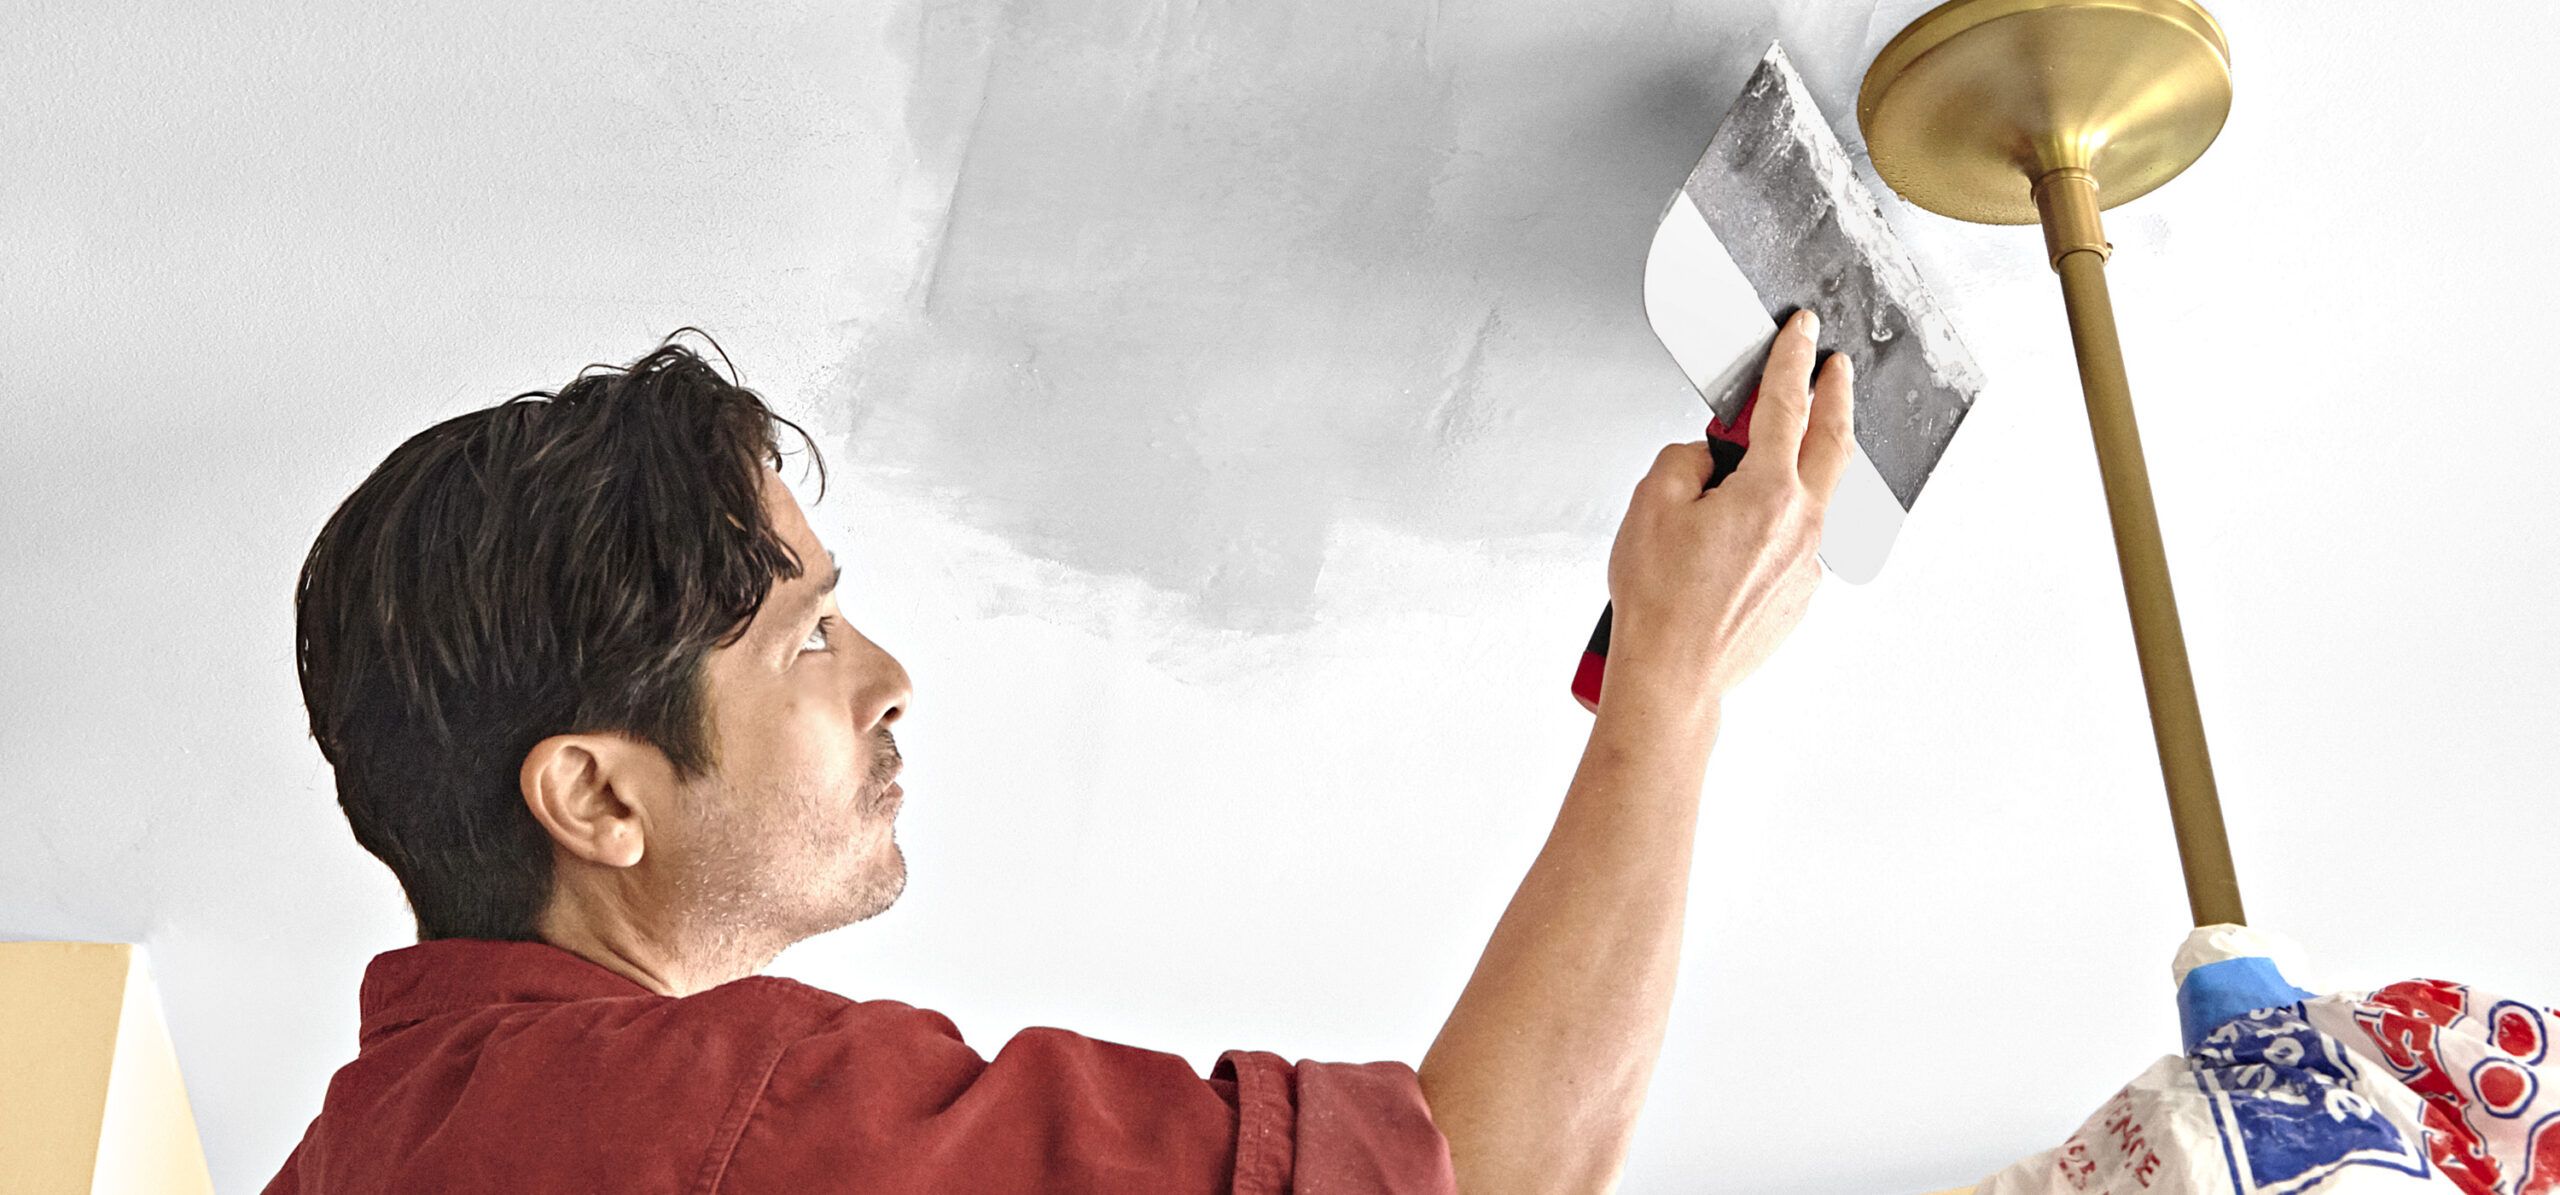
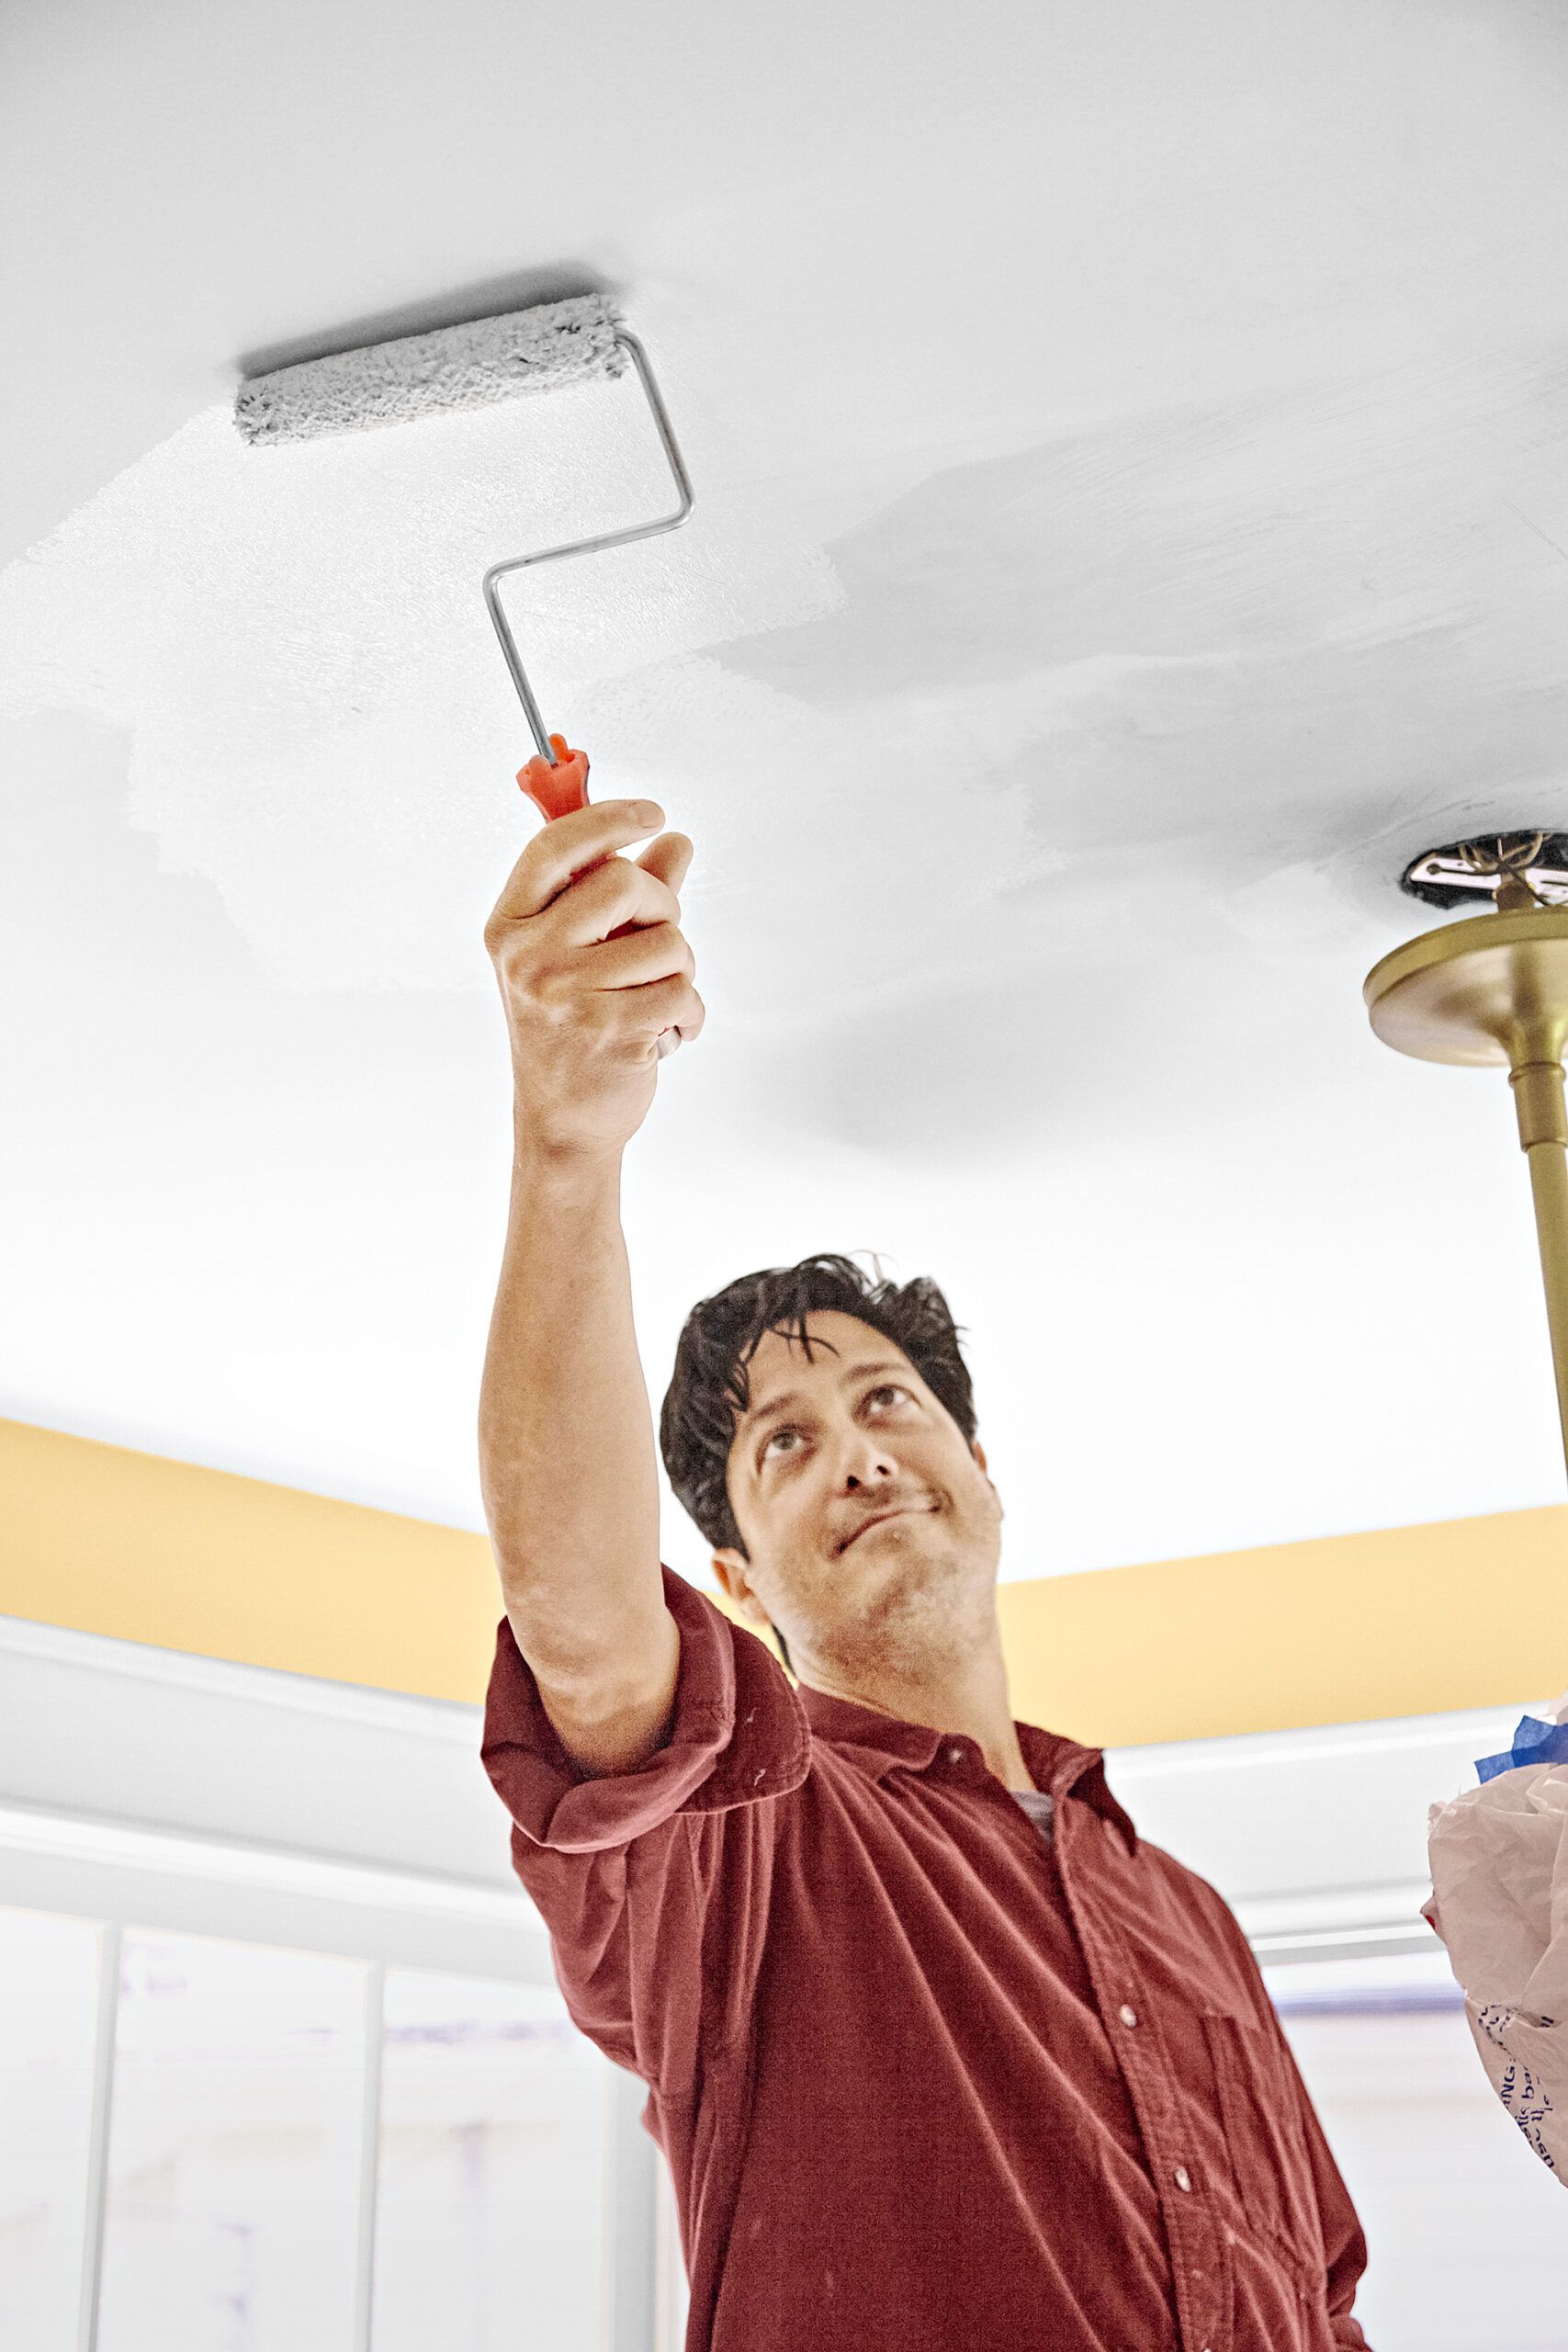
Shown: TOH senior technical editor Mark Powers uses a utility knife to cut around the water damage on a drywall ceiling
Step 2
Scrape
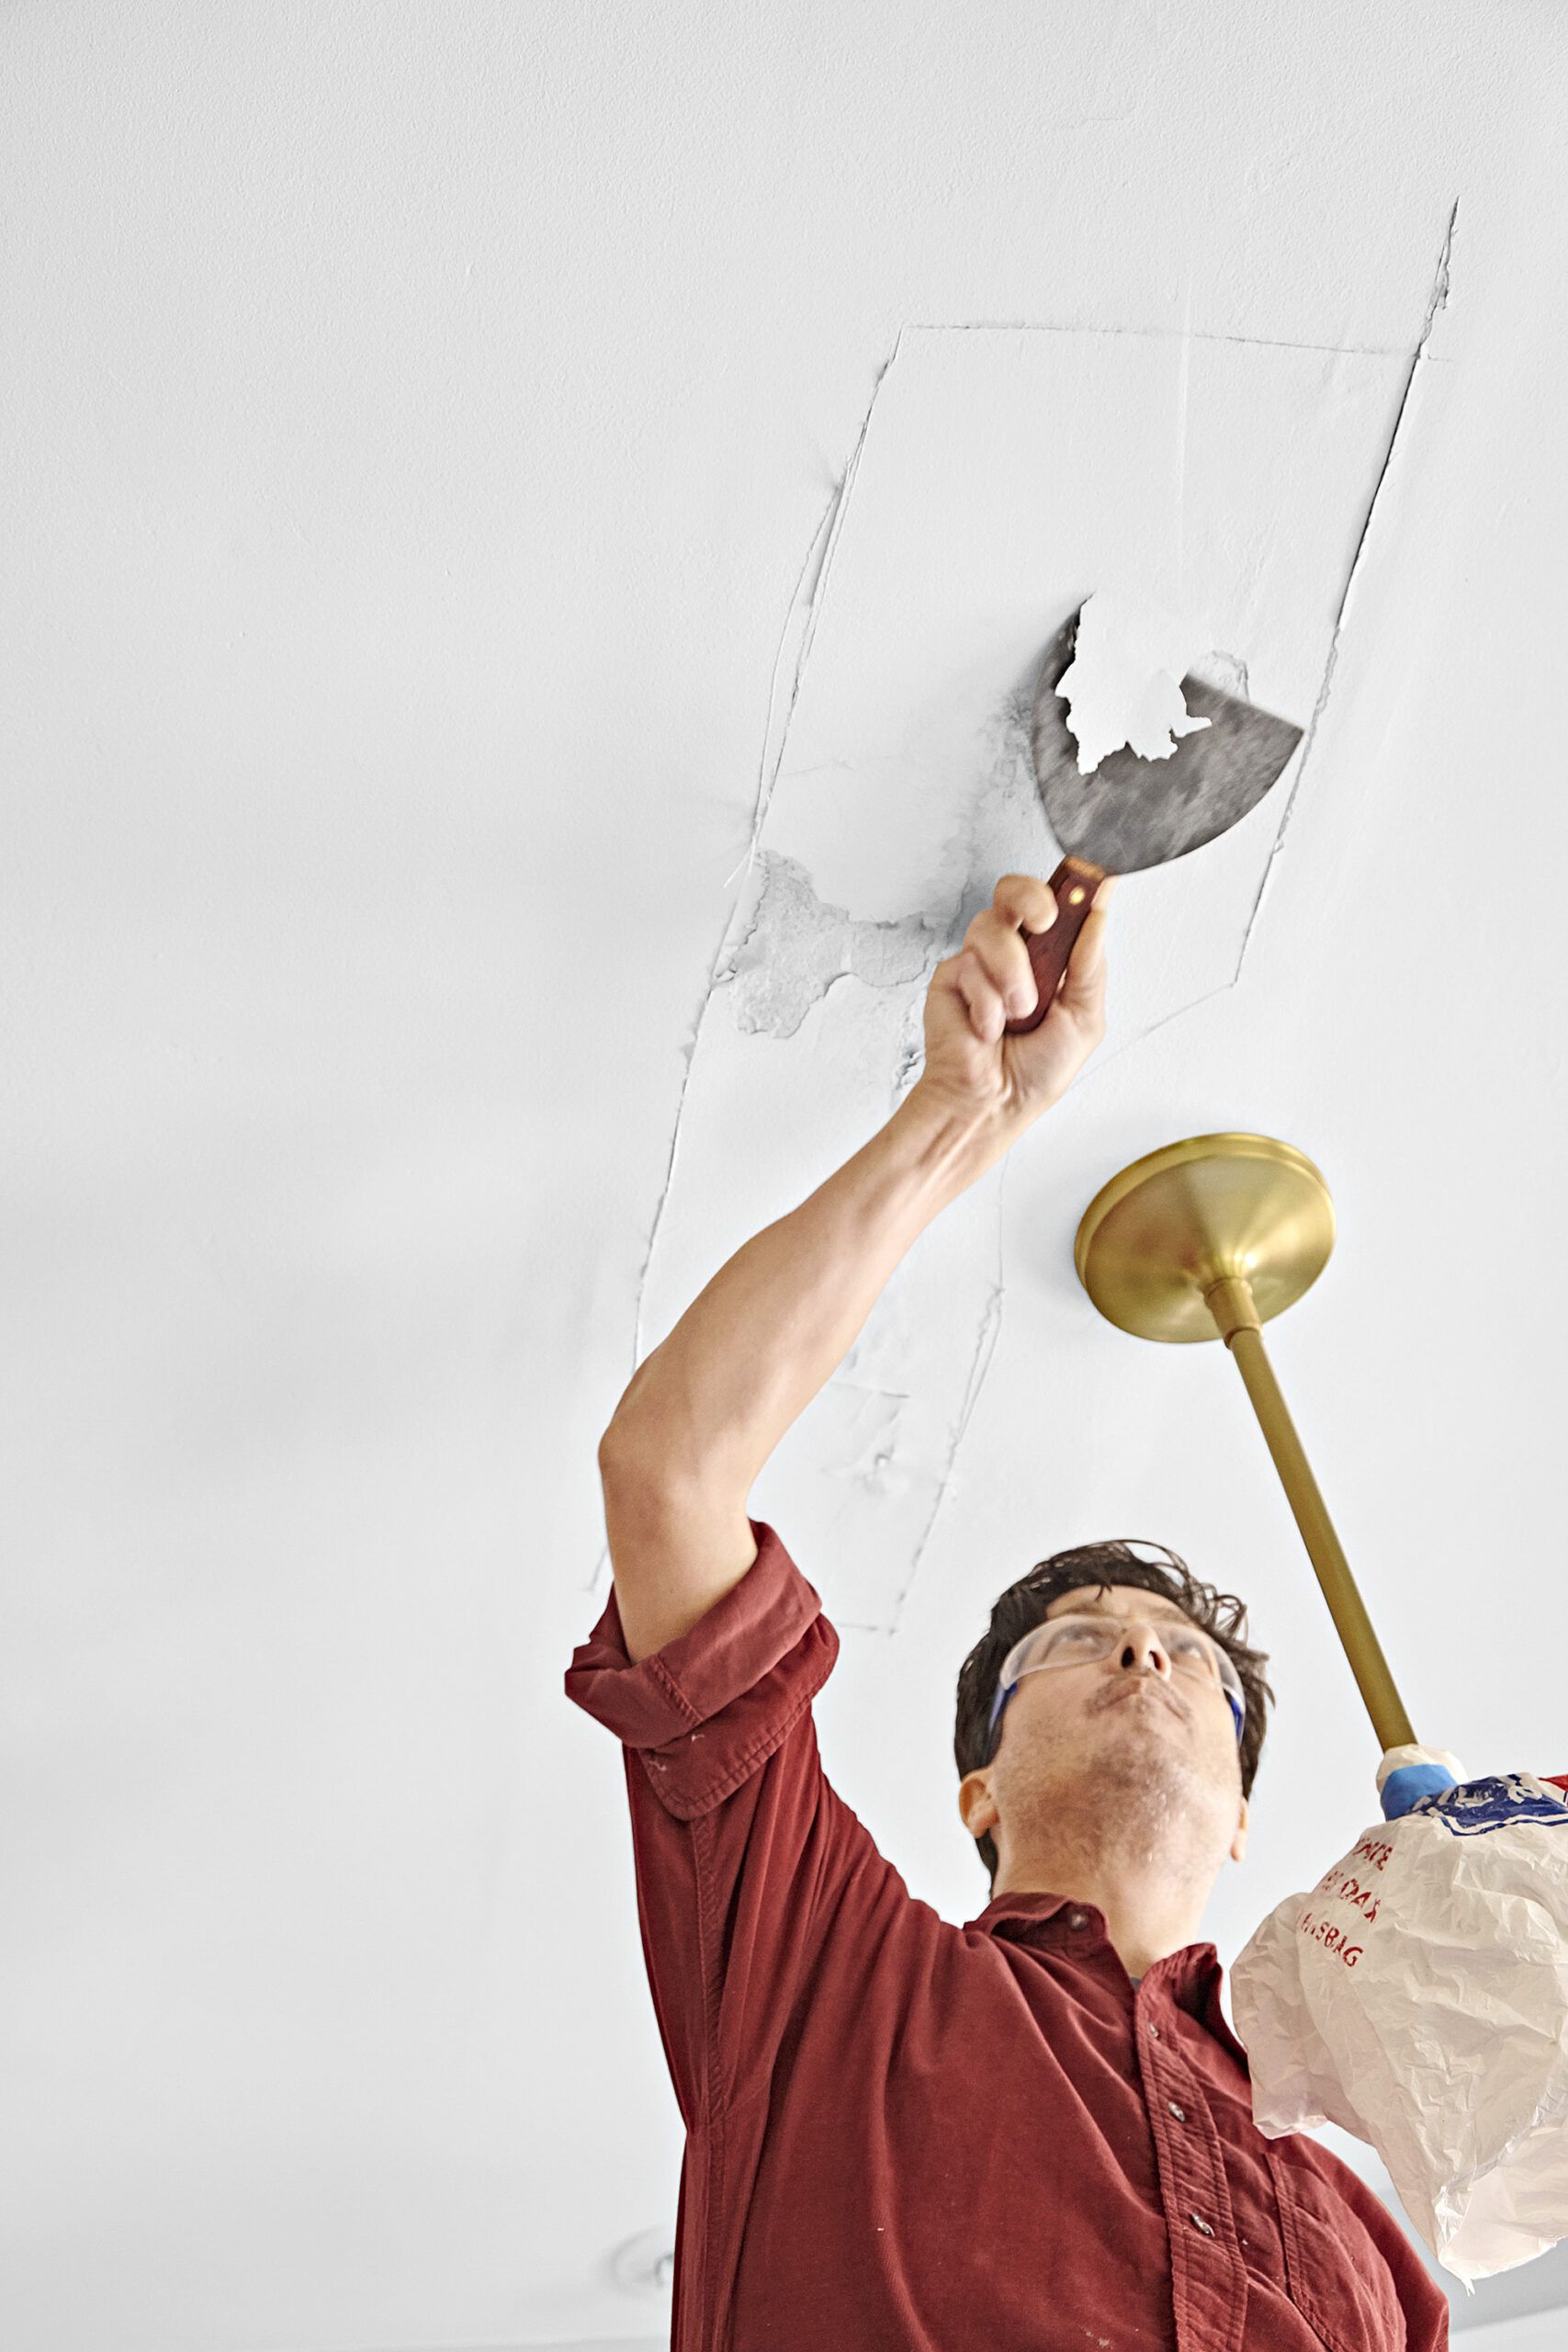
Use a 6-inch taping knife to peel off the loose layers of paint and paper, and the crumbly bits in the drywall’s gypsum plaster core. Take care to keep the knife blade from going beyond the score line you cut in Step 1. Dust the scraped area clean using a soft-bristle paintbrush.
Step 3
Tape the Cracks
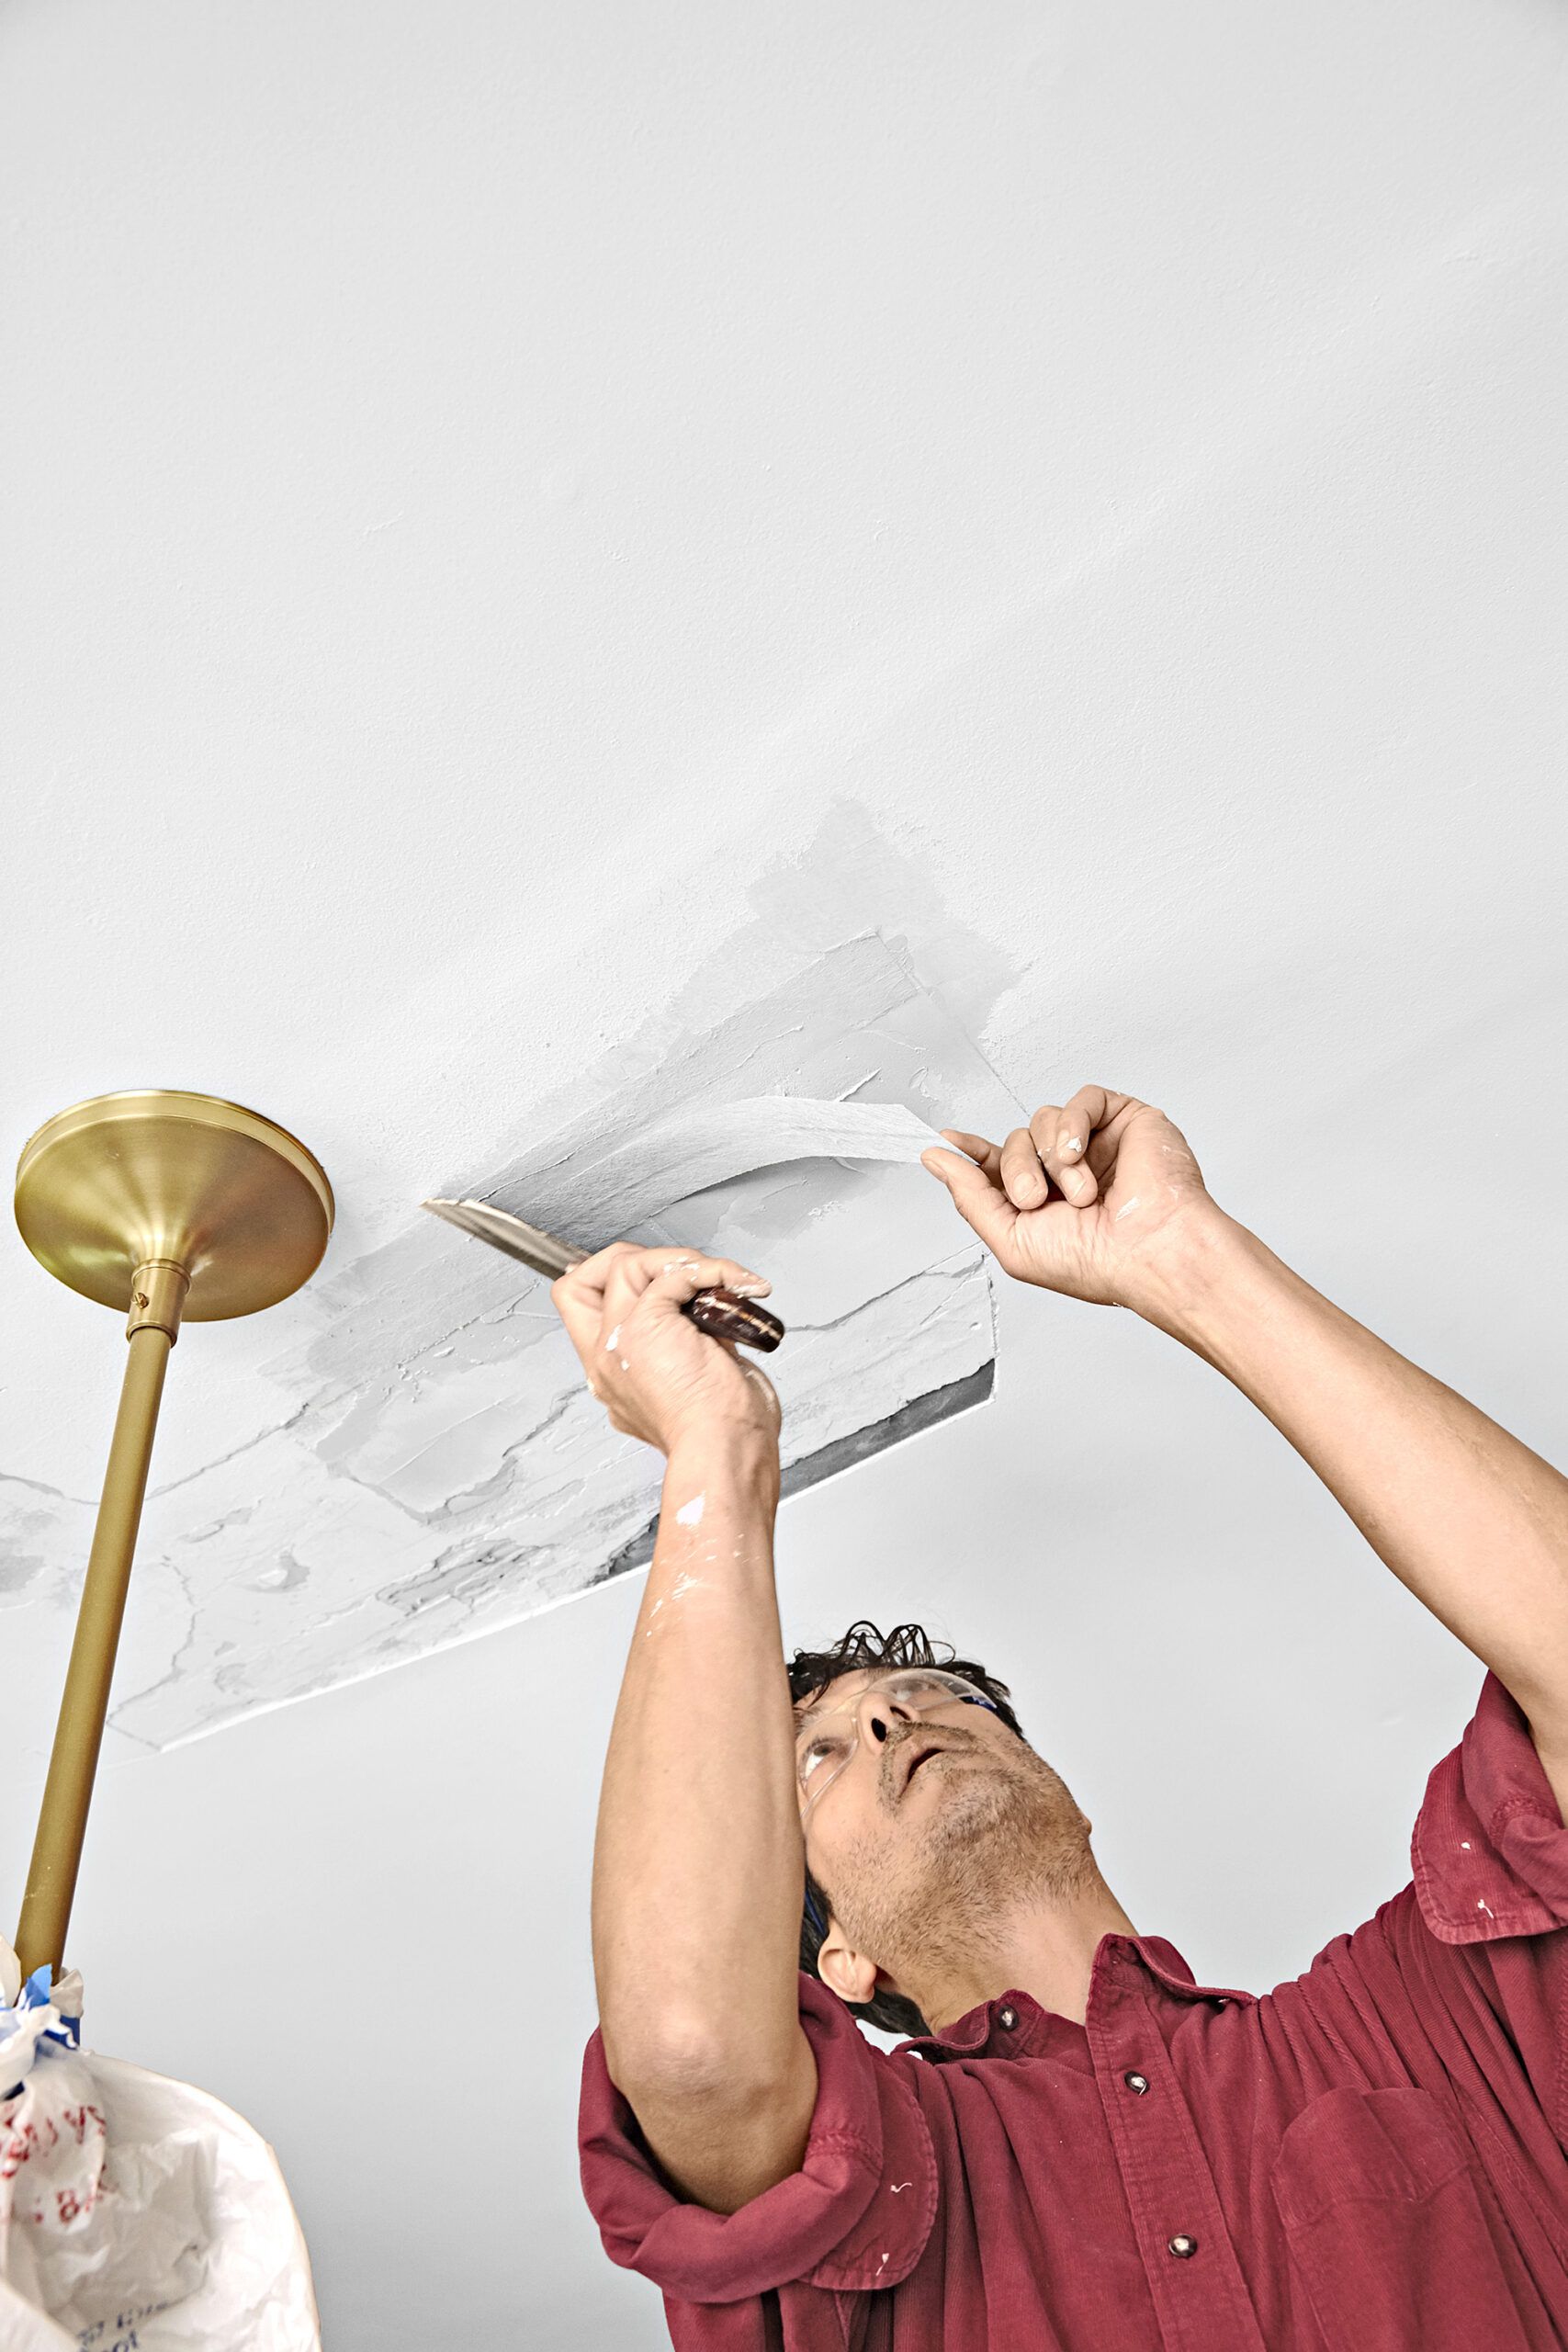
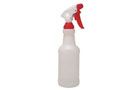
If the blistering occurred at a seam between drywall panels, or if there are cracks in the plaster core, cover them with joint tape to keep the repair from cracking. Mix up a small batch of 20-minute setting-type joint compound to a peanut-butter consistency, mist the ceiling with water from a spray bottle—that ensures the compound will set properly—and apply a thin layer of compound to the ceiling with the taping knife. Then use it to press the tape into the wet compound, as shown.
Step 4
Spread the Compound

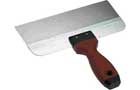
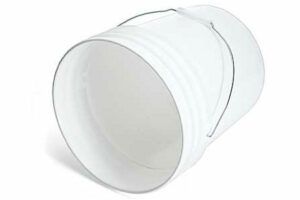
After the tape layer hardens, mix a bigger batch of joint compound and transfer it from the bucket to the ceiling with the 6-inch taping knife. Now switch to a 12-inch taping knife and use it to smooth the compound and feather its edges. Wait several minutes for the compound to firm up, then mist and smooth it some more. With patience, you can eliminate most imperfections with the knife before the compound becomes too hard to work.
Step 5
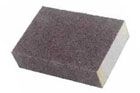
Sand
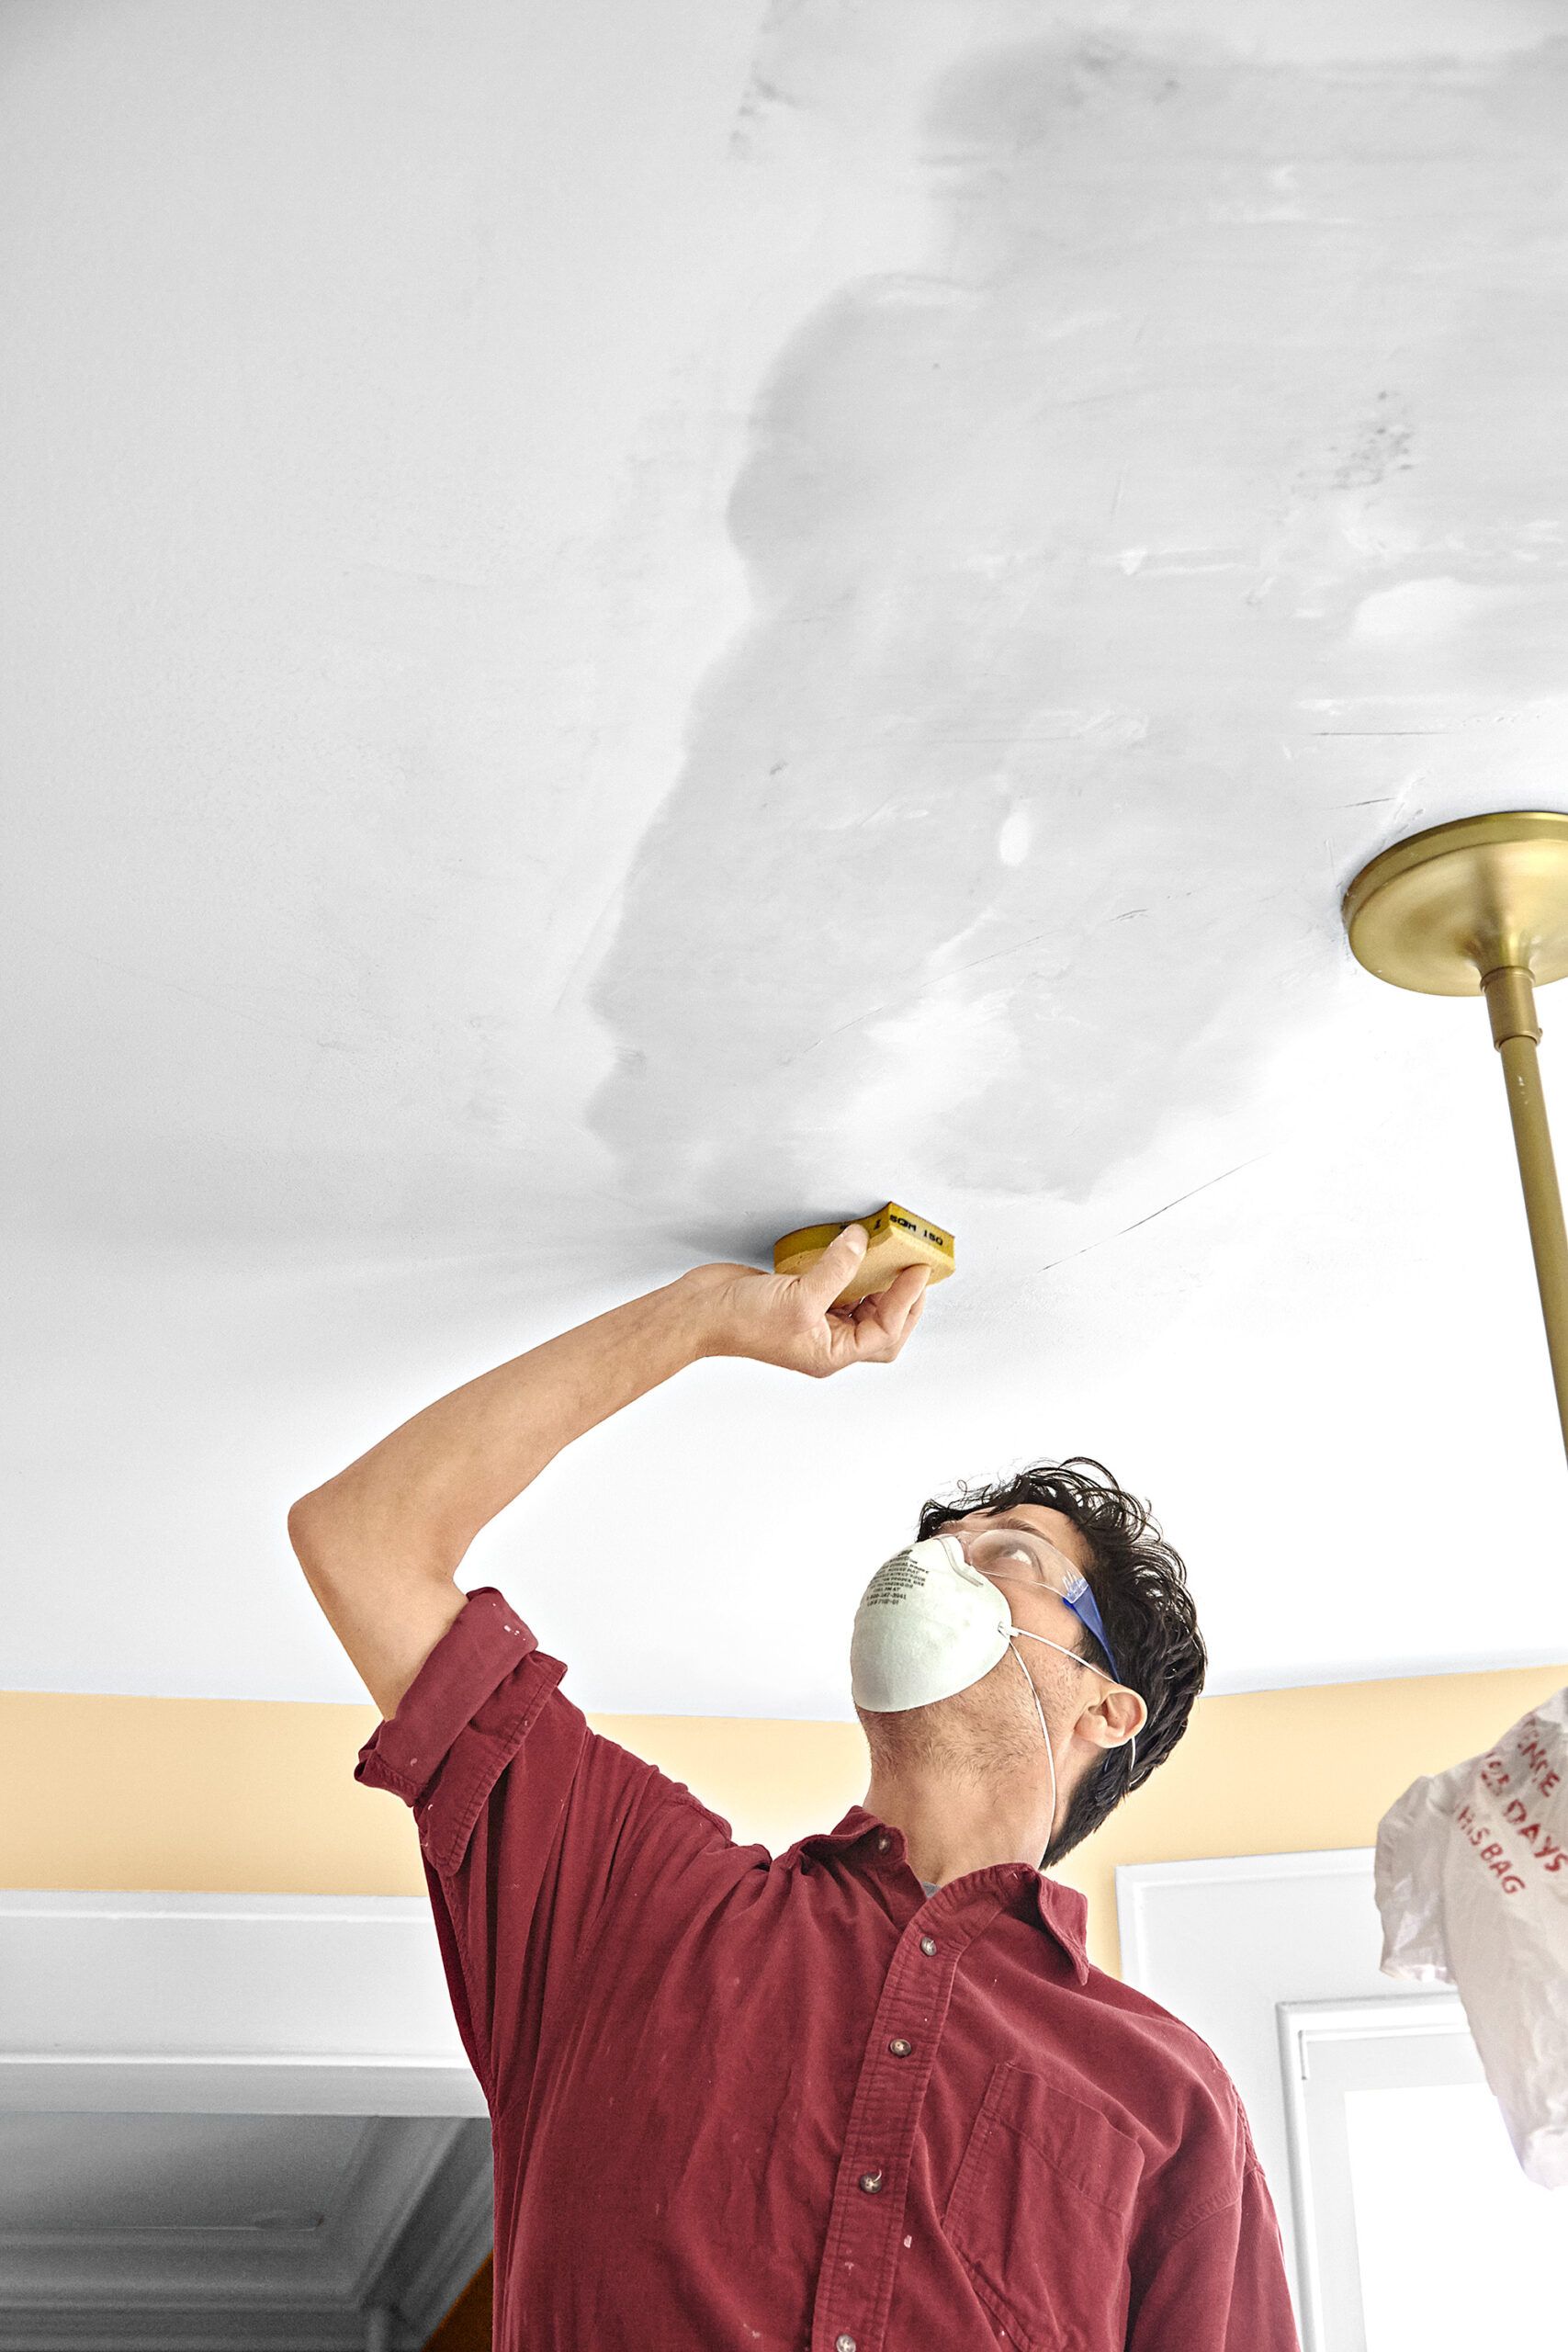
When the compound is hard, use a medium-grit sanding sponge to erase any blemishes. Pay particular attention to the edges.
Step 6
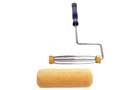
Prime and Paint
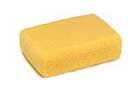
Wipe off the dust with a damp sponge. When the patch is dry, brush or roll on a water-based primer. And when the primer dries, follow up with a coat of ceiling paint. Then stand back and admire your handiwork.
Step 7
Tale of the Tape

Most tape that bridges drywall joints is made of paper (above, top). It’s strong and inexpensive, but absorbs moisture and doesn’t bond well with joint compound.
Fiberglass mesh tape (middle) isn’t affected by moisture and becomes fully embedded in the compound. But its relative thickness means that feathering edges and covering inside corners takes time and skill.
The latest leap forward, FibaFuse, combines paper’s thinness and ease of use with mesh’s moisture resistance and ability to become one with the compound. It’s the tape we used for this project.