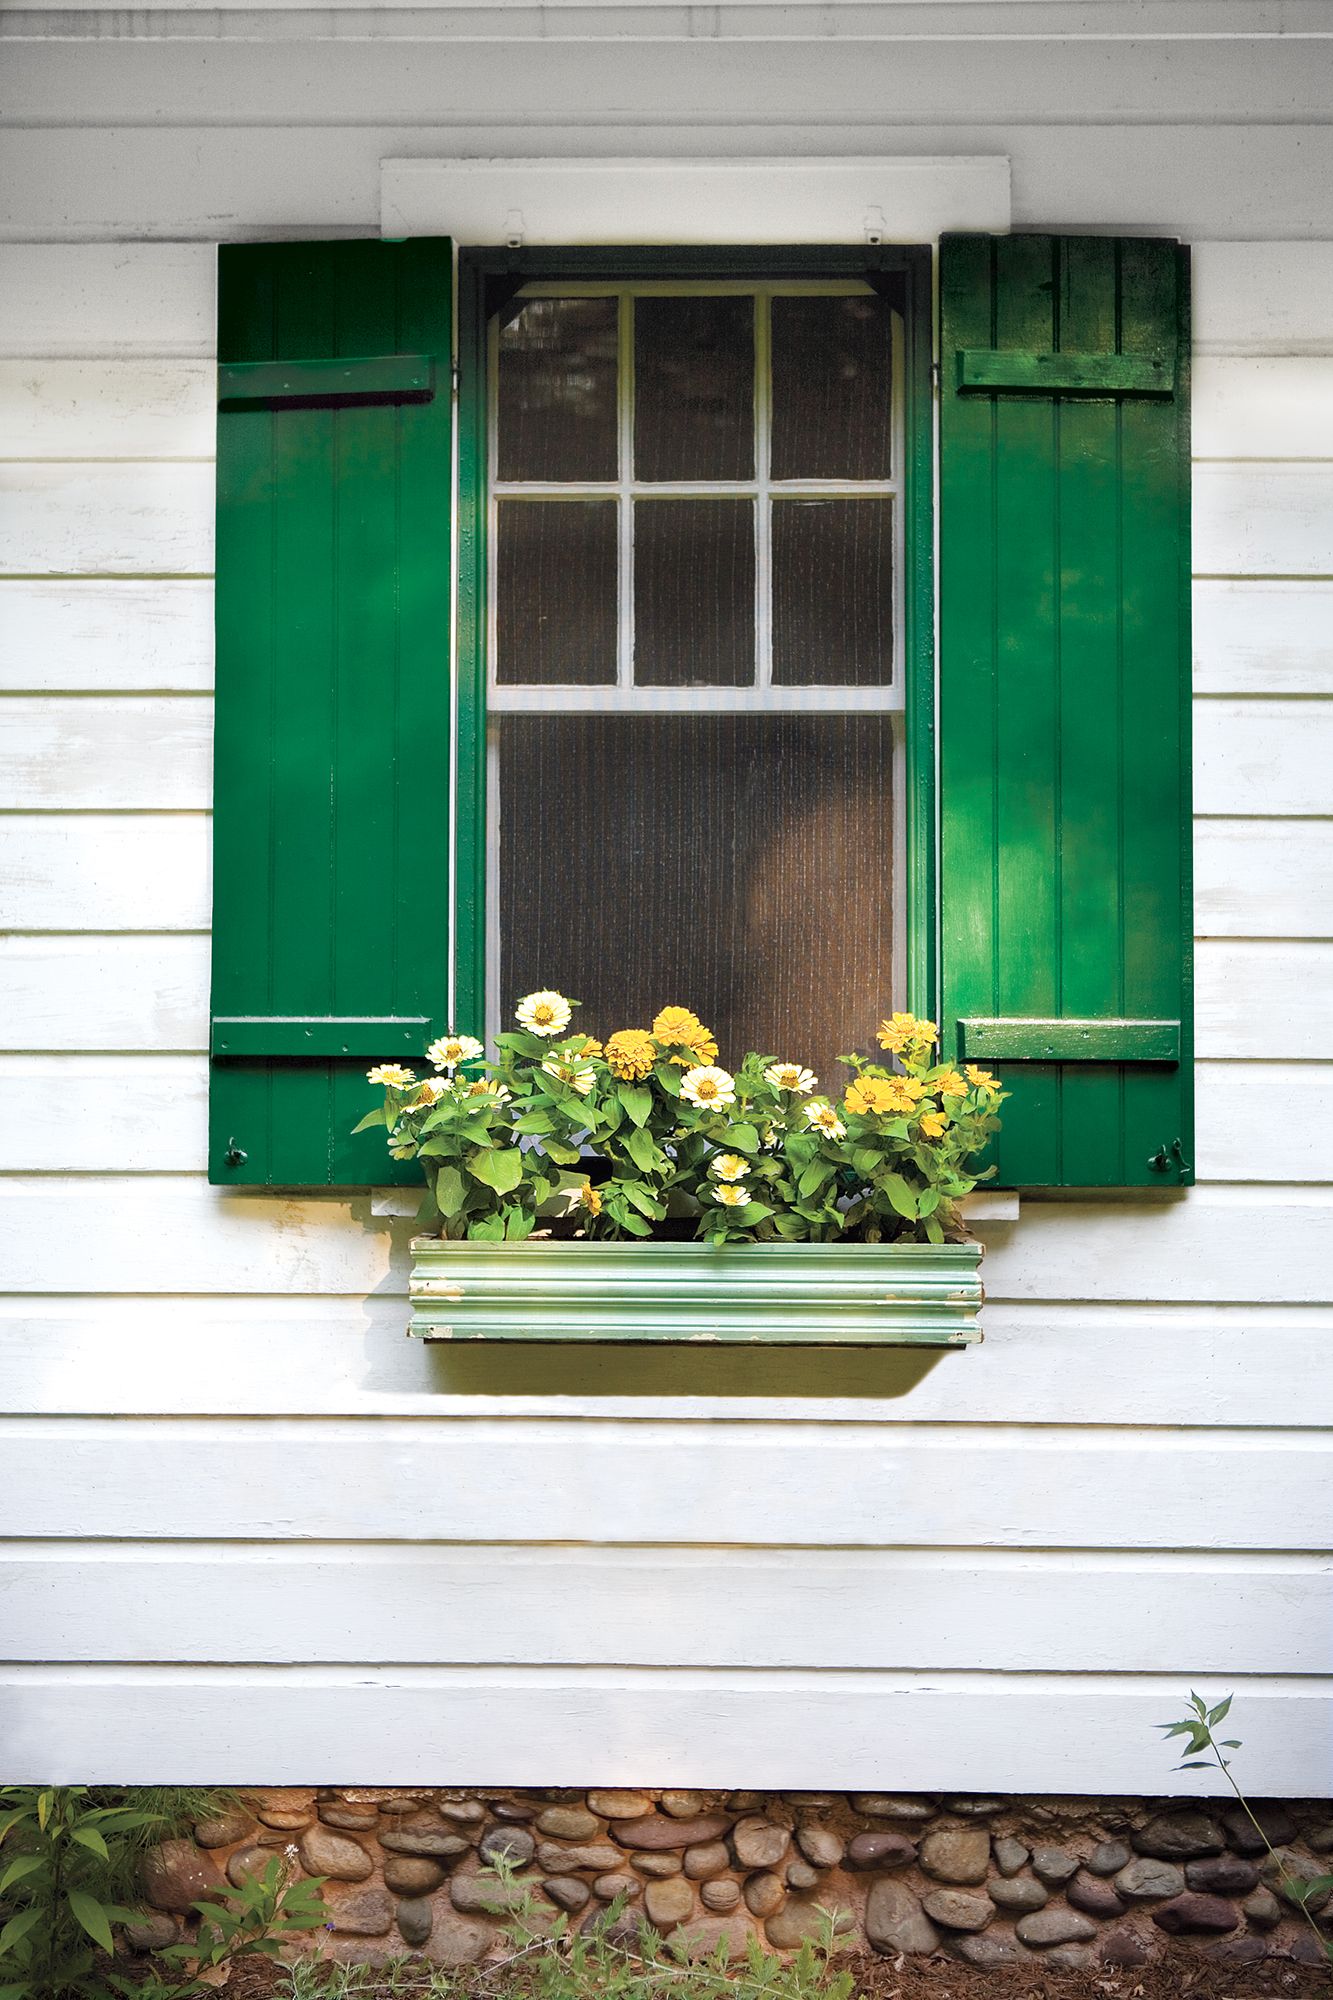
Project details
Skill
Cost
Estimated Time


All you need to build a cottage-style window box is a few feet of 6- or 8-inch-wide trim (choose straight baseboard or casing, rather than angled crown), one 2-by-2-foot sheet of ½-inch exterior plywood, water-resistant wood glue, and a shallow plastic planter to cradle the soil and flowers. Because most old trim is covered in toxic lead paint, either remove the finish with a wet stripper or seal it under a clear top coat. This is an easy one-person project, but it’s more fun with a helper.
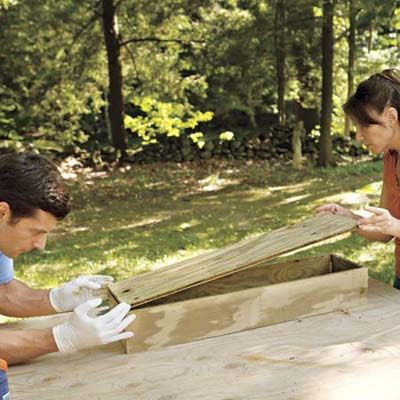
Step 1
Build a Plywood Frame

The sides’ height should match the molding width, and their length should be slightly longer than the plastic planter that’ll nest inside. Glue and nail the sides together.
Step 2
Attach the Bottom of the Frame
Wait about 15 minutes for the adhesive to cure. Then flip the frame right-side up, and insert the plastic planter.
Step 3
Add Drainage
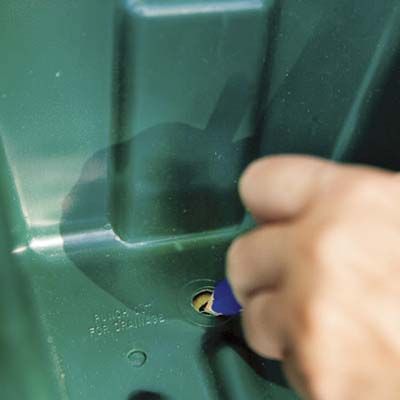
Mark the locations of the planter’s existing weep holes, and use a drill/driver fitted with a paddle bit to bore corresponding holes in the wood bottom.
Step 4
Determine Molding Lengths

Steady the trim against the plywood frame, and trace cut lines for the front and sides of the window box. No need for a back panel; it won’t be seen.
Step 5
Make the Cuts
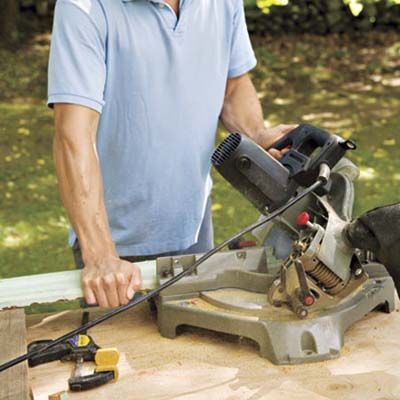
Use a miter saw for angled corners where the molding pieces intersect. Make straight cuts at the back, where the molding will rest against the house.
Step 6
Adhere the Molding
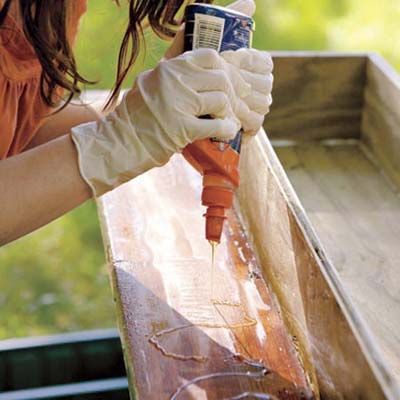
Apply glue to the backs of the trim pieces, and adhere them to the front and sides of the frame. Use clamps to hold the molding in place while the glue cures.
Step 7
Secure with Nails
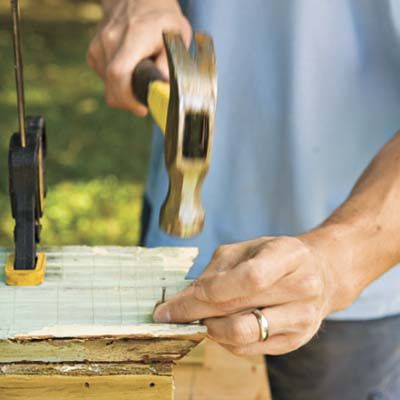
For extra strength, tap in fasteners along the top and bottom edges of the molding. Use a nailset to recess the heads. Remove clamps.
Step 8
Seal the Finish
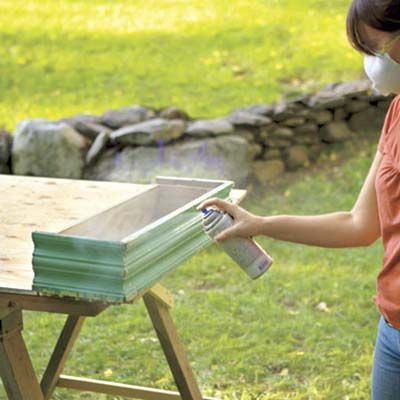
Let dry, and plant your box with flowers; they’ll boost your home’s curb appeal—and your mood.