Project details
Skill
Cost
Estimated Time


Q: We’re remodeling our kitchen and want to install a stone-tile floor. Anything we need to know before we begin?
—Meghan Fouracer, Ithaca, N.Y.
A: If you’re going directly over subfloor, tiles are likely to crack or pop loose unless you take two extra steps. First, stiffen the subfloor by gluing and screwing a second layer of ¾-inch sheathing to the existing layer. Second, install what’s called an uncoupling membrane to isolate the rigid stone or ceramic from the subfloor’s flexing joints and seasonal movements. Here, we used Ditra (schluter.com), a dimpled plastic sheet that resembles a thin orange waffle. Although many tilers still slap stone directly onto the subfloor, I won’t guarantee any of my jobs without the membrane.
Once the membrane is cemented in place, the tiling proceeds as usual. Be sure to use unmodified thinset, as the latex-modified kind won’t harden properly when sandwiched between the tile and the membrane.
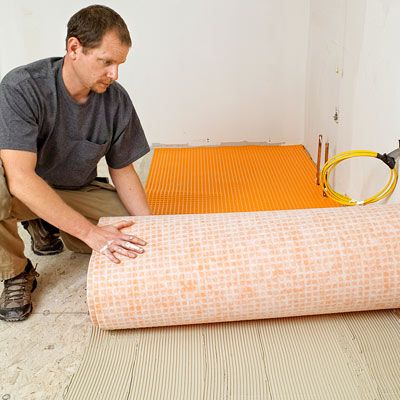
Step 1
Cut the Membrane
Starting in a corner, roll out the membrane, flocked-side down, beside the room’s long wall. At the end wall, crease the roll into the corner, as shown, and cut along that crease with a utility knife. Trim as needed to get around pipes, ducts, and doorways. Lay out and cut the remaining sections so that their edges butt together and they cover the entire floor.
Step 2
Spread the Thinset
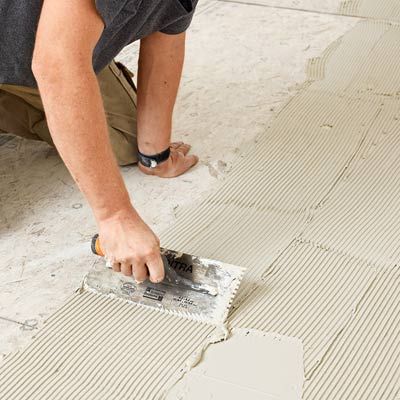
Number the sections, set them aside, then vacuum the floor. Mix a batch of thinset: Use polymer-modified thinset on plywood and unmodified thinset on cement-based substrates. Starting at a corner, spread the mix evenly over a 6-foot section as wide as the membrane, then comb it into long parallel furrows with a ¼-inch notched trowel, as shown.
Step 3
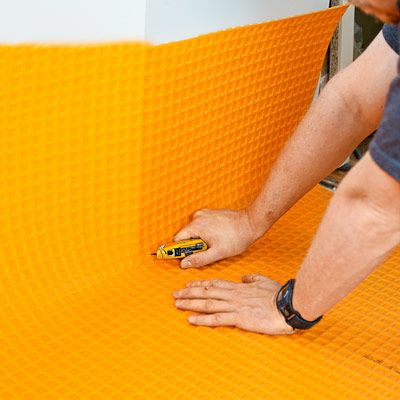
Roll Out the Membrane
Don’t let the thinset sit—any delay could prevent a good bond. Butt the first membrane section into the corner and immediately roll it out onto the fresh thinset. Spread and comb out another 6-foot section of thinset, and unroll the next portion of the membrane onto it. Repeat until the first roll reaches the end wall.
Step 4
Secure the Membrane
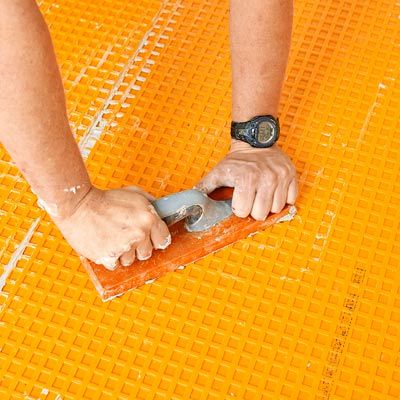
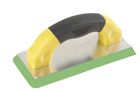
Immediately after the membrane is laid, use a grout float to press every square inch firmly into the thinset, as shown. Do the same after laying each remaining section. Once the entire floor is covered, dry-lay a line of tiles between each pair of walls to judge how best to minimize cuts and get a pleasing layout. Pick a starting point that will keep you from stepping on stones after they’re laid.
Step 5
Lay the Tiles
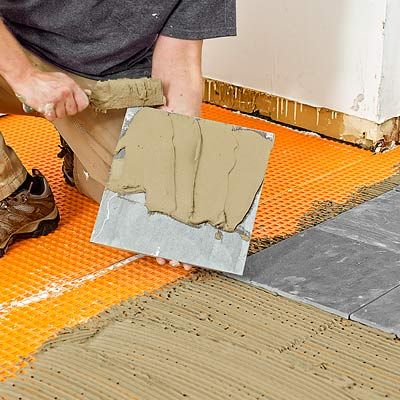
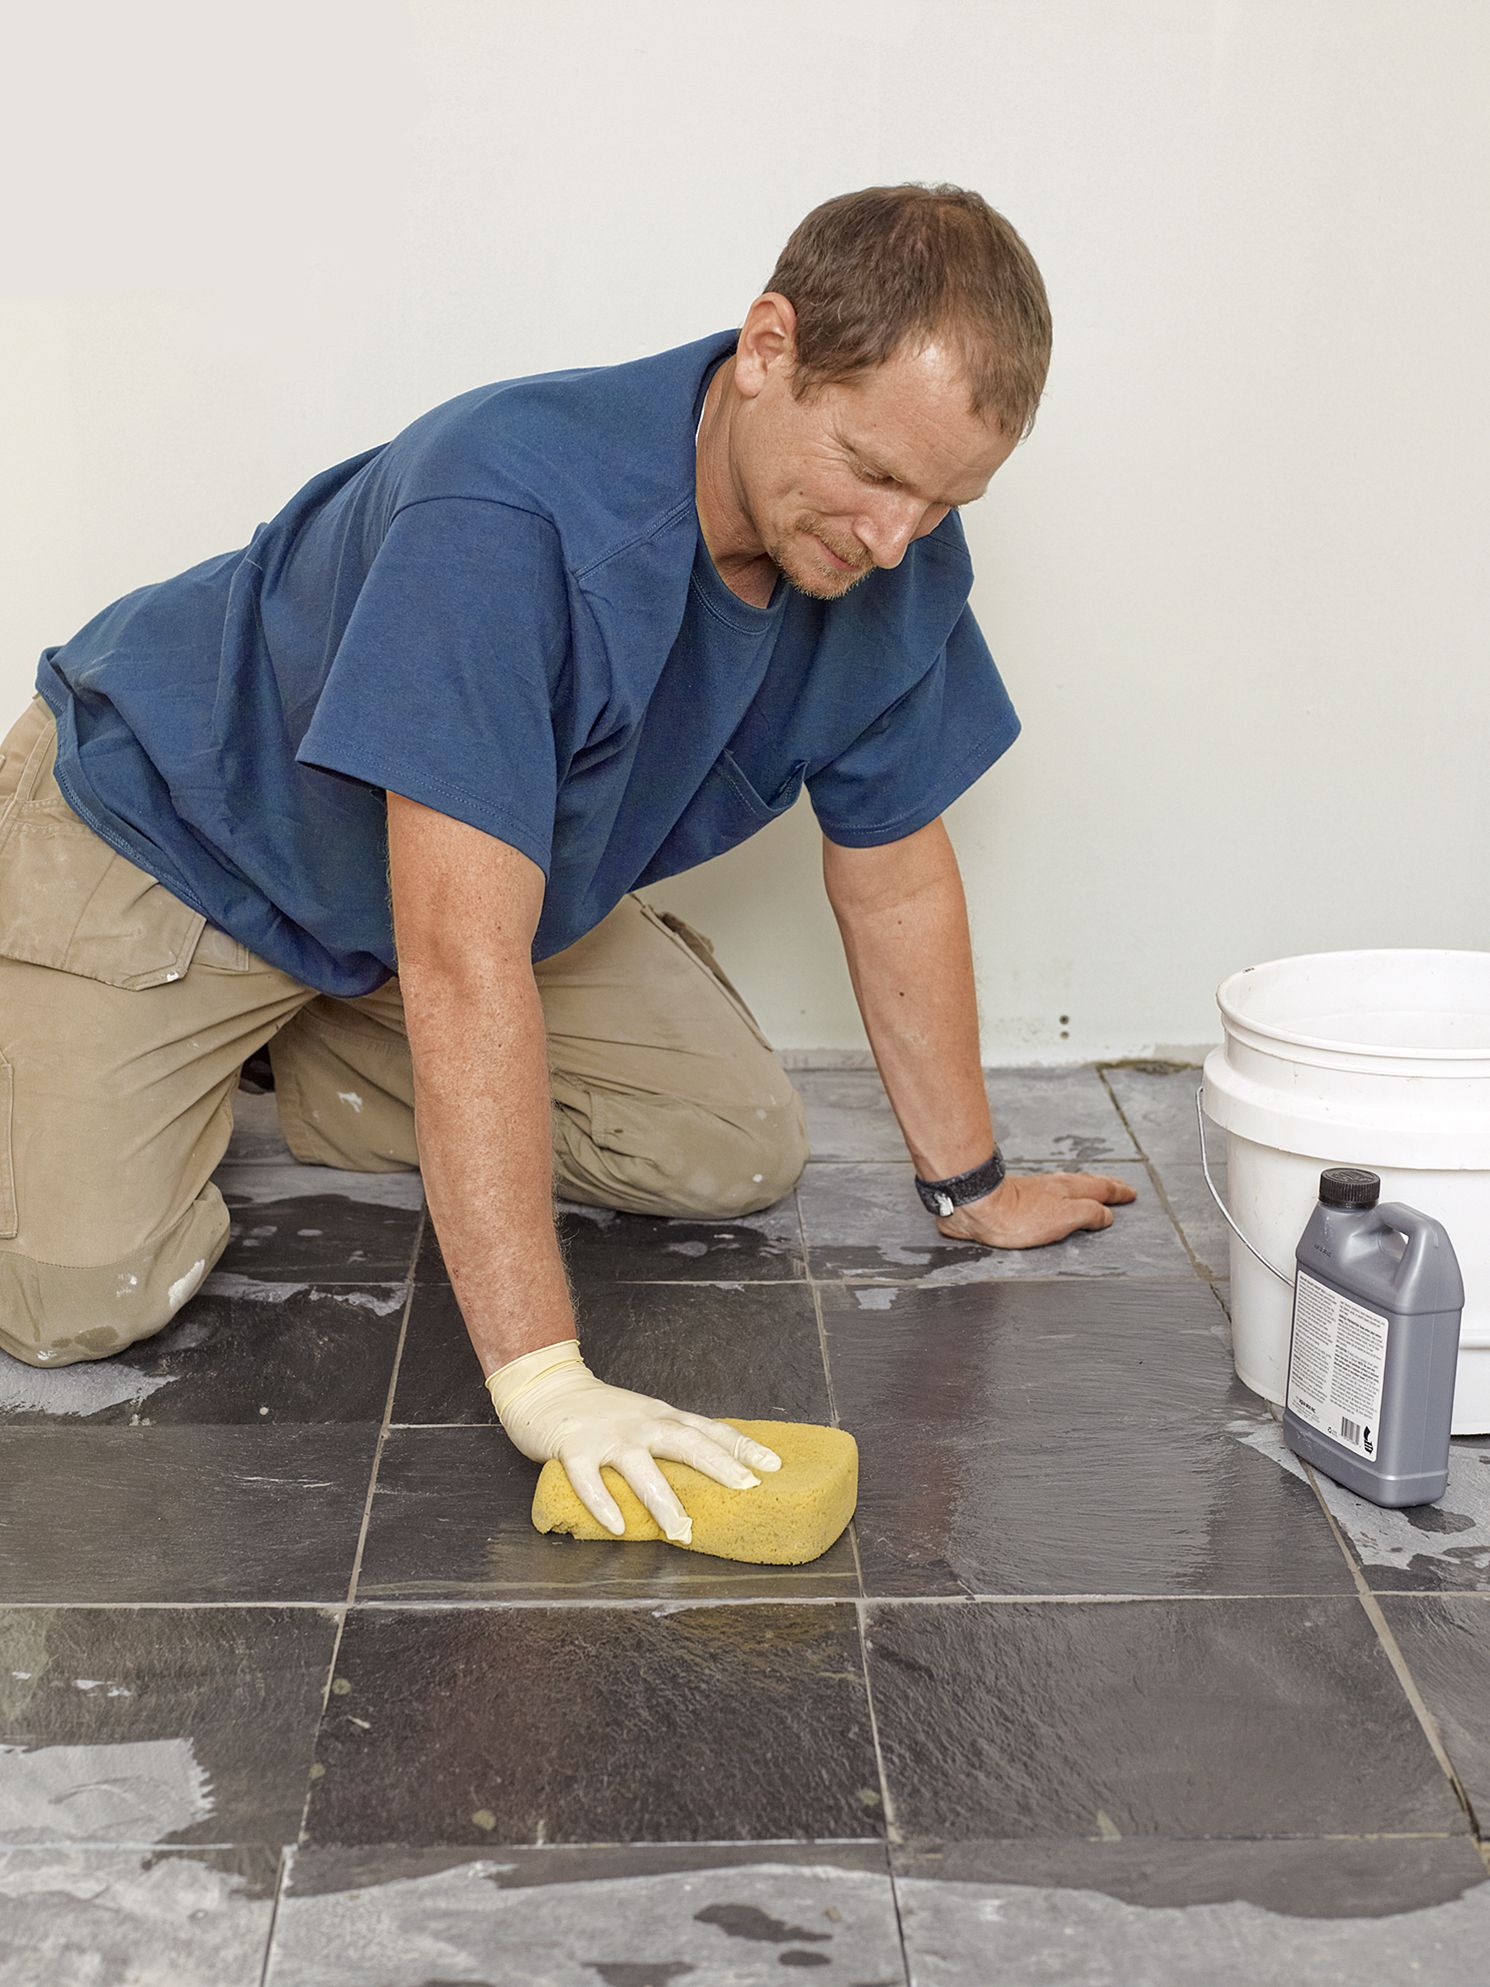
Spread unmodified thinset over an area about 3 feet by 16 inches, filling the membrane’s square dimples. Comb out parallel ridges with the notched trowel. For each tile, smear thinset on its underside, press it firmly in place, and make sure it’s flush with its neighbors and that the joints are even. Gently remove excess thinset from the joints with a putty knife, and swab the stones with a damp sponge.
Lean More: How to Install Ceramic Tile Flooring
Step 6
Grout the Joints
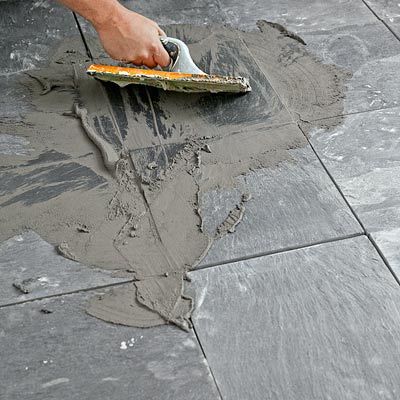
The next day, wash away thinset residue with muriatic acid, and, to protect the stone from grout stains, apply a sealer. When that’s dry, mix up a sanded grout and push it diagonally into the joints with a grout float. Wait 10 minutes, then wipe off grout residue from the stone with a damp sponge, rinsing it often. Don’t disturb the joints. The next day, rub off any haze with cheesecloth and wipe on a final sealer coat.