Project details
Skill
Cost
Estimated Time


There are few things as warm and welcoming as a white picket fence. A properly built and installed fence can beautify a home’s landscape, define property lines and add a modicum of security. Building a fence from scratch, even a short fence, takes quite a bit of time and requires an arsenal of woodworking tools.
Fortunately prefabricated fencing sections make it much easier for the average homeowner to install their own fence. The preassembled fencing panels come in a wide variety of sizes and styles, including picket, stockade, and square spindle.
The hardest part of any fence installation is digging the postholes. The level of difficulty, not surprisingly, depends on the fence length and hardest of the soil. For a short fence, use a manual posthole digger. However, if you’ve got more than a dozen or so holes to dig, consider renting a gas-powered posthole digger.
Step 1
Picket Fence Overview
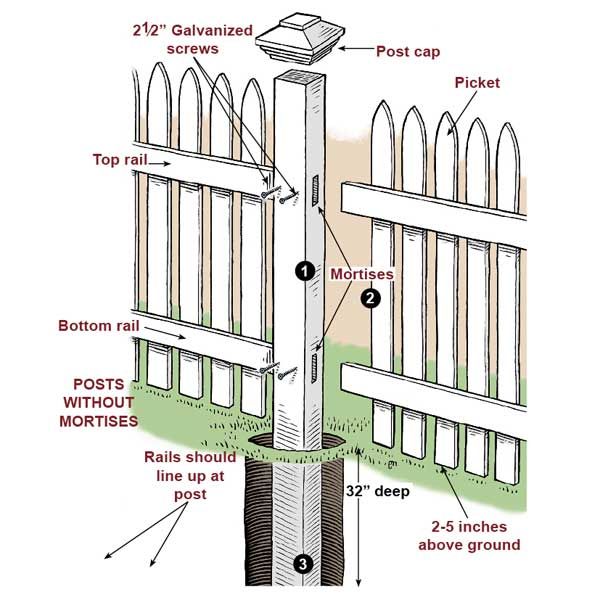
WARNING: Before you start digging, make sure to call 888-258-0808 to have all buried utility lines located and marked.
Click “enlarge this image” to view illustration labels.
Step 2
Dig the first posthole
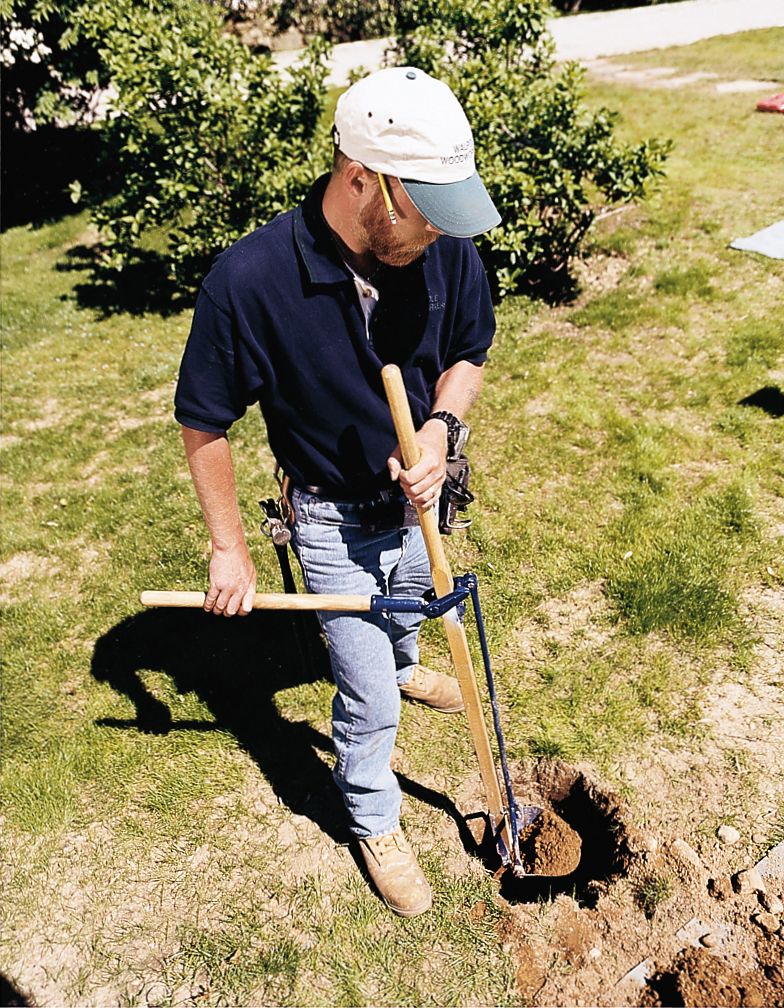
At the first post location, dig a straight-sided 10-inch-diameter hole as deep as possible with a shovel. Watch out for wires, pipes drains, and sprinkler lines.
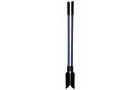
Finish excavating to 32 inches deep with a Gibbs posthole digger, which can maintain a 10-inch hole diameter all the way down.
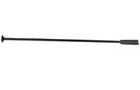
Use a digging bar to loosen rocks and cut roots; discard any rocks larger than a billiard ball.
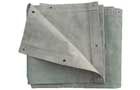
Tip: Spread a tarp to catch excavated soil.
Step 3
Set the first post
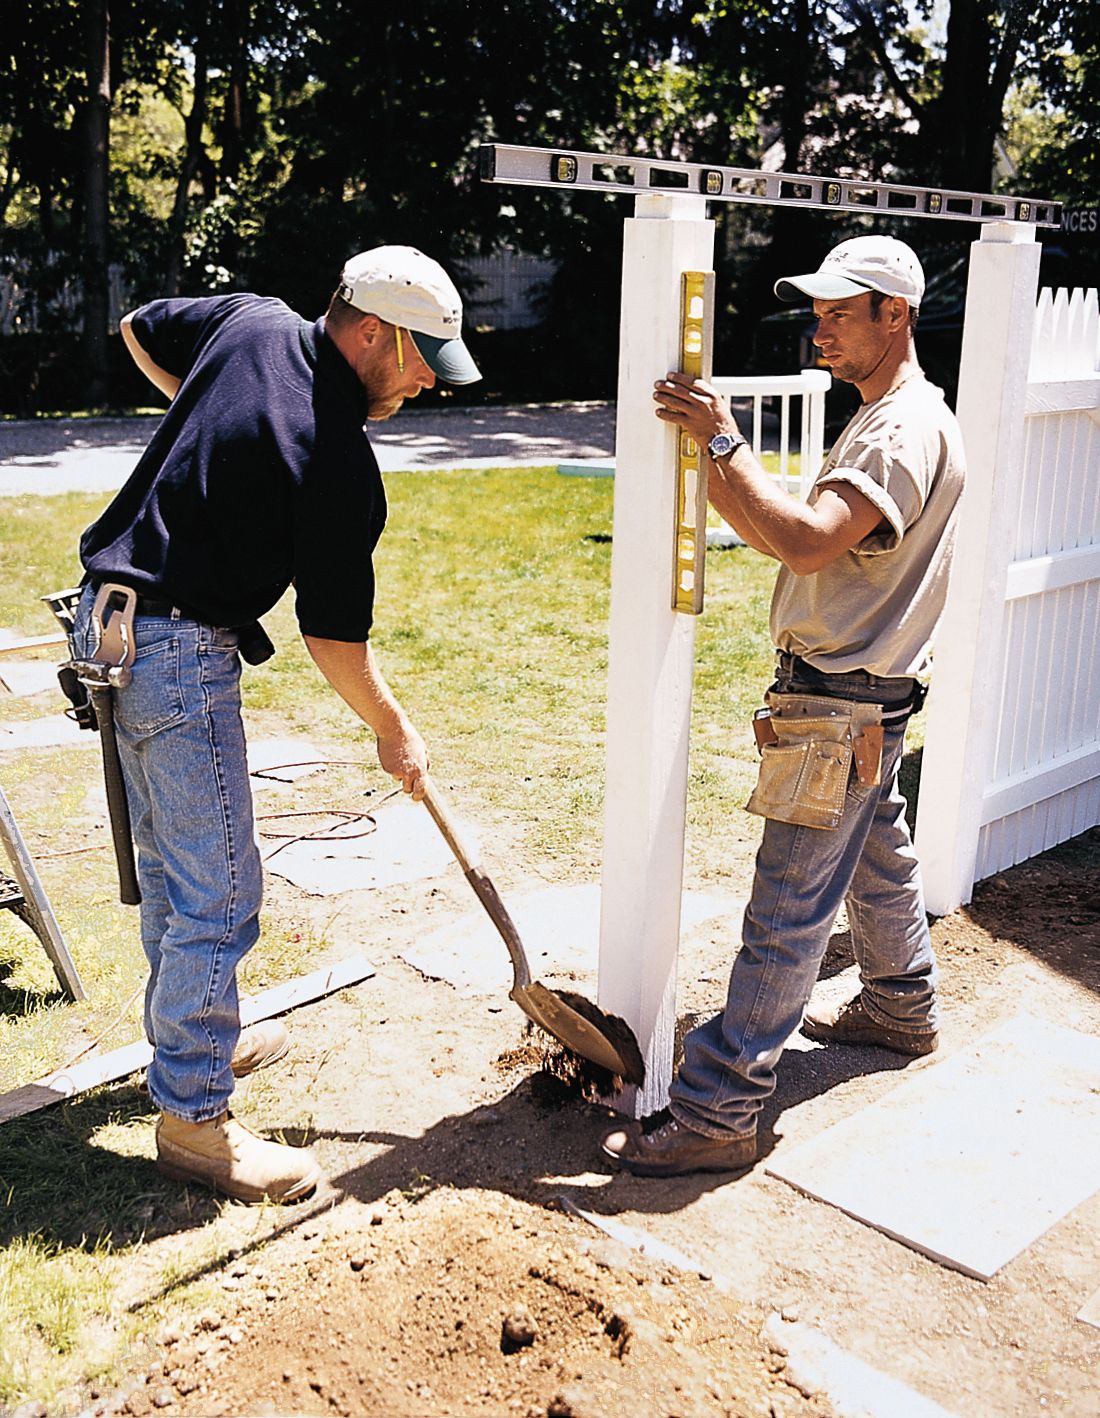
Set a post in the hole. (If the post has mortises, adjust its height so the bottom of the pickets will be 2-5 inches above the ground.)
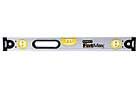
Add 8 inches of soil to the hole. Check post for plumb with a level held against two adjacent sides.
When the post is plumb, compact soil tightly around it with a tamping bar.
Add 8 more inches of soil to the hole. check post again for plumb and tamp around it. Repeat until hole is filled.
Step 4
Dig the next posthole
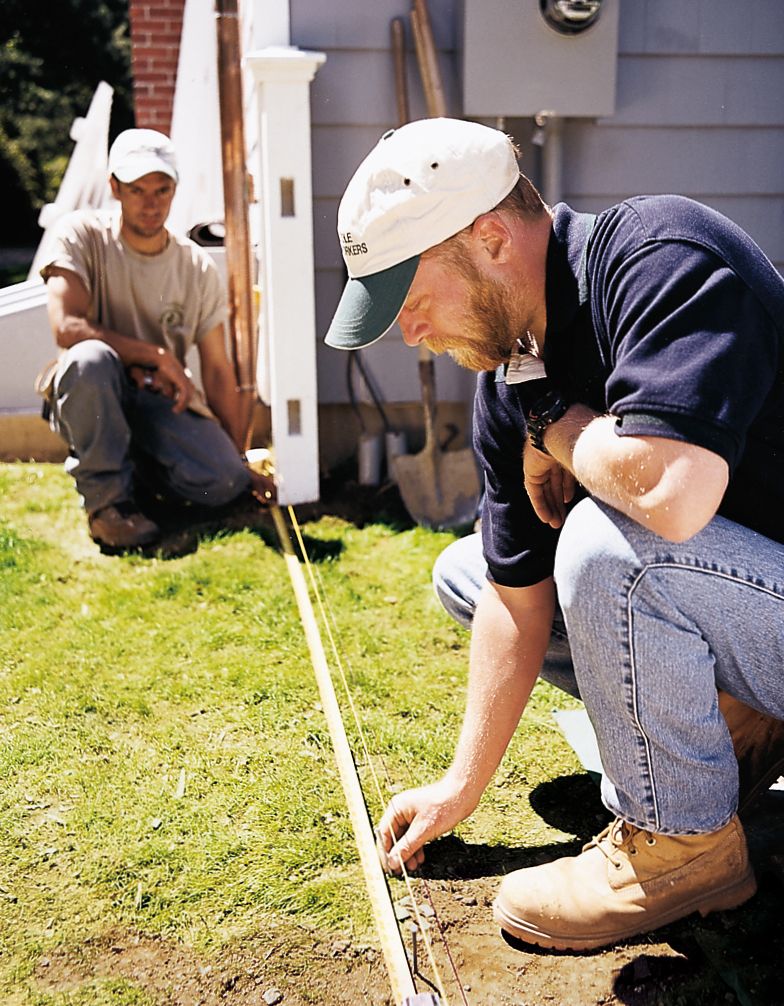
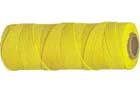
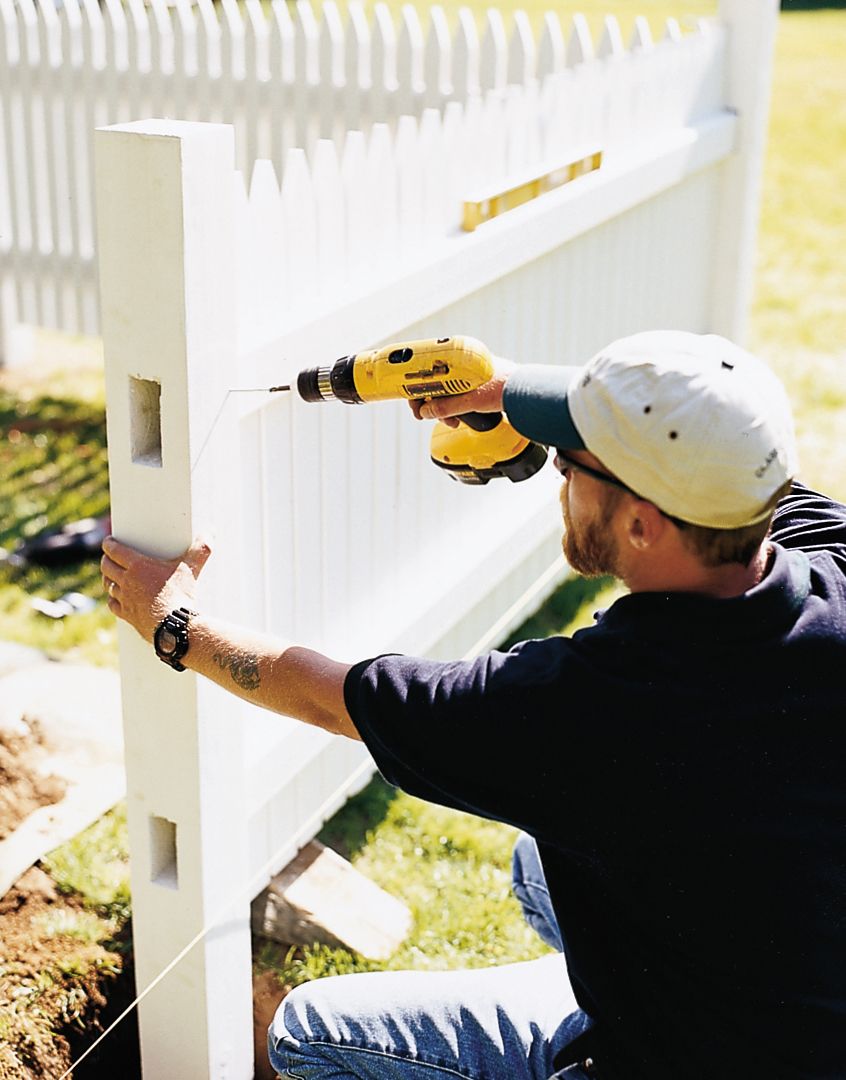
Tack a mason’s line to the post’s outside face, 5 inches above the ground.
Measure from the post to where the fence’s first corner will be. Drive a stake into the ground there. Wrap the line around it 5 inches above the ground; pull tight.
Measure out from the post the length of the first panel and mark the spot with a screw.
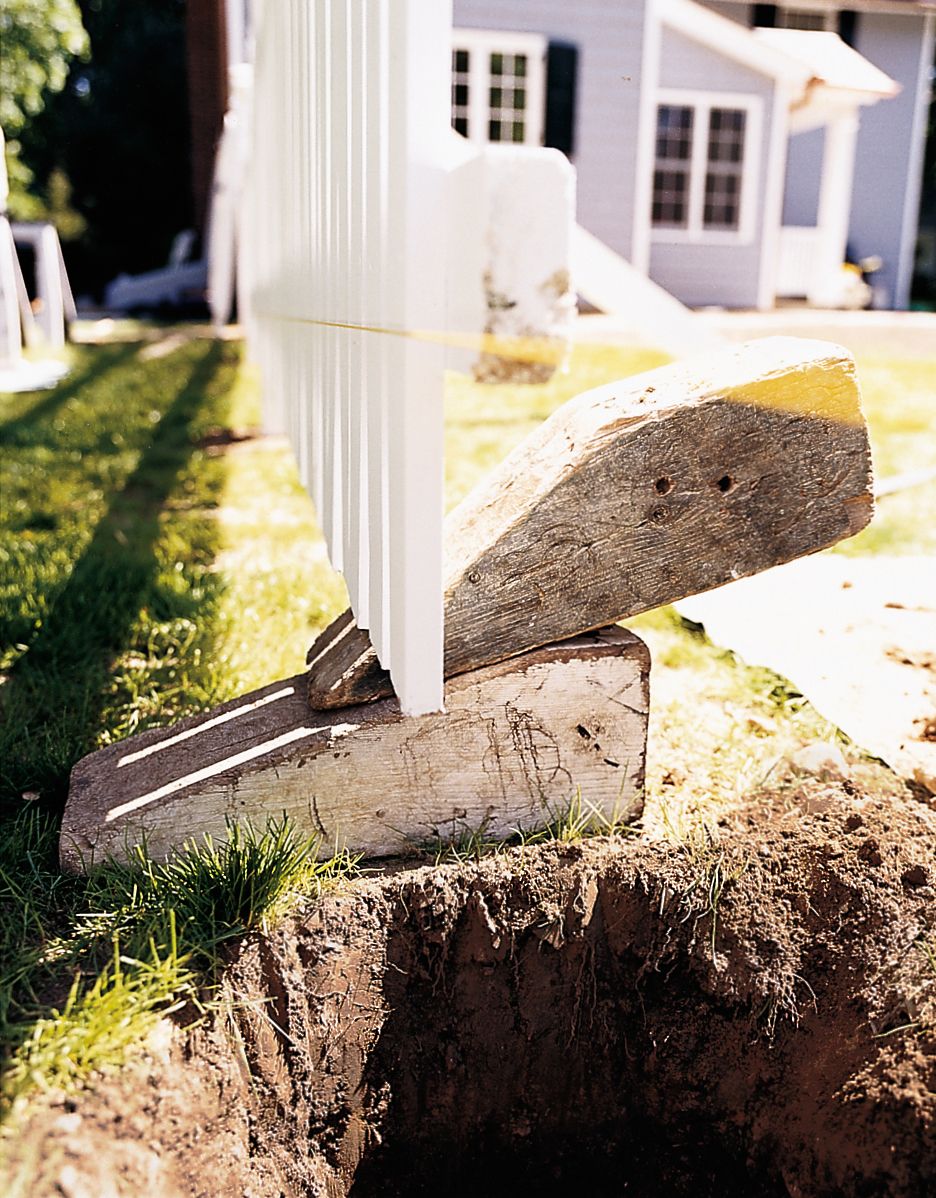
At the mark, dig another 10-inch-diameter posthole. Offset it enough so that the post’s face will touch the line.
Step 5
Set the fence panel
Slide the panel’s rails into the post’s mortises.
Prop up the panel’s far end with wood wedges. Adjust them until the top rail is level.
On posts with no mortises, prop the panel so the top rail is level and the picket bottoms nearest the post are 2 to 5 inches off the ground. Screw rails to post.
If the picket bottoms at the far end are between 2 and 5 inches above grade, go to Step 7. If they’re not in this range because the ground slopes, go to Step 6.
Step 6
Rack the panel
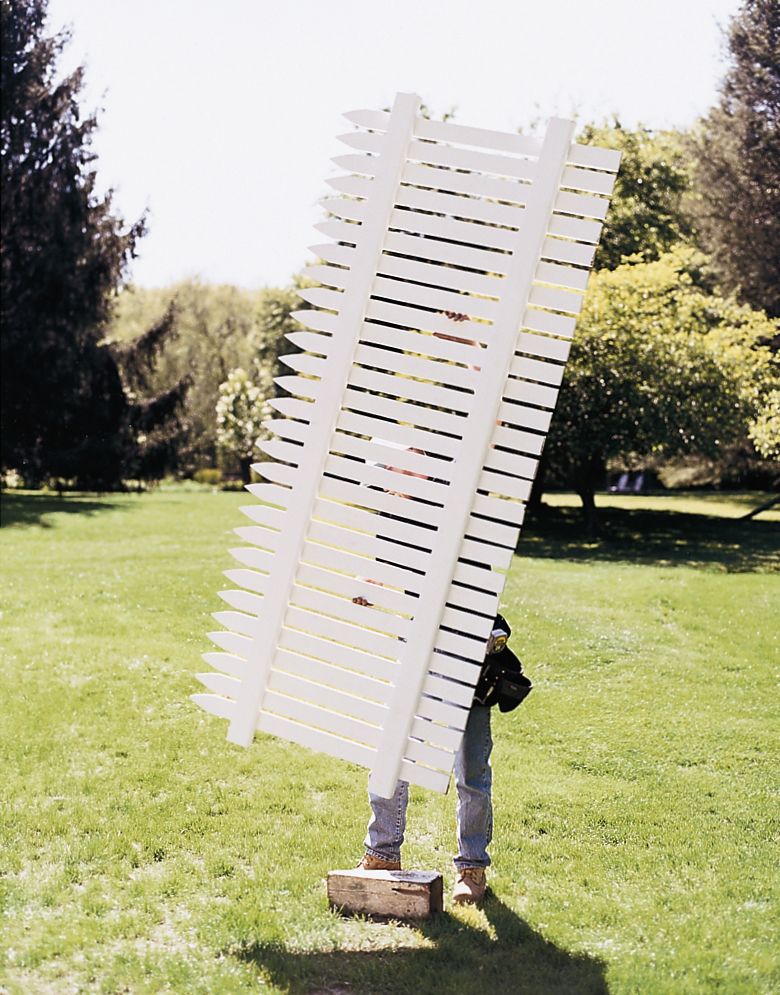
Lift the panel vertically and lightly drop the end of the bottom rail on the ground or a wood block.
Turn the panel end-for-end an ddrop the end of the top rail in the same spot.
Repeat on both ends until the panel “gives”.
Refit the rails to the post, then rack the panel so the pickets are vertical and their bottoms are 2 to 5 inches off the ground. Prop up free end with a wood wedge.
Step 7
Attach the panels
With the panel propped in place, put the next post into its hole so its front face touches the mason’s line. For mortised post, adjust its height and slide rails into mortises.
Adjust post side to side so picket-to-post gap equals picket spacing.
Fill hole, as in Step 3. Check post and pickets for plumb.
Secure each rail with 2 1/2 inch screws.
Repeat Steps 4, 5, and 7 until fence is complete.
Step 8
Set the gate posts
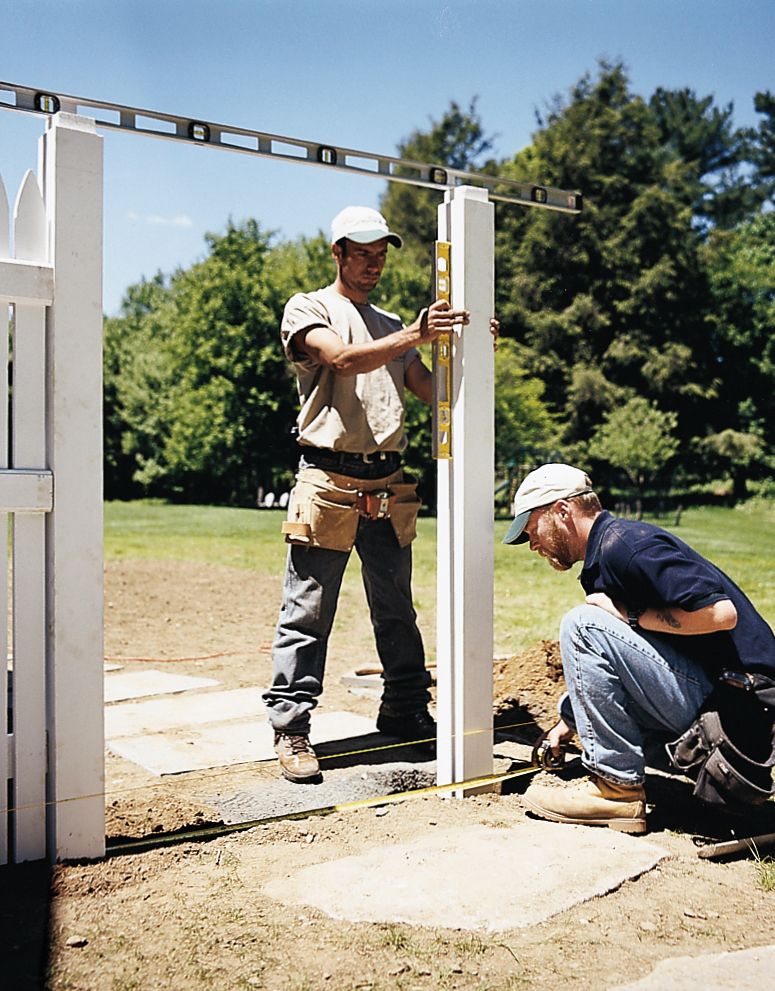
Install first gate post (see steps 2 and 3) at end of panel.
Measure out the width of the gate, plus 1 1/2 inches. dig the hole for the second gate post at this mark.
Plant second gate post. Fill, tamp, and check for plumb.
Double-check the distance between posts and make sure the post tops are level with each other.
Install next fence panel to stabilize second gate post.
Step 9
Hang the gate
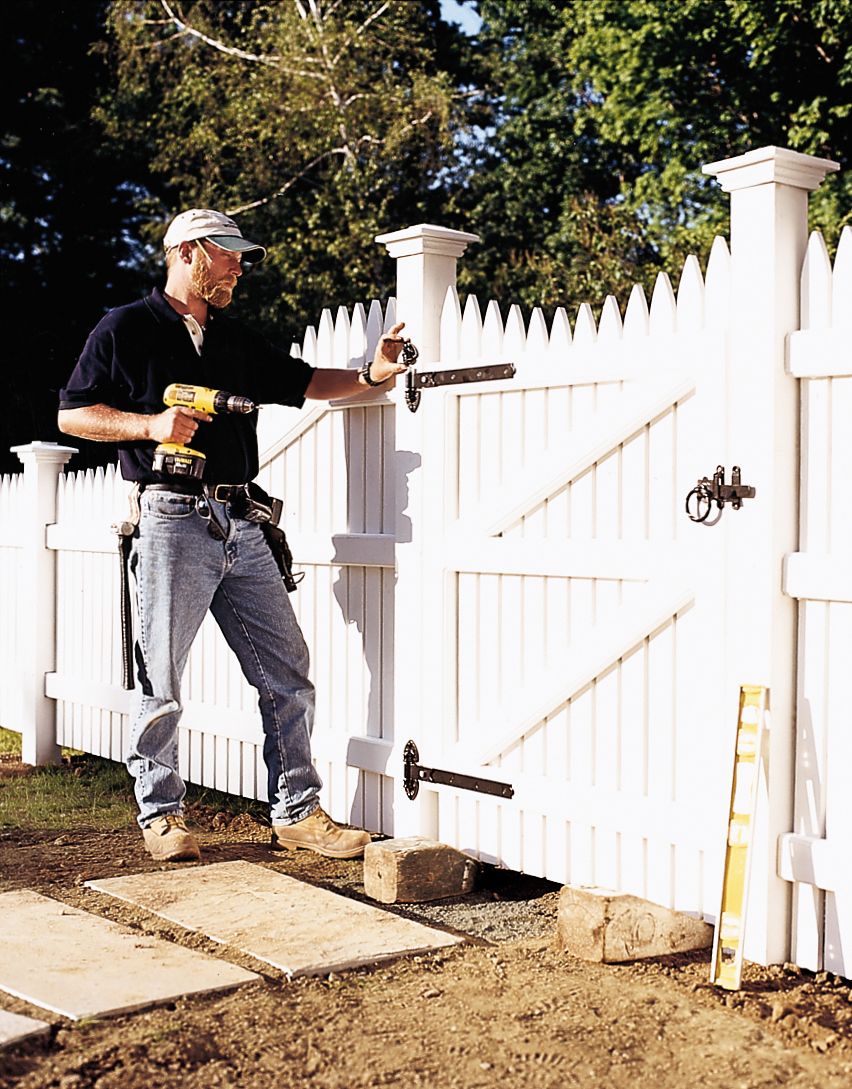
Use wedges to prop up and level the gate between the posts. Line up its pickets with those on adjacent panels.
Leave 3/4-inch gp between gate and post on each end.
Screw hinges to post and gate.
Remove wedges, check gate swing, and attach latch.
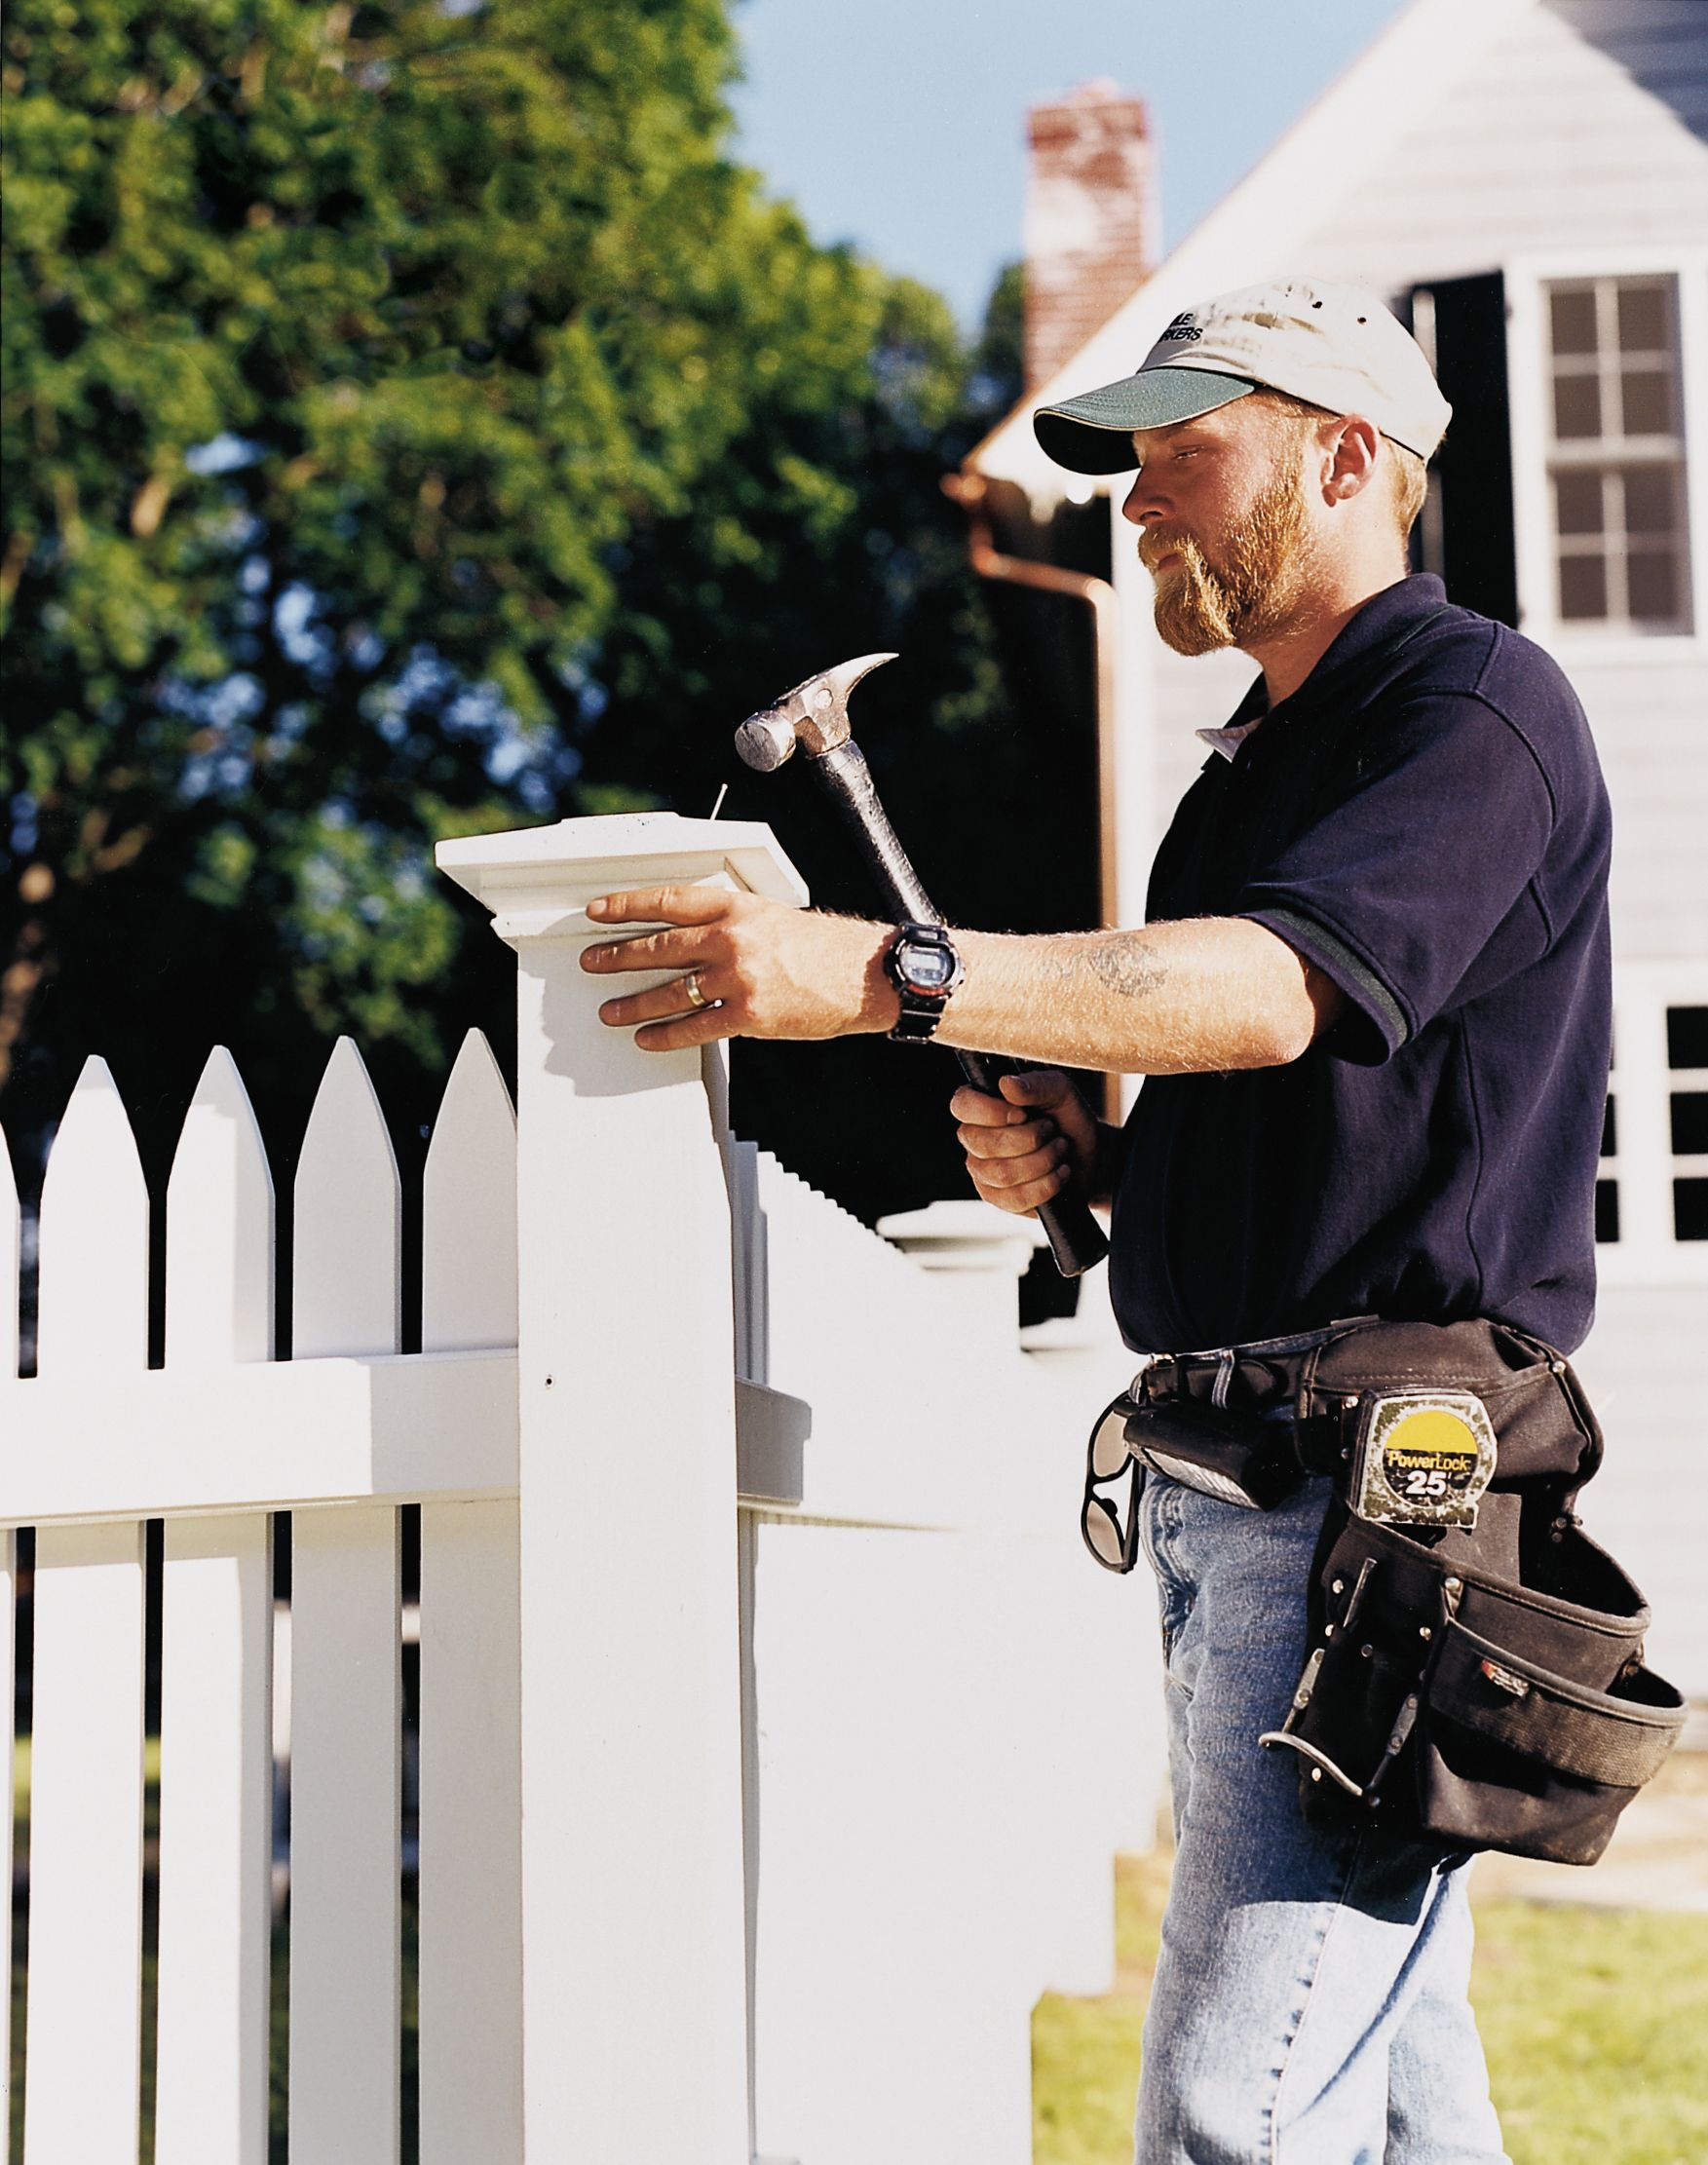
Nail caps onto post tops.