Project details
Skill
Cost
Estimated Time
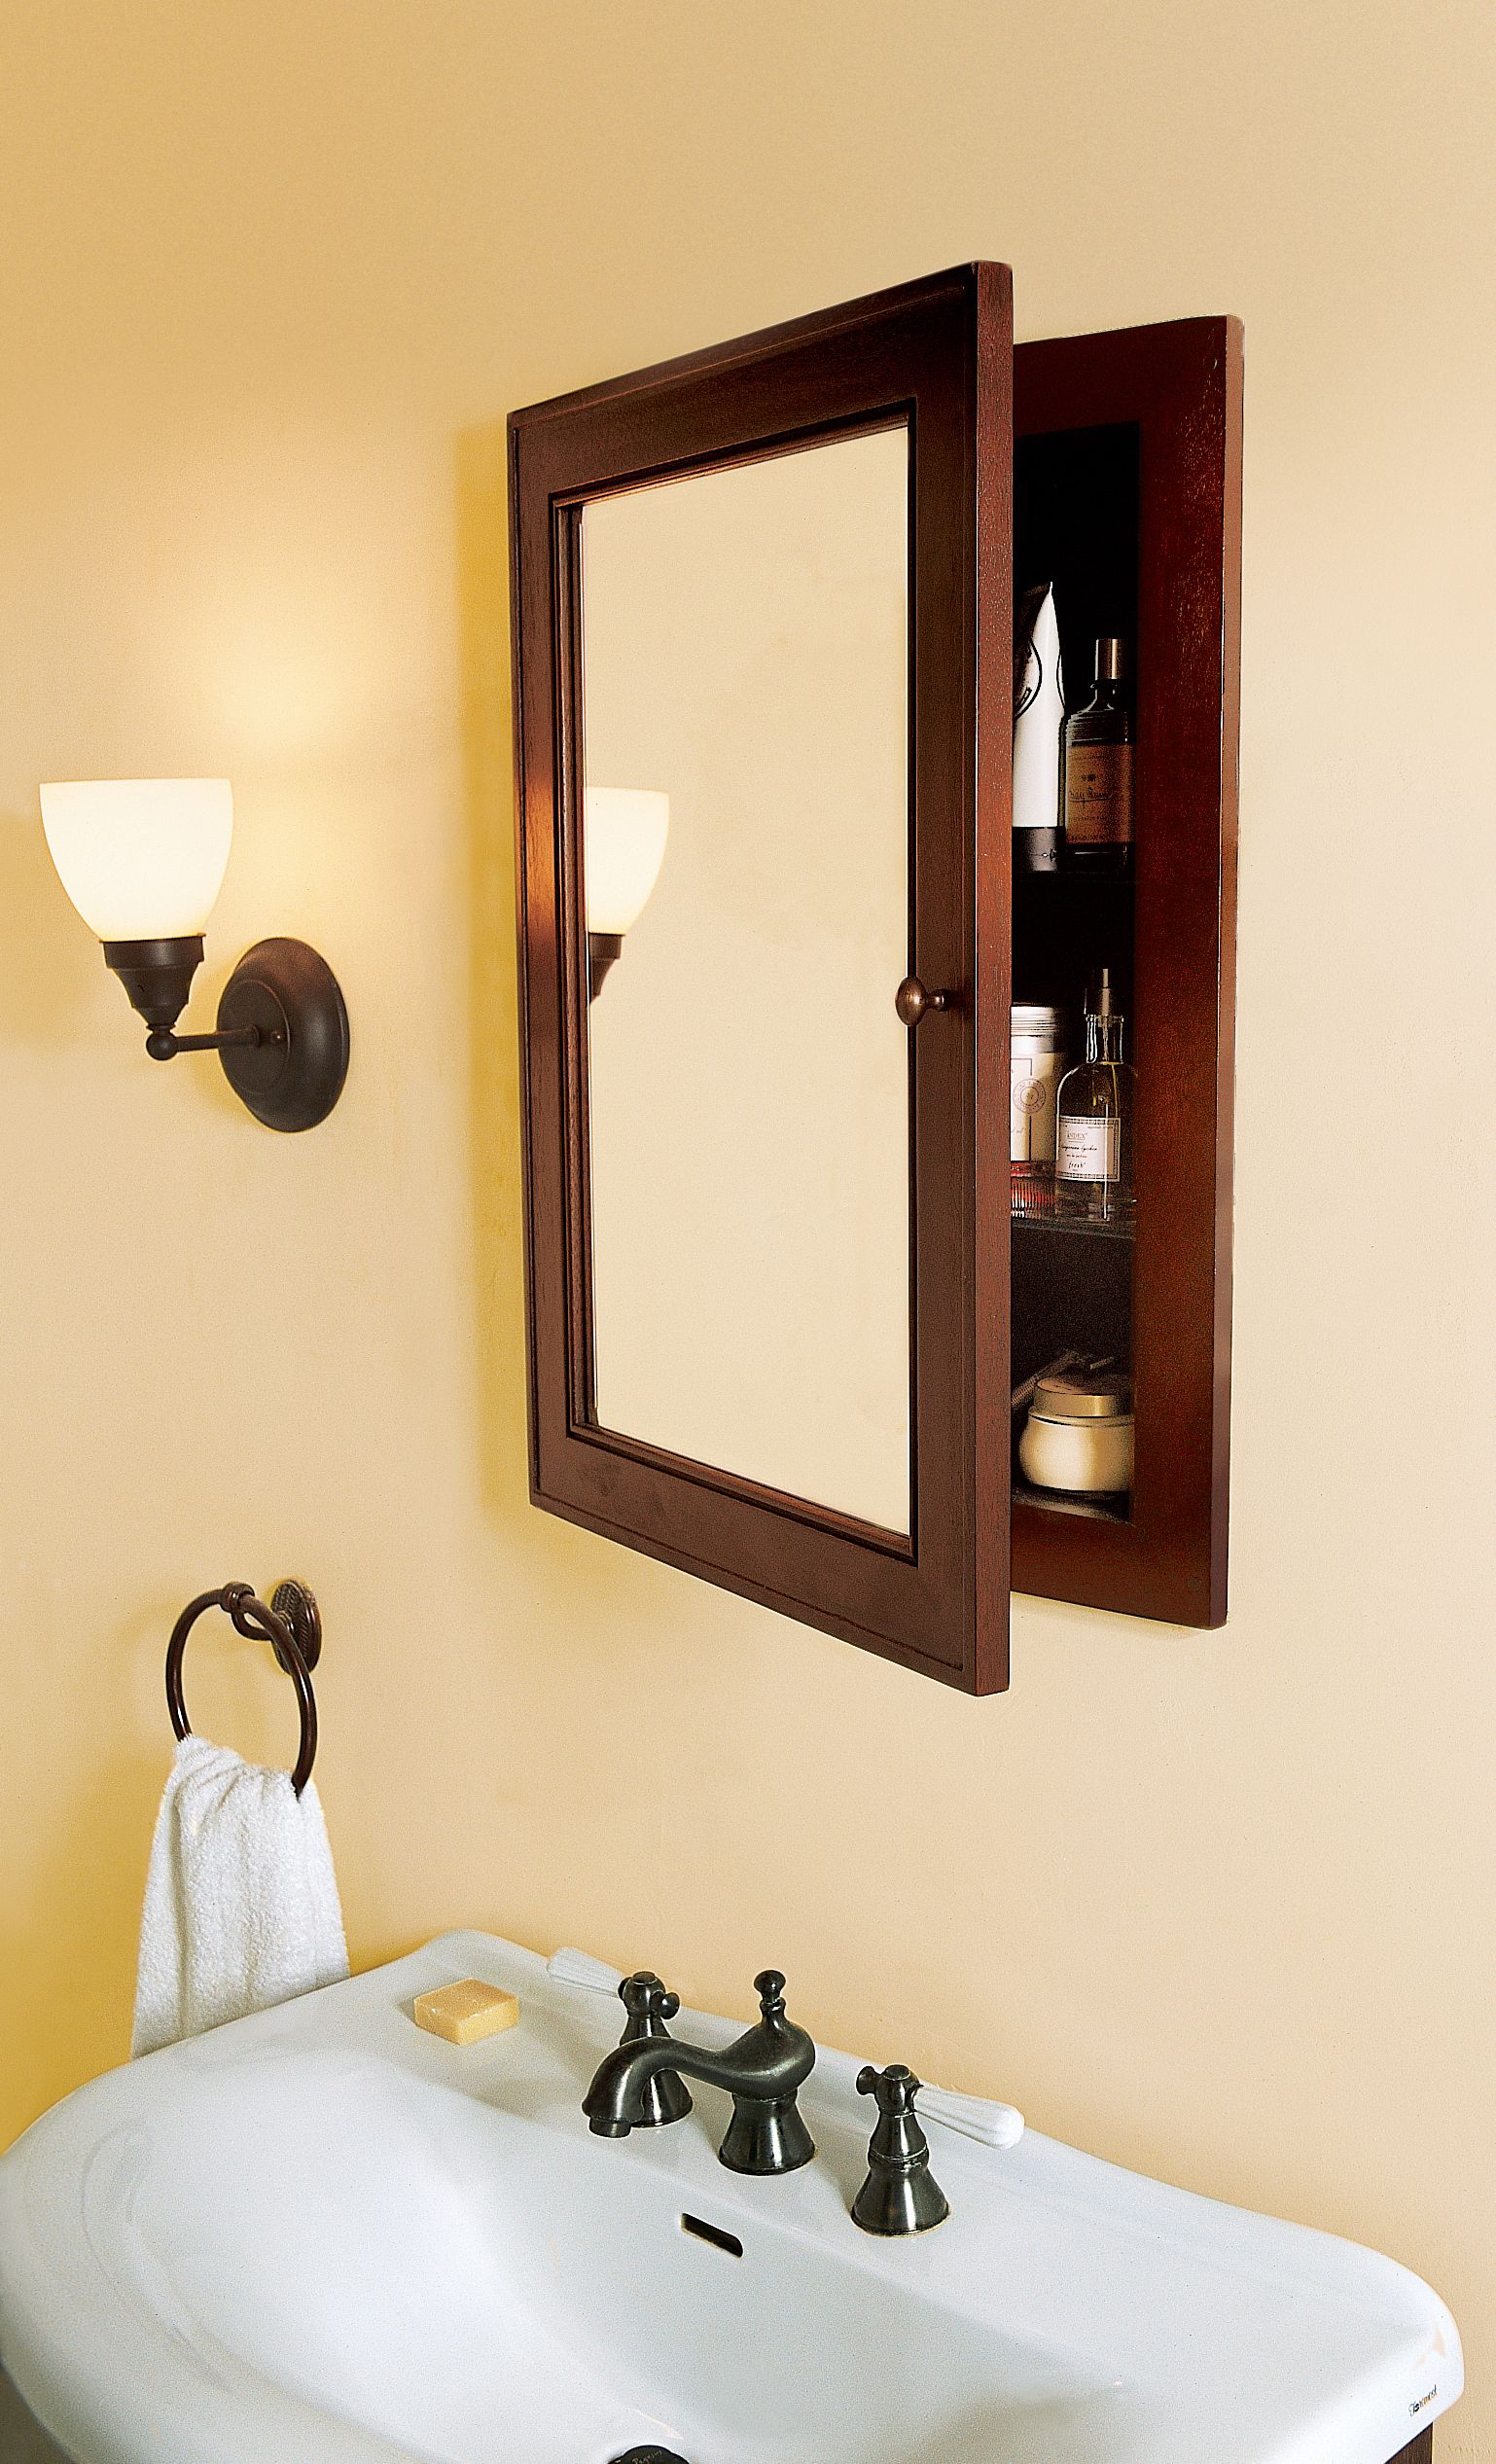
The toothbrush is on the toilet tank, the Speed Stick is in the soap dish, and every bottle cluttering the puddles around the sink has a little mildewed ring marking its spot. Your morning ritual would feel so much less chaotic if all those balms and baubles were lined up neatly in rows on the shelves of a medicine cabinet. Better yet, make it a recessed model, which tucks securely and discreetly into the wall cavity, and you won’t even hit your head when you lean over to splash your face on a sleepy morning.
As demonstrated below, you can install your own cabinet in one afternoon. Most come pre-assembled; you just cut a hole in the wall and create a wood frame into which the cabinet slides. Thus, you’ll upgrade with a beautiful new mirror and storage space—while keeping a healthy separation between toothbrush and toilet.
Getting Started
A recessed medicine cabinet needs to be anchored inside the wall to a rectangle of framing, the center of which must be clear of obstructions. So the first order of business in installing one, before you even buy the cabinet, is looking inside the wall (see Step 2) to be sure there are no obstacles that can’t be moved.
Electrical wires, studs in a non-load-bearing wall, and sometimes plumbing supply lines can be rerouted, but a large vent pipe or any load-bearing framing would be more difficult to get out of the way. If you encounter either of the latter while inspecting the wall, you should skip this project and instead buy a surface-mounted cabinet. When you know what cabinet you want, you must settle on its exact placement.
Step 1: How to Install a Medicine Cabinet
A general rule of thumb is that the top of the cabinet box (not the door trim) should be 72 inches off the floor. However, this Old House general contractor, Tom Silva, is more flexible. “Most people make the mistake of hanging it too high,” he says. “Then you end up looking more at the ceiling than at yourself.” He suggests starting with the 72-inch rule but adjusting it to make sure you can see your face and some of your body in the mirror while still giving you room to place items on the sink or toothbrush holder below.
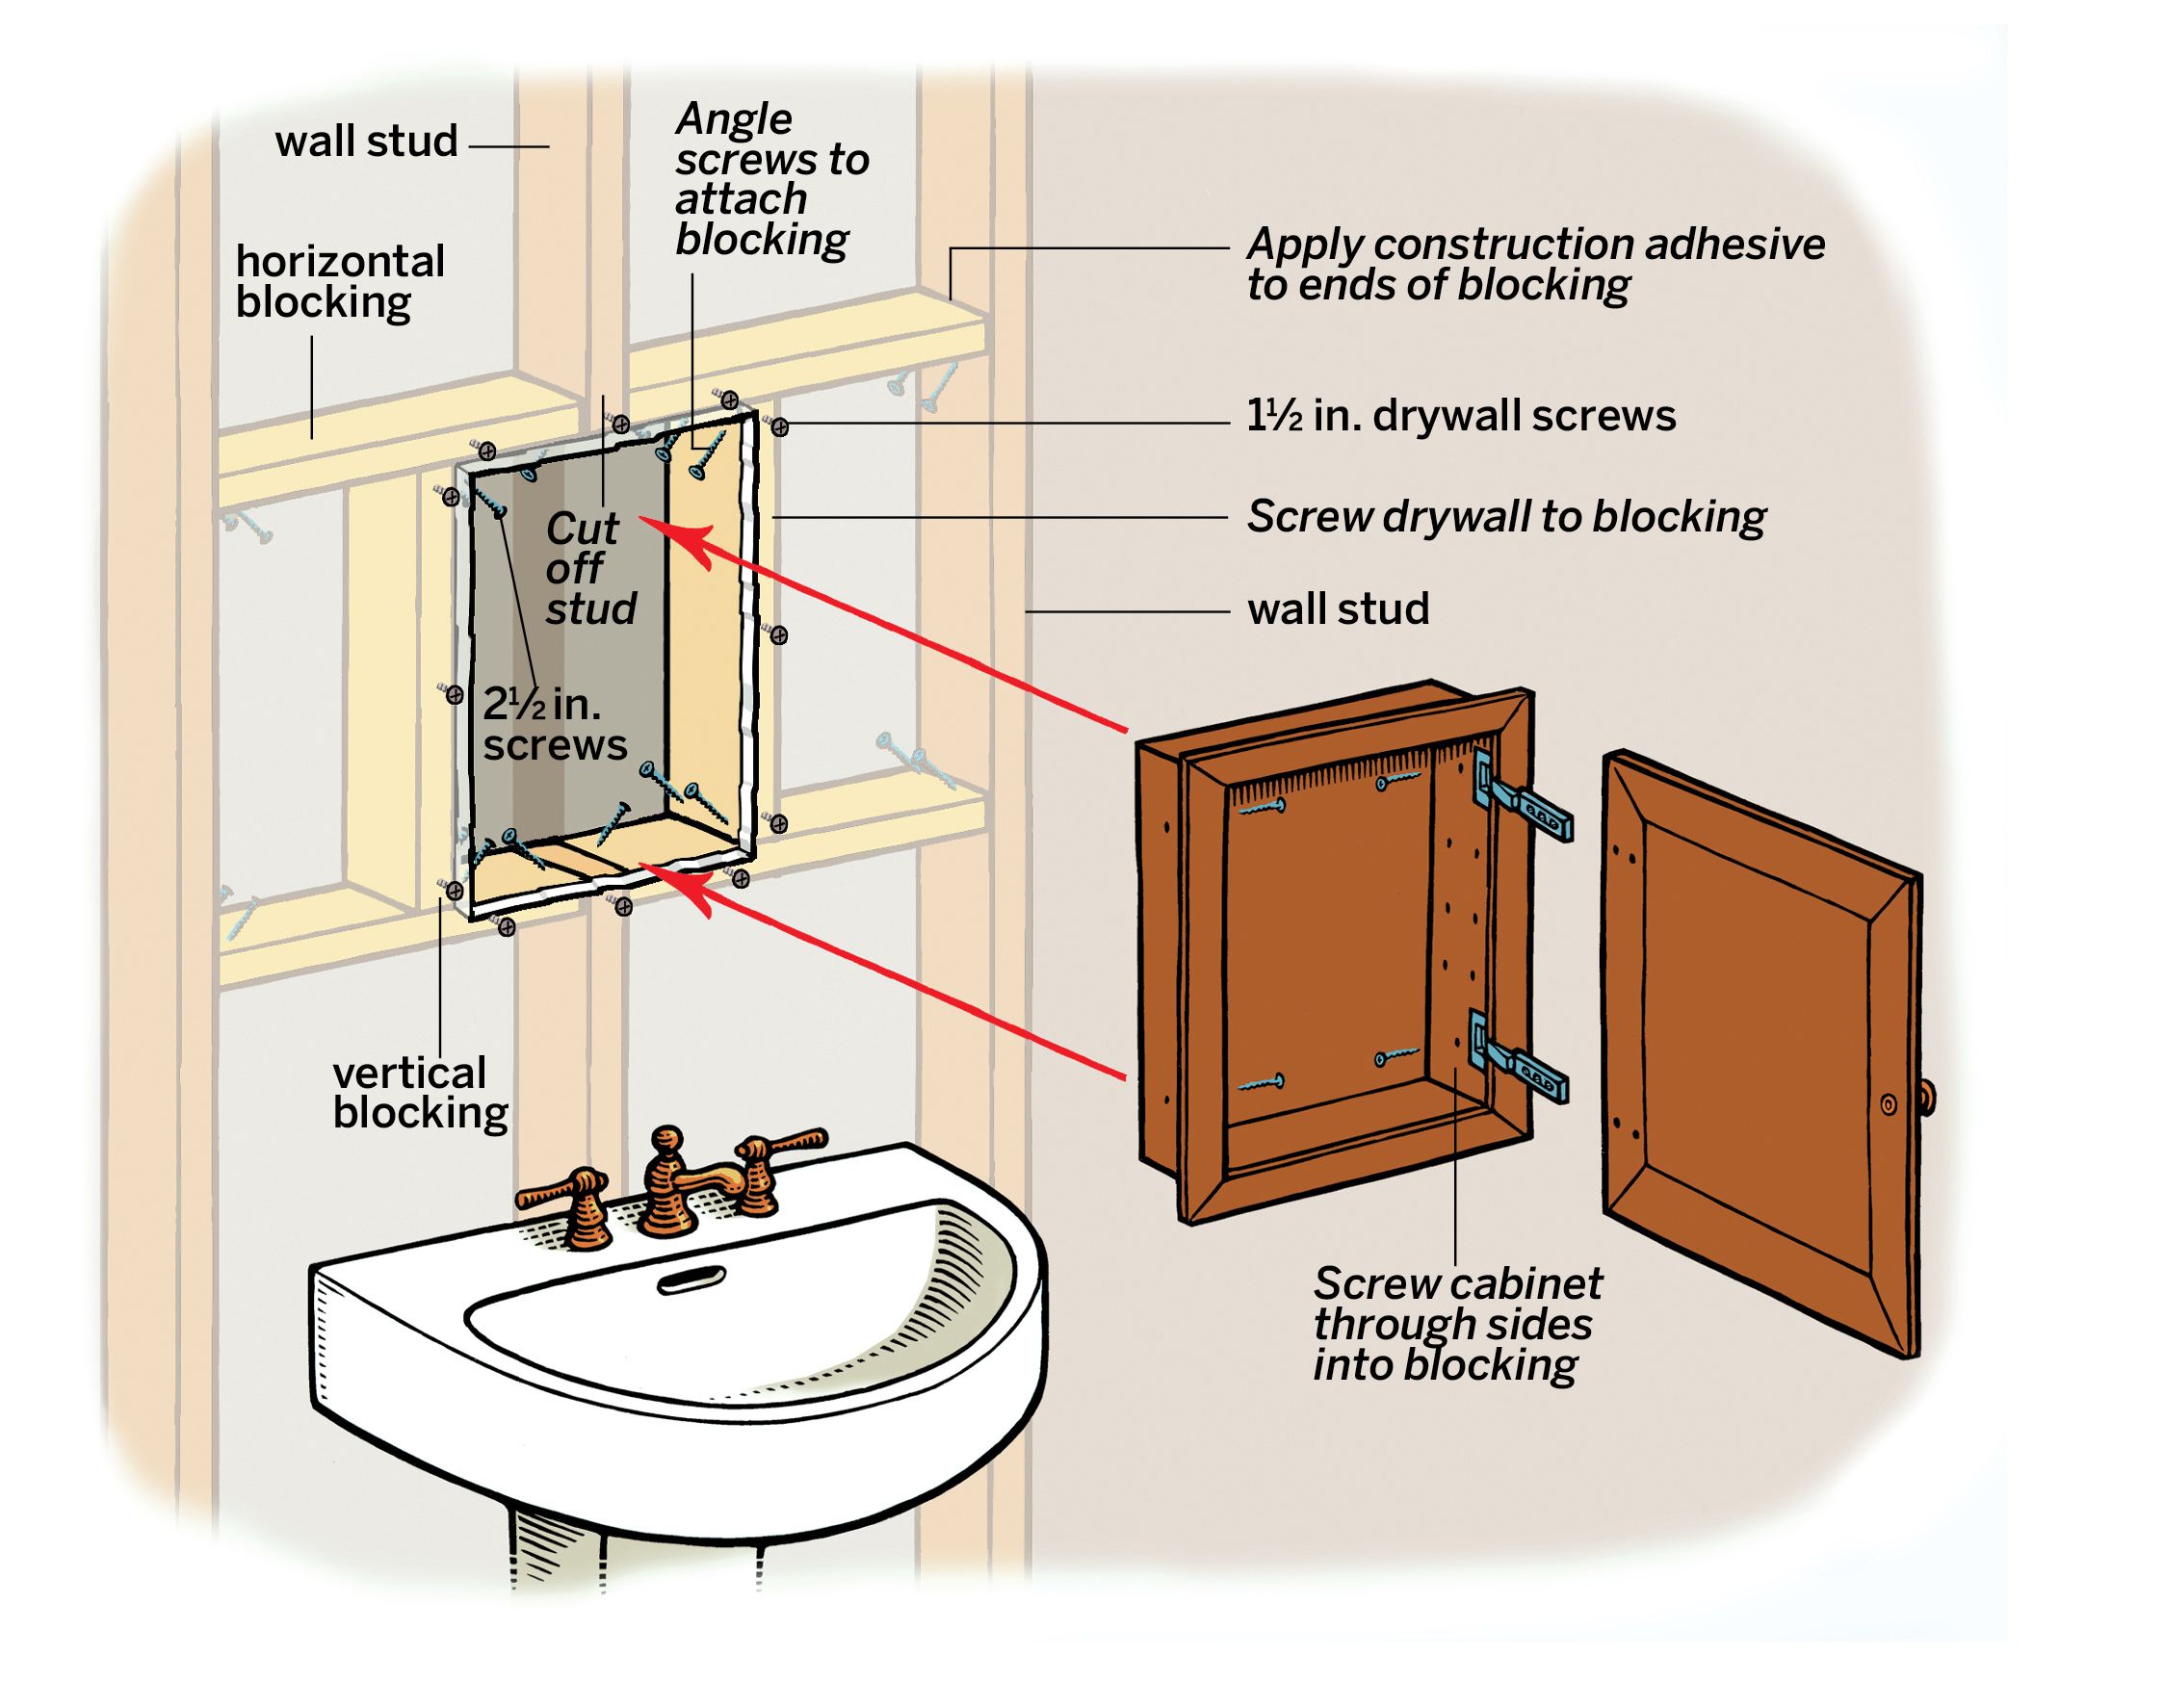
You will likely have to cut away part of a stud to make room, as most wall framing is set on 16-inch centers, but many medicine cabinets are more than 18 inches wide. This requires not only cutting through the stud but also disconnecting it from the wall behind it by slicing through the fasteners.
With the stud out of the way, you can install horizontal and vertical 2×4 blocking to create a frame in which to slide the cabinet. The blocking ties into the existing wall framing, creating a sturdy structure to hold the cabinet. The cabinet itself has a lip to overlap the edges of the cut wall, so once it’s screwed to the framing, all that’s left to do is attach the door, slide in the shelves, and stock it up.
Step 2: Inspect the wall cavity
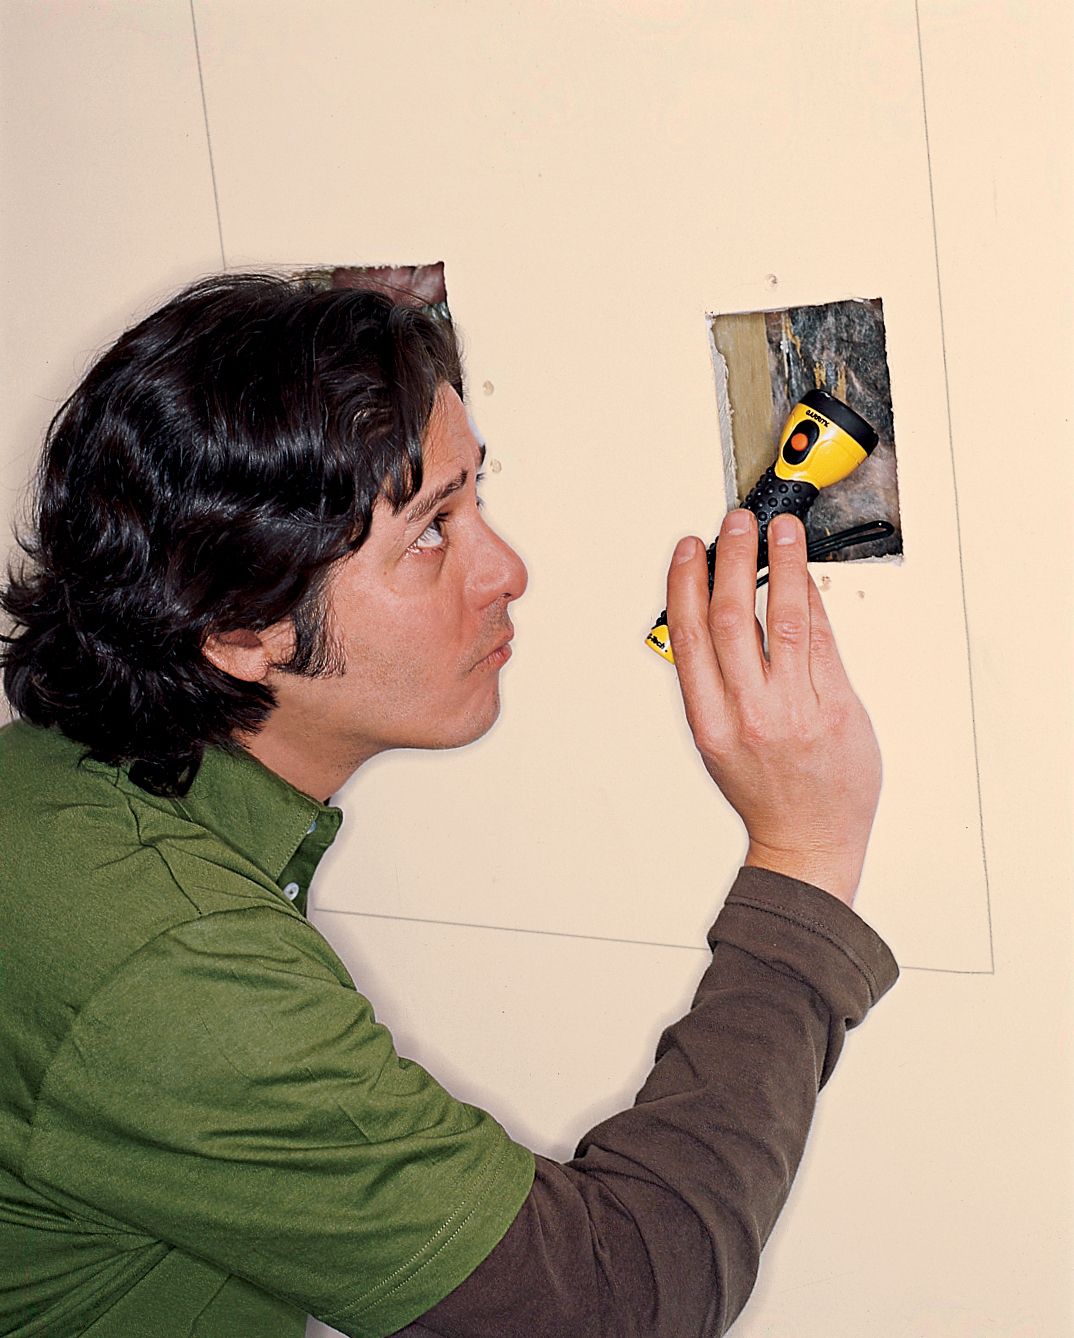
Lightly mark the wall to show the approximate outline of where you’d like the cabinet to hang. Use a stud finder to locate any studs that lie within this outline.
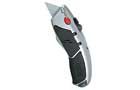
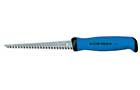
Using a keyhole saw, cut 4-inch-square holes on either side of those studs, staying within the cabinet outline. Keep the angle of the saw shallow so you don’t cut any deeper than the drywall and risk hitting wires or pipes.
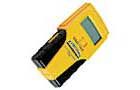
Remove the drywall cutout. Shine a flashlight into the openings and look around for possible obstructions. Contact an electrician and/or plumber to move wires or pipes if necessary.
Tip: Before you cut the inspection holes, drive a long screw ½ inch into the drywall in the middle of the cutout area. Use the screw as a handleto remove the drywall intact.
Step 3: Mark and cut the wall opening
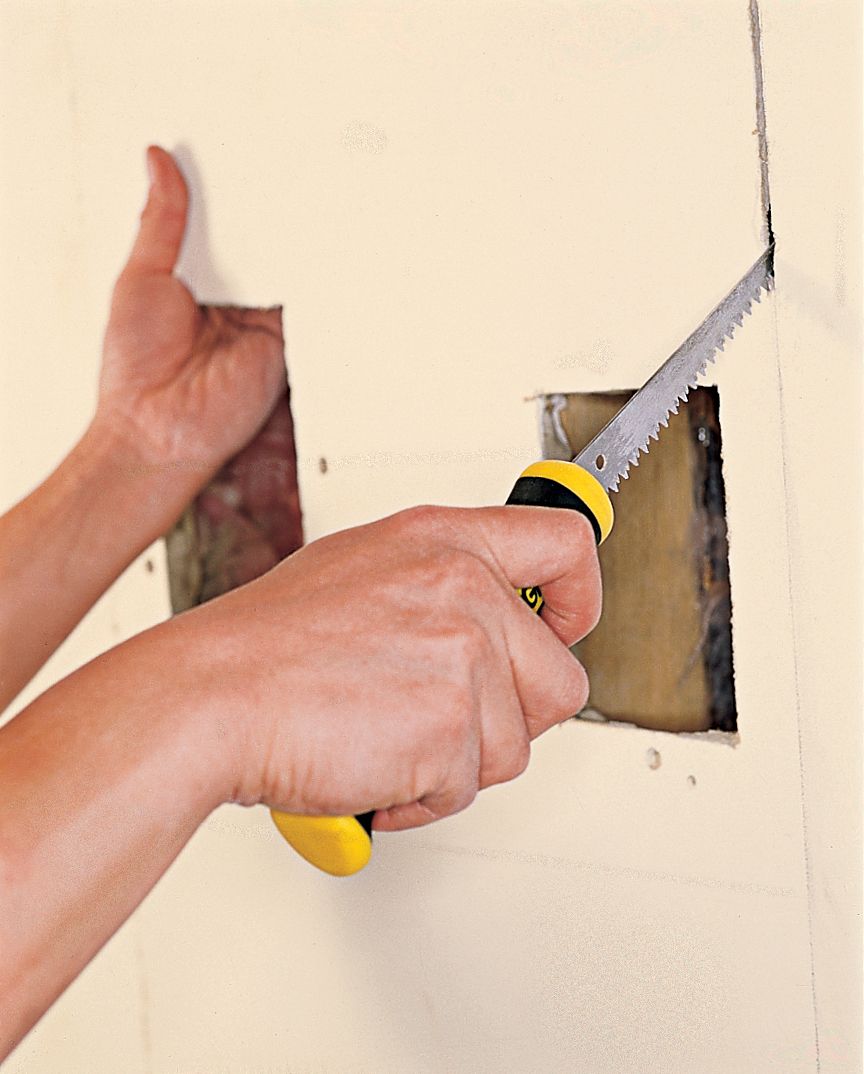
Have a helper hold the cabinet against the wall, positioned comfortably. Check it for level and plumb. When you’re satisfied with its position, trace the cabinet’s outline onto the wall in pencil.
Use a keyhole saw to cut along the pencil line. Remove the drywall inside your cut line, being careful not to mar the remaining wall. You may have to break off pieces of drywall still attached to the studs.
Step 4: Cut through the drywall screws
Clear the opening of any loose debris and insulation. Slide a hacksaw blade, wrapped in tape for a handle, behind the exposed stud and cut through any drywall screws holding the wallboard to its back edge.
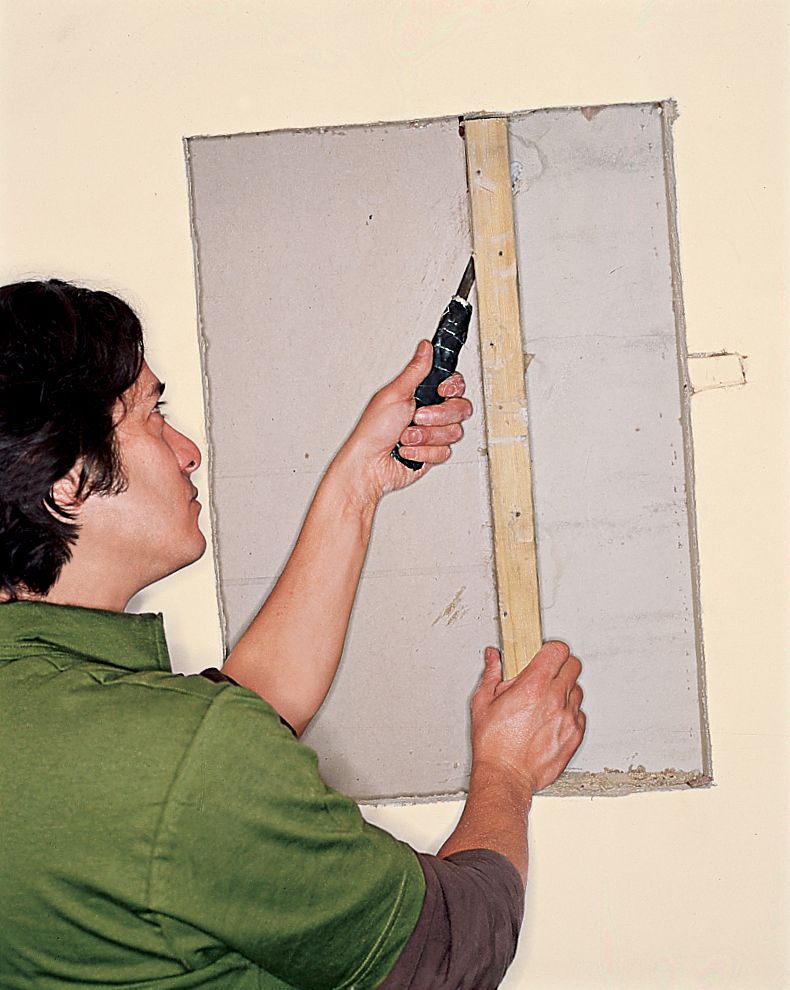
Step 5: Cut out the wall stud
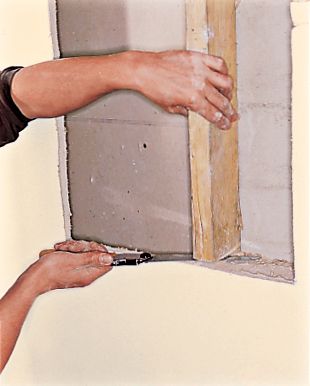
Use a handsaw to cut the stud off flush with the opening at the top and bottom. Be careful not to cut through the drywall attached to its back edge. Remove the cabinet’s door to make it easier to handle. Dry-fit it in the opening. Use a rasp and utility knife to fix tight spots.
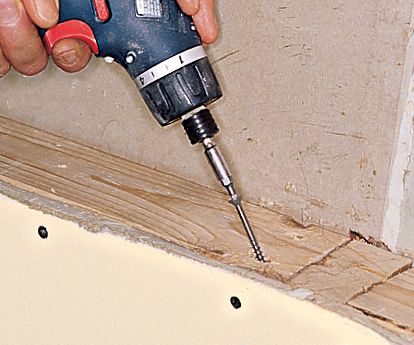
Step 6: Install the blocking

Slide a horizontal 2×4 into the opening. Hold it level, with its end butted against the next intact wall stud. Mark where it meets the cut stud, then saw it to length. Create three more pieces of blocking to fit at the top and bottom. To attach the blocking, put construction adhesive on both ends, and place it between the studs, flush with the drywall opening. Hold it in place by driving screws through the drywall and into blocking.
Step 7: Install the blocking
Slide a horizontal 2×4 into the opening. Hold it level, with its end butted against the next intact wall stud. Mark where it meets the cut stud, then saw it to length. Create three more pieces of blocking to fit at the top and bottom. To attach the blocking, put construction adhesive on both ends, and place it between the studs, flush with the drywall opening. Hold it in place by driving screws through the drywall and into blocking.
Step 8: Mount the cabinet
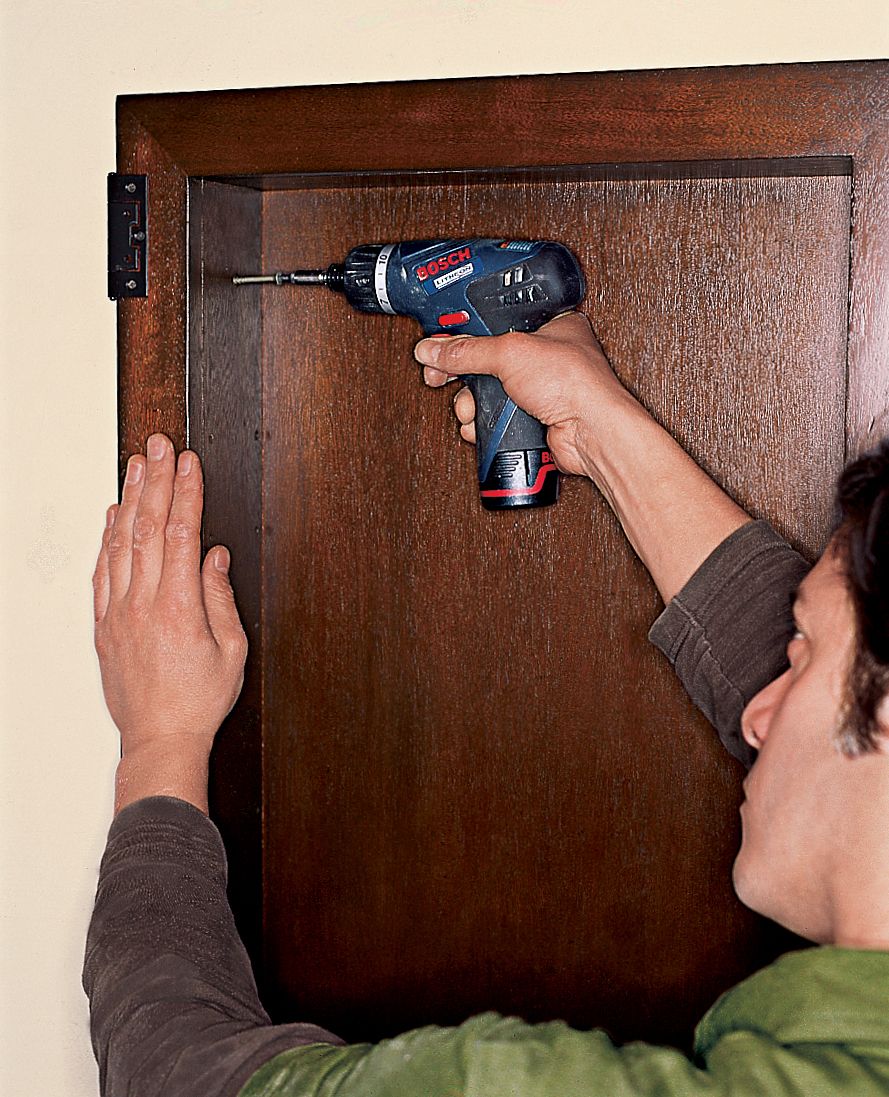
Fit the cabinet inside the blocking, and press all the edges of its face frame flush against the wall. Drive drywall screws through the holes in the side of the cabinet and into the blocking. If necessary, caulk around the edges of the cabinet to hide irregularities in the wall.
Step 9: Assemble the rest of the cabinet
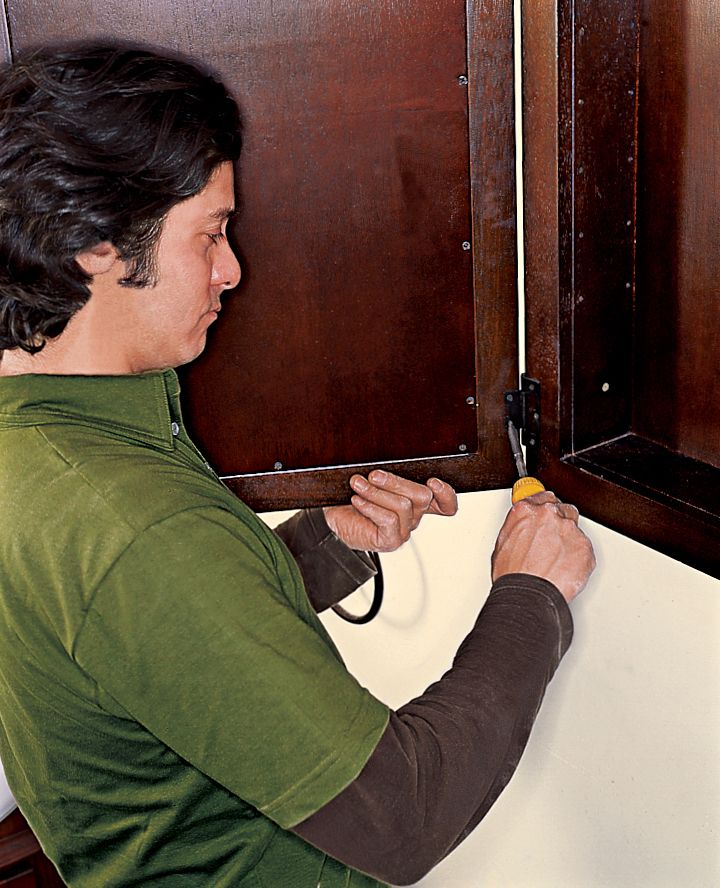
Reattach the cabinet door, making sure not to bend the hinges. Attach any hardware. Install the shelves and stock the cabinet.