Project details
Skill
Cost
Estimated Time
If the word “linoleum” makes you think of grandma’s flecked kitchen floor, think again. In tile form, linoleum offers a nice alternative to ceramic or wood, and certainly vinyl, in just about any room: It’s colorful, cushiony underfoot, and warm to the touch. It’s also hypoallergenic. That’s all thanks to its construction of linseed oil, sawdust, and cork. Best of all, the tiles click together to form a floating floor, meaning they go down without needing to be glued. Follow along as This Old House senior technical editor Mark Powers demonstrates how to lay this eye-catching floor, and you may never think of linoleum in the same way again.
Tiles: Forbo Marmoleum Click 12-inch Square Tiles in Lime and Barbados, $6.99 per square foot; Green Building Supply
Overview for Linoleum Tile Floor
Day-to-day timeline
SATURDAY Prep the room and lay the tiles (Steps 2-13).
SUNDAY Move furniture back into the room.
Before you begin: Map out your pattern with colored pencils and graph paper; each square equals 1 square foot of the room. Total the squares for each color and order an extra 10 percent of each. Store the boxes of tile flat and unopened in the room for two to three days.
Step 1: Flush-Cut the Casings
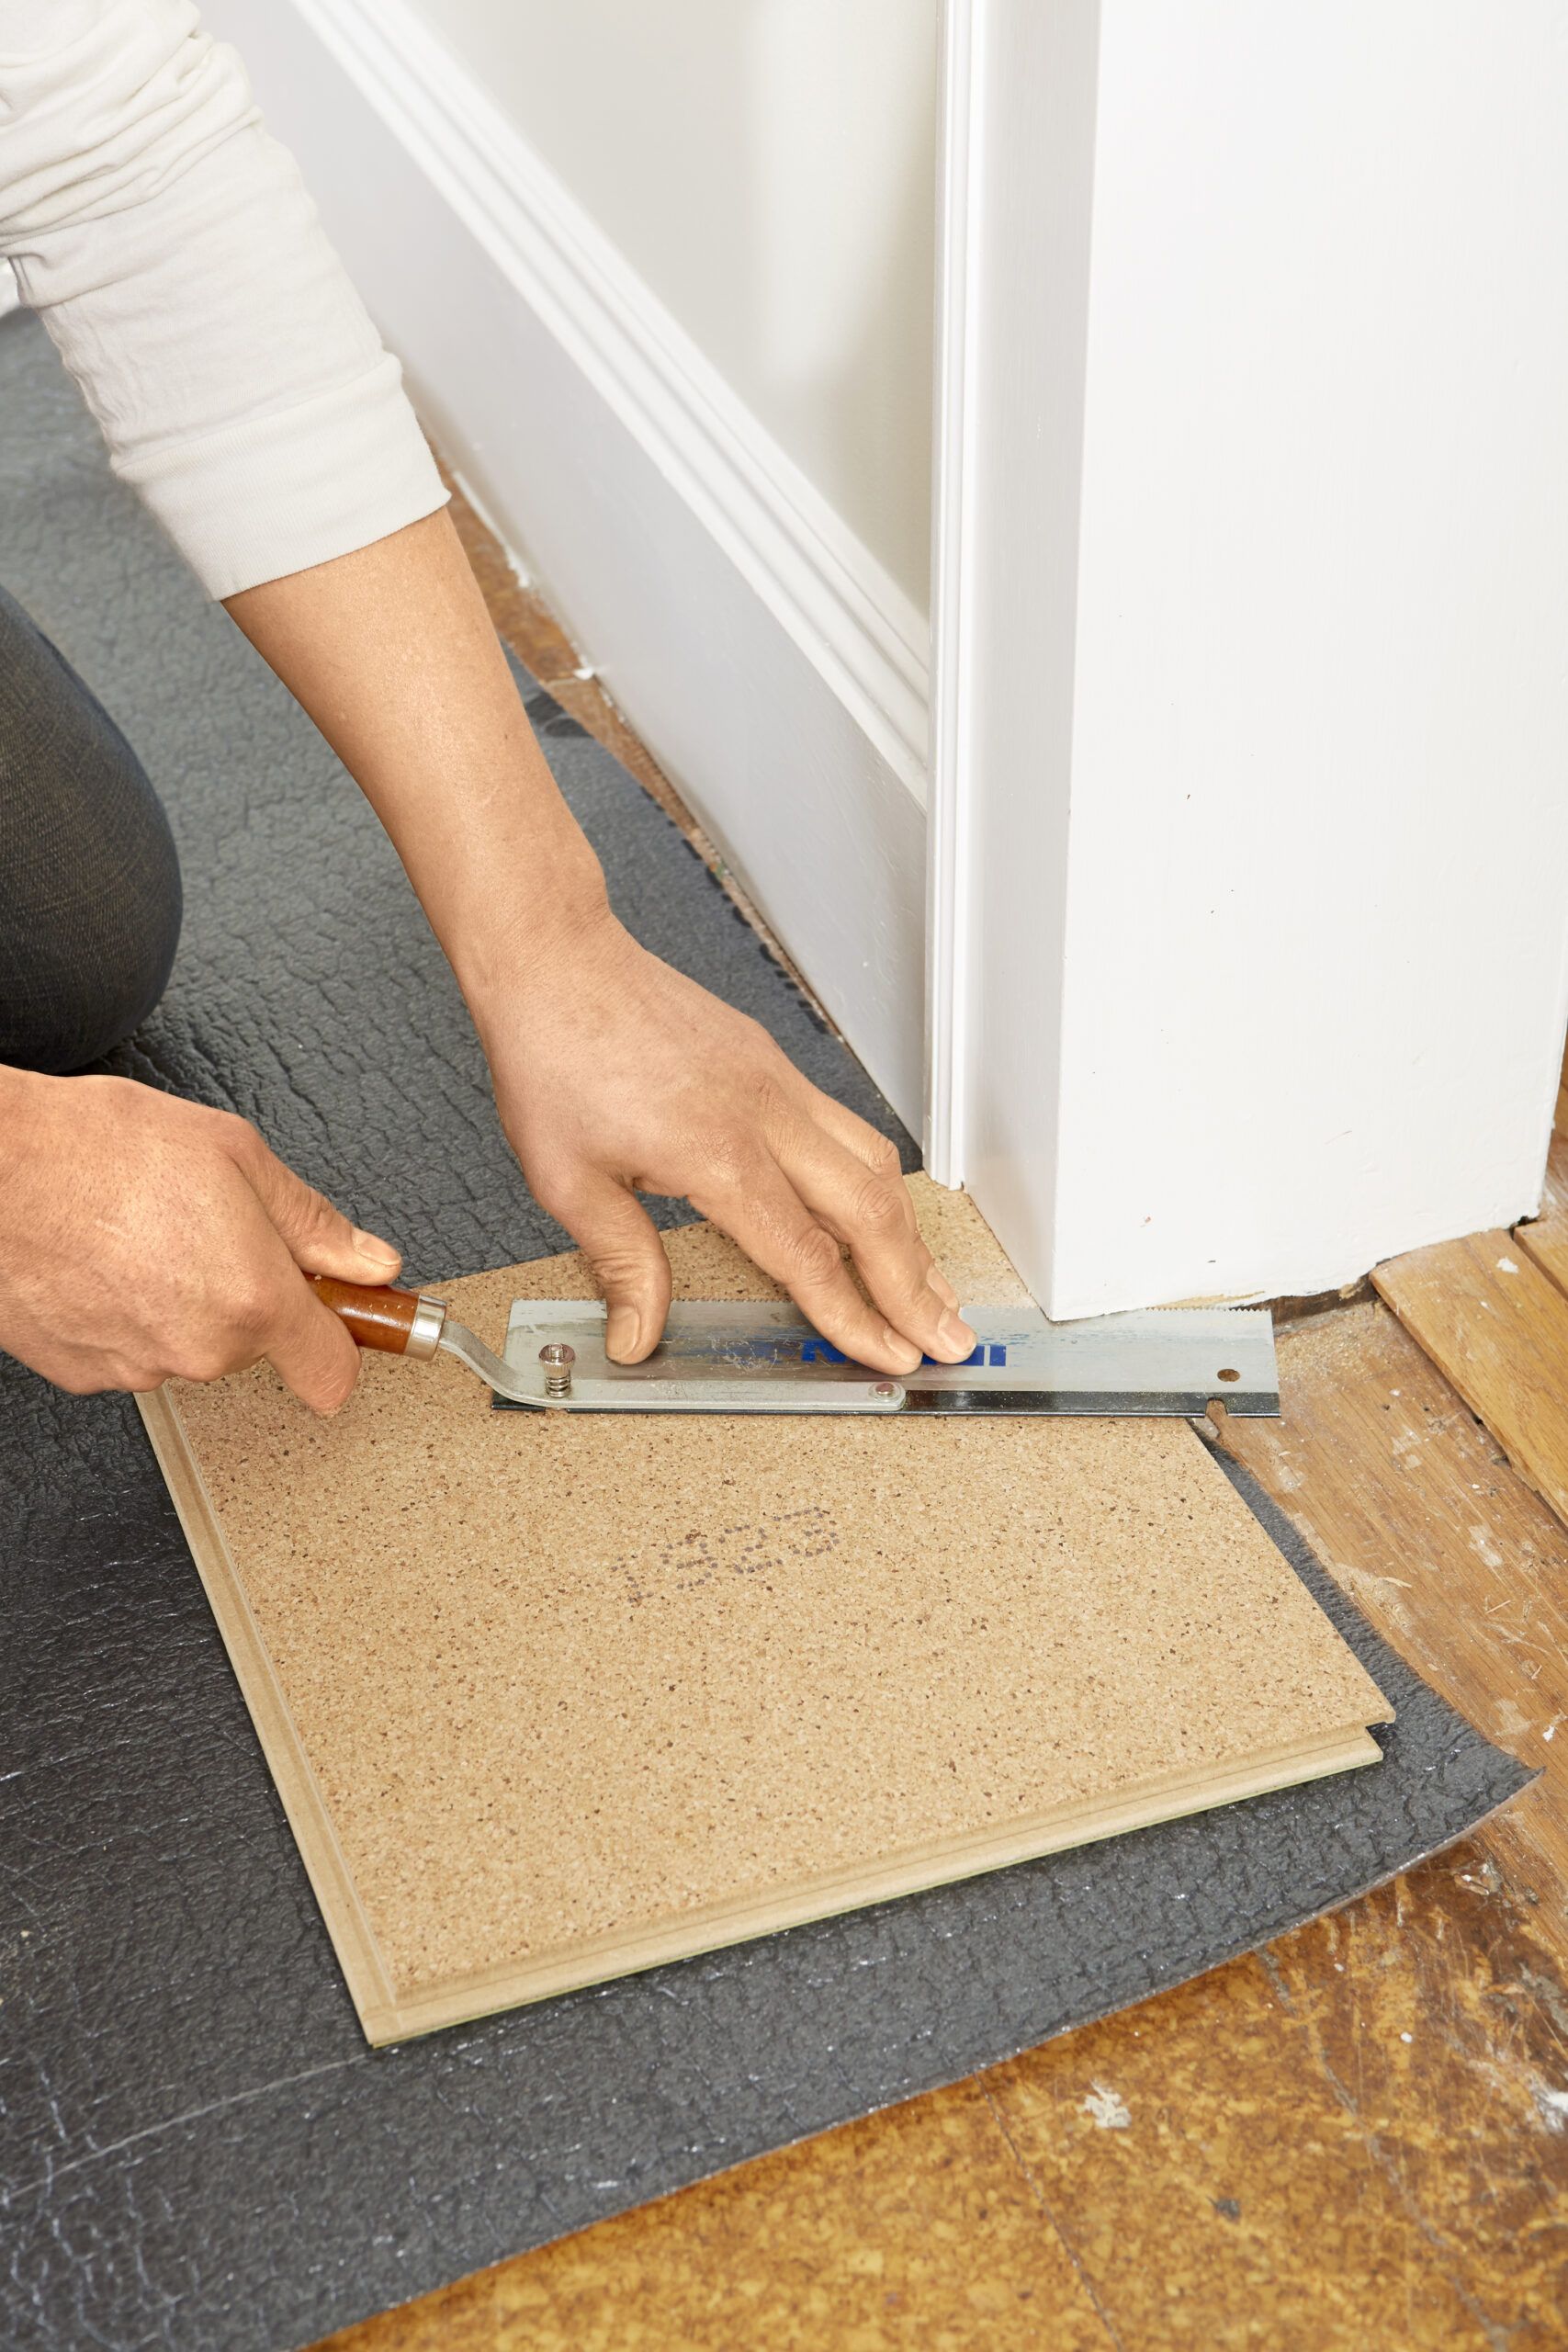
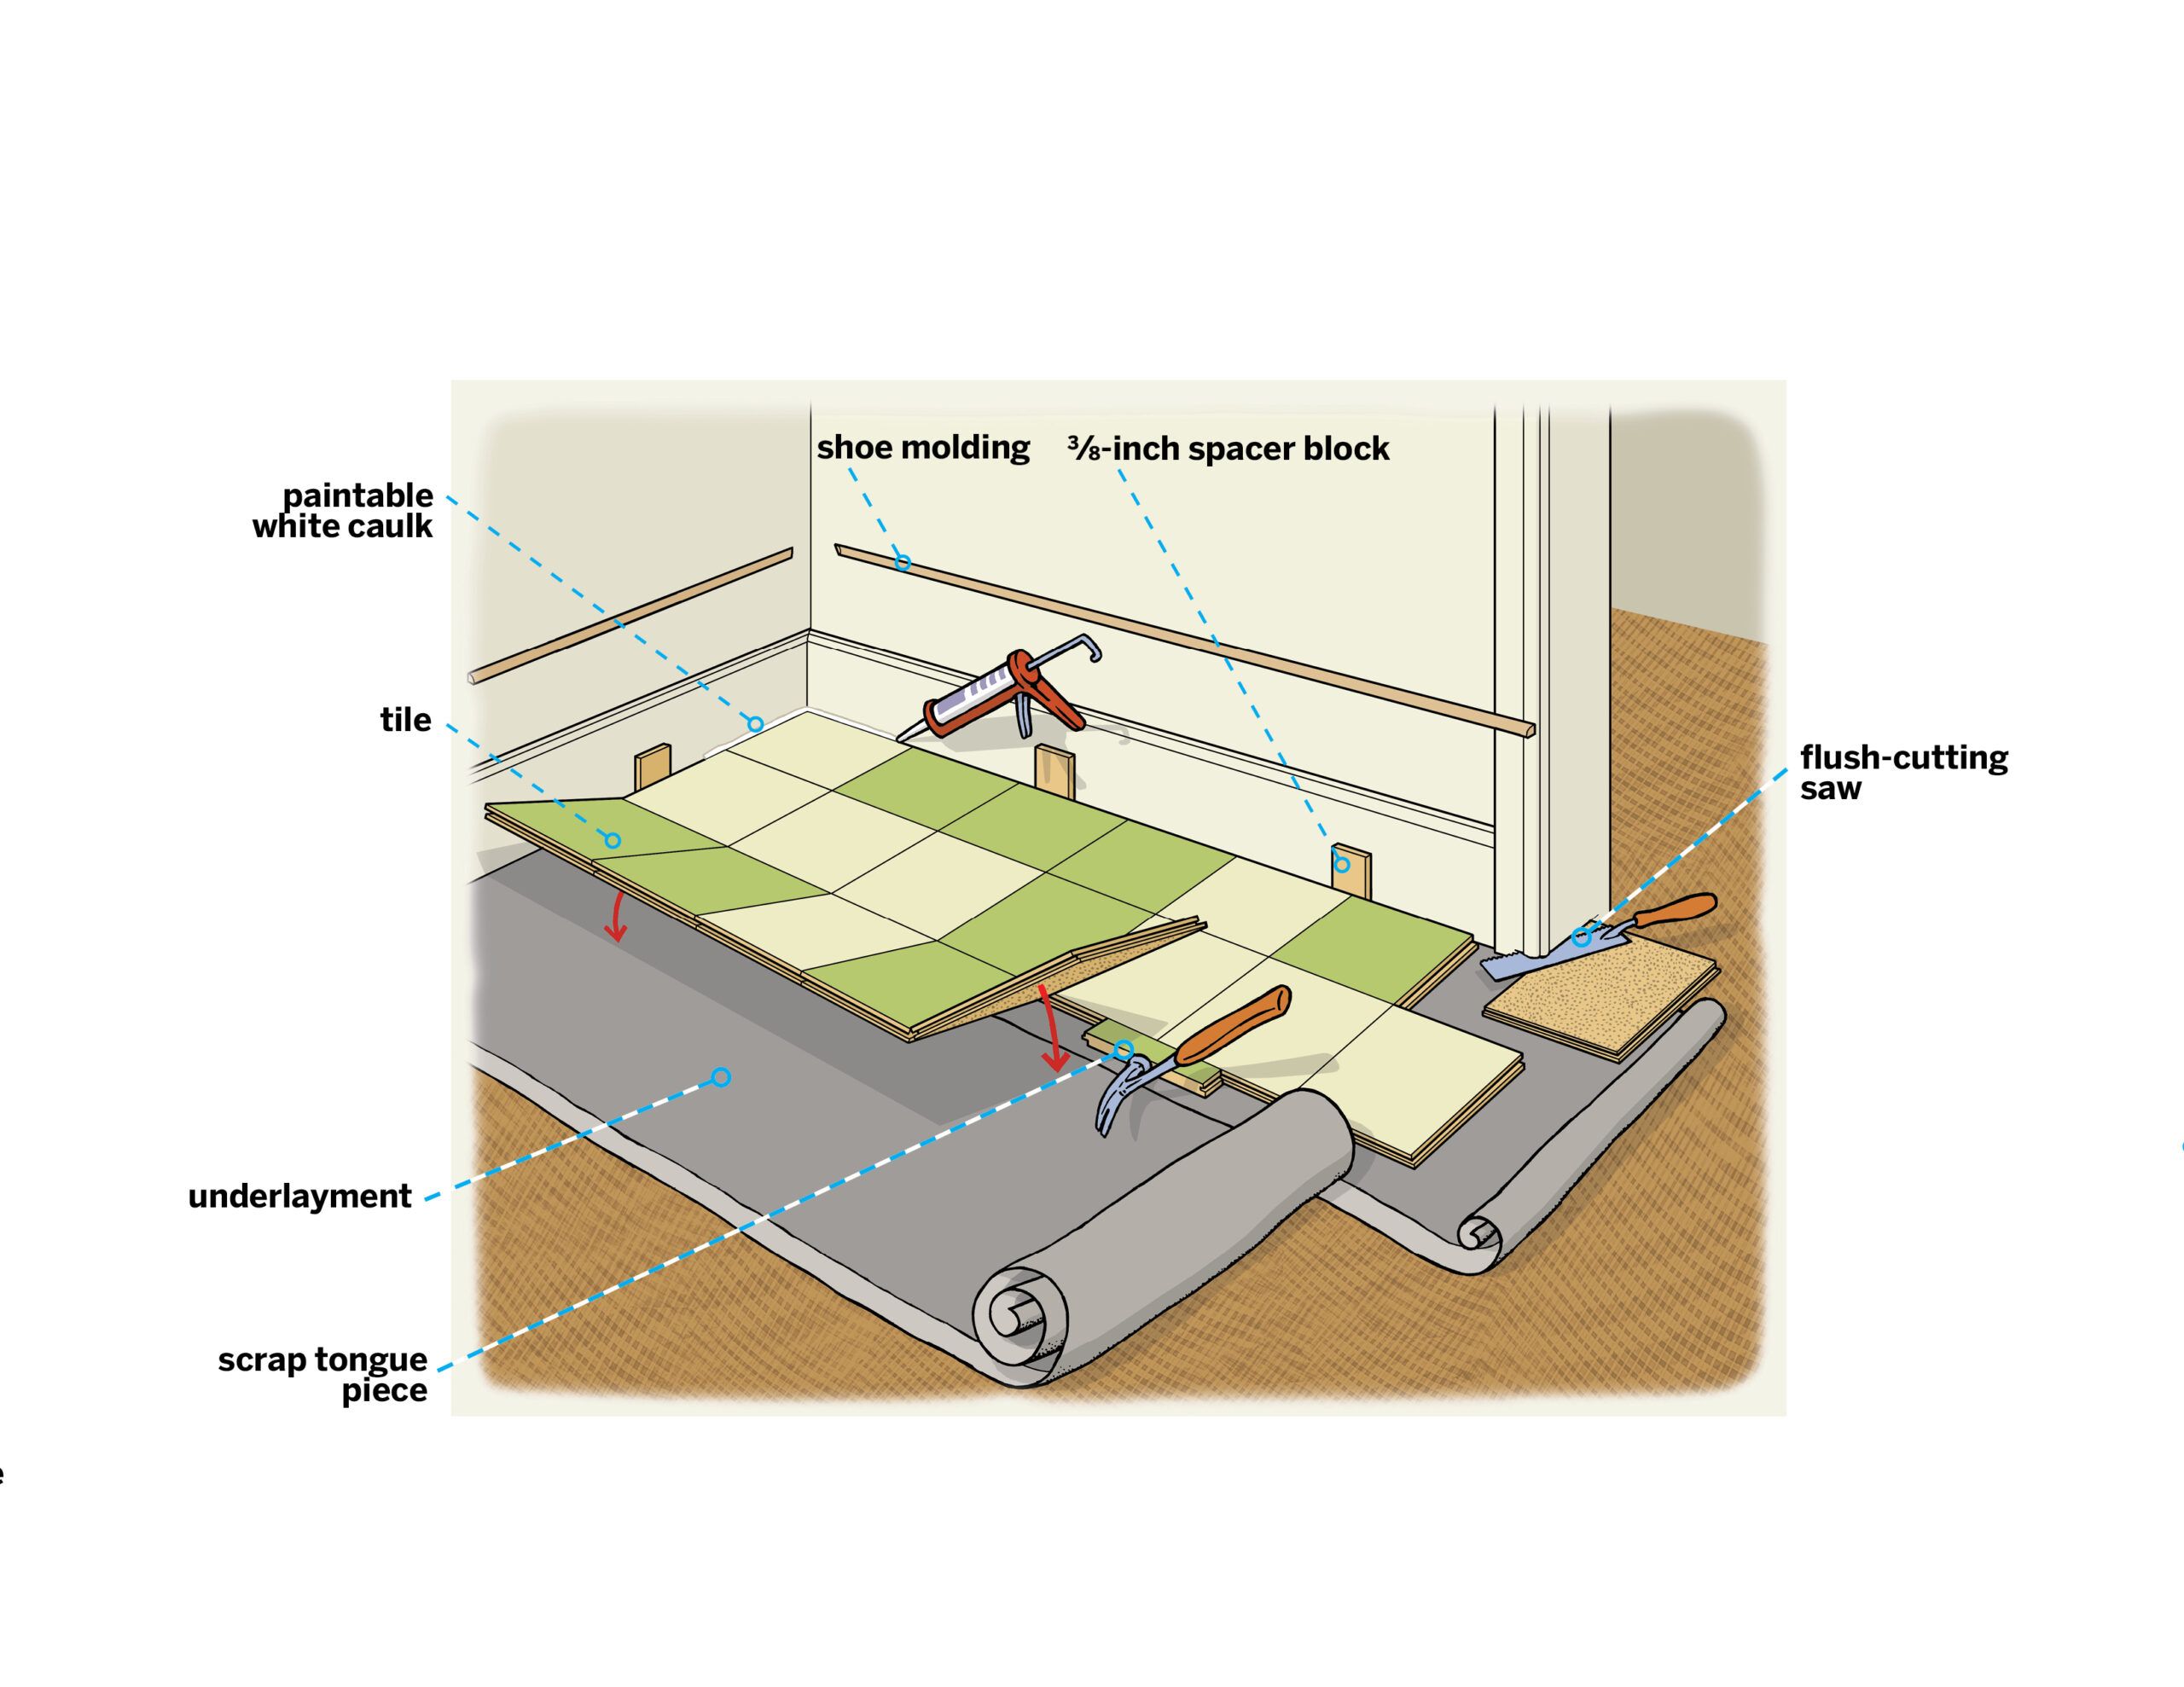
Trim any door casings with a flush-cutting saw so that the tile can slip underneath. Use a section of underlayment and a tile—upside down to prevent scratches—to gauge the height of the cut. Then cover the entire subfloor with foam underlayment. Join the sections along the adhesive strip, and trim them to fit with a utility knife.
Step 2: Dry-Fit the Tiles
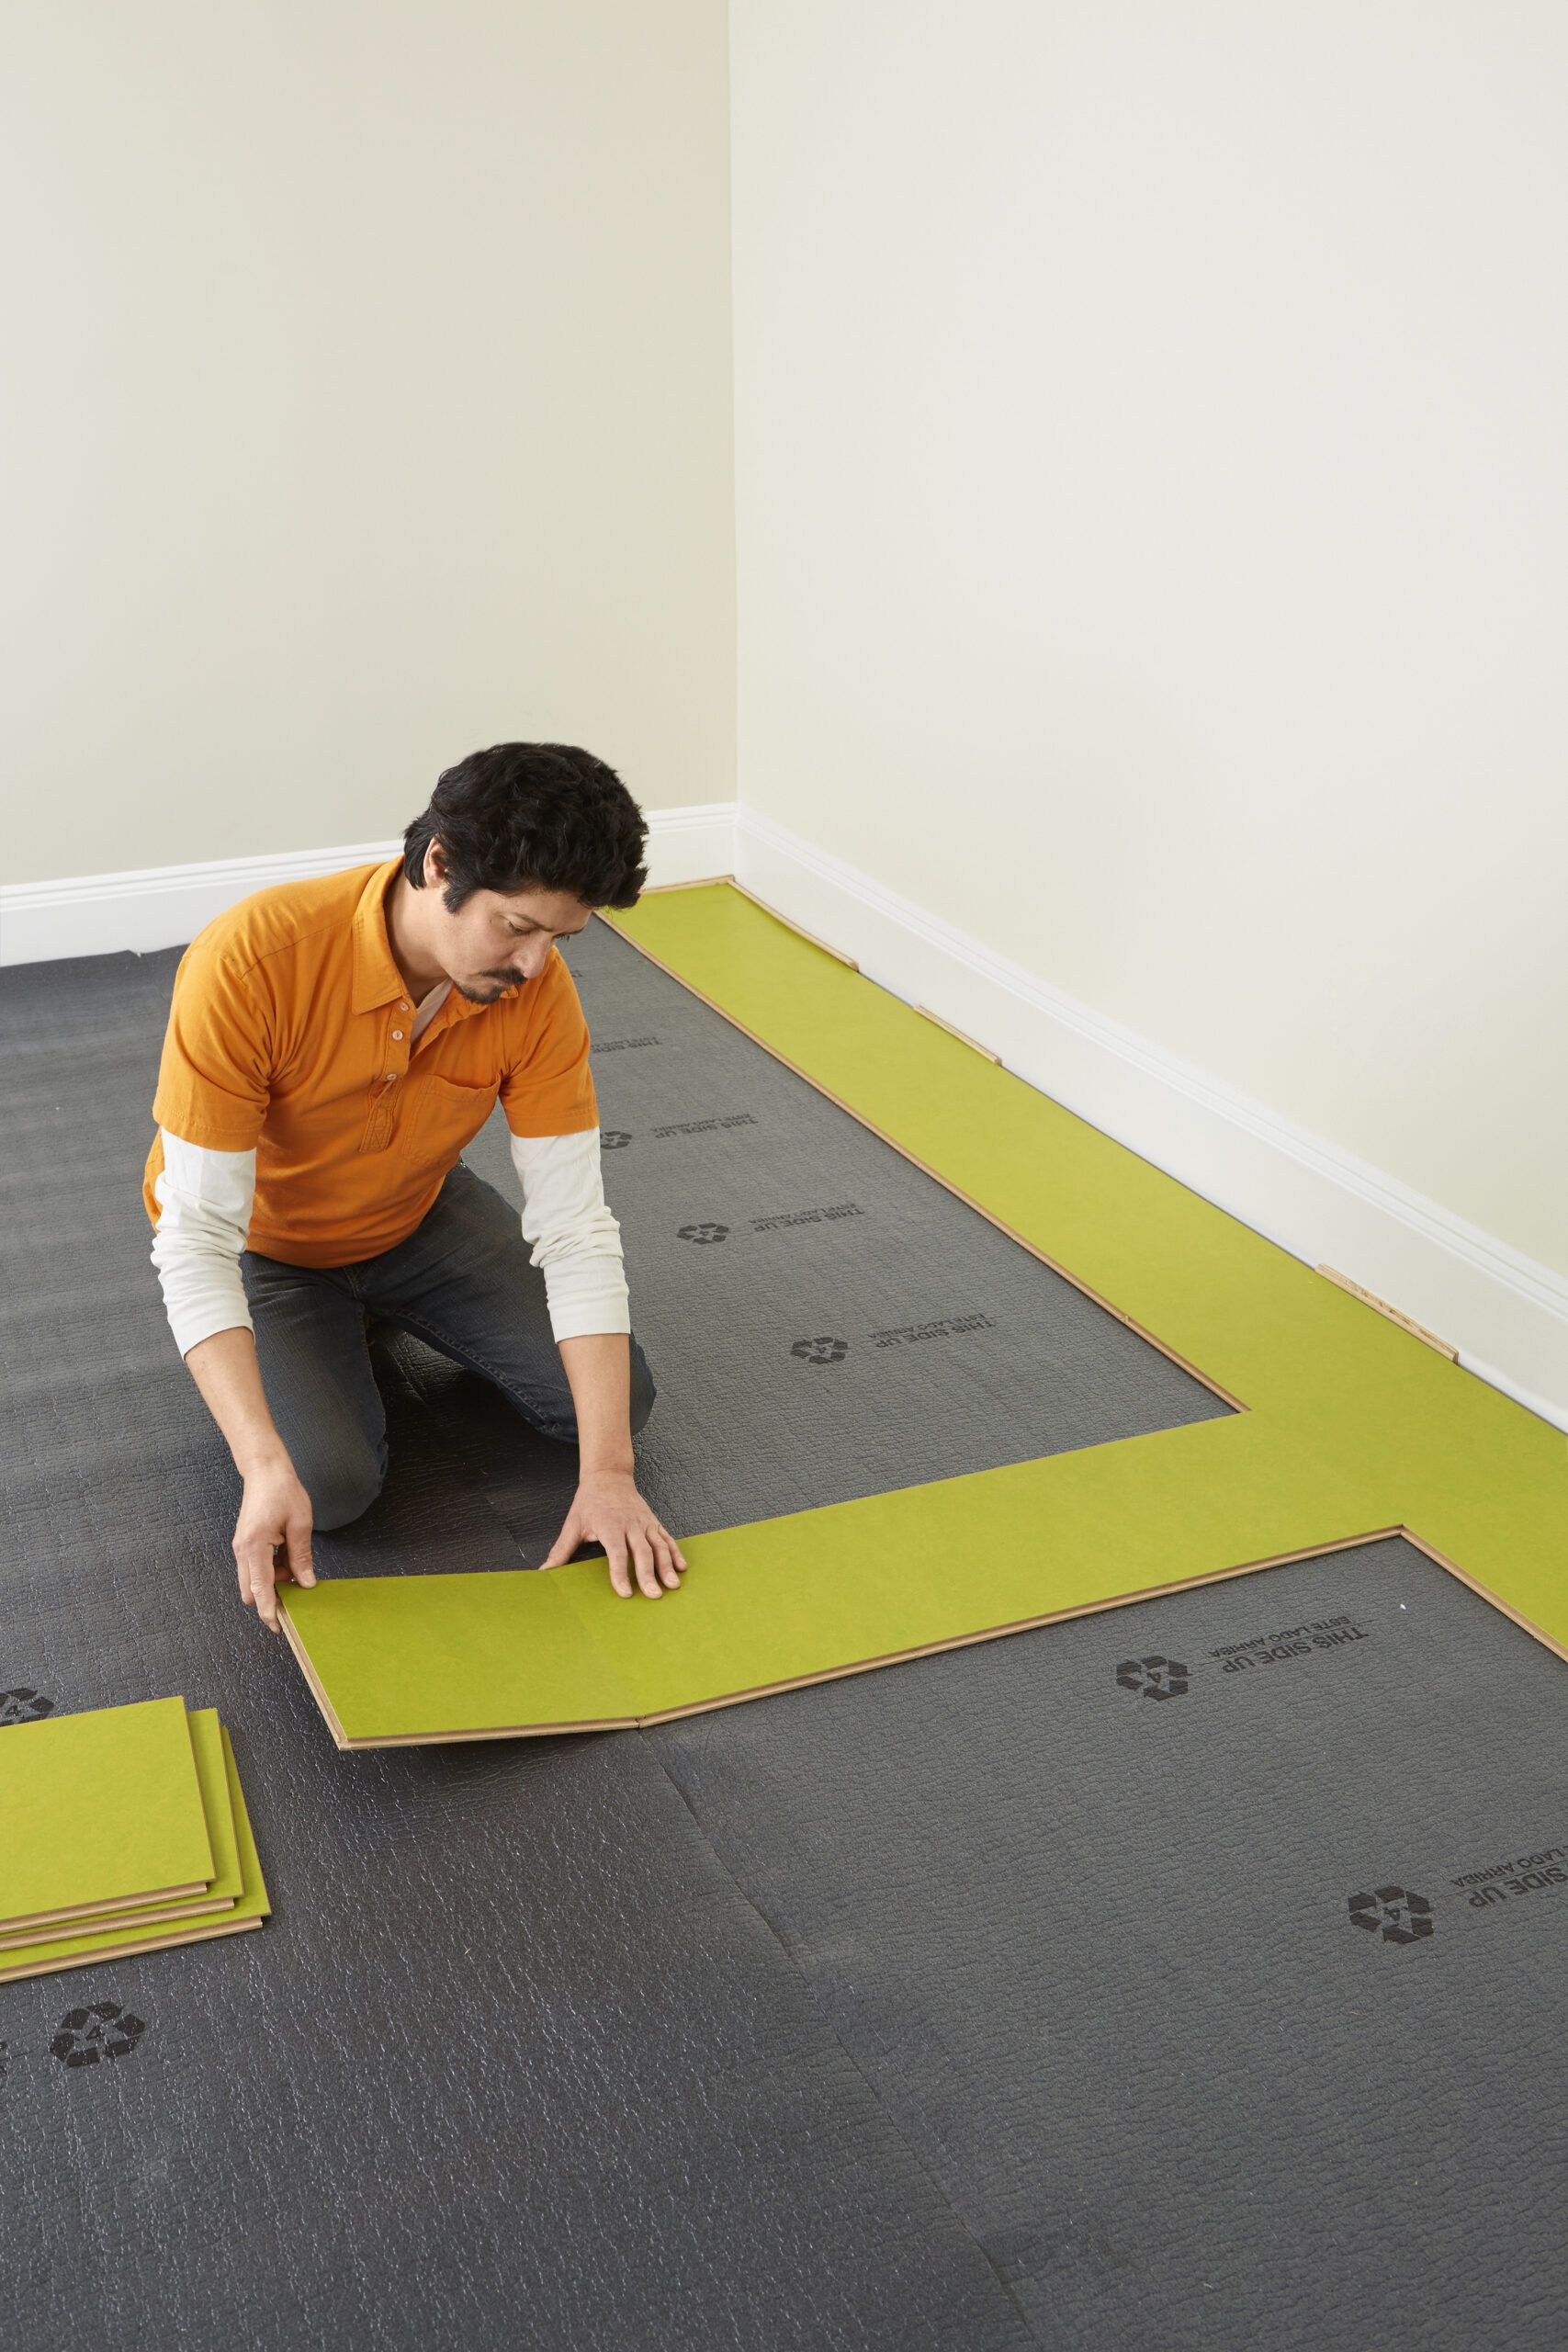
Place ⅜-inch spacer blocks along the baseboard of the room. Orient the tongue edges of one tile toward a corner and snug it against the spacers. Starting from there, click together two perpendicular rows of tiles, as shown, to scout out the size of your fractional tiles in each direction. Measure between the last full tile and the baseboard in each run, subtract the measurement from 12, and divide by 2. You’ll trim that amount off the tiles in the first and last courses.
Step 3: Trim the First Course

Use a jigsaw to trim the tiles in the first course. Be sure to orient the tiles correctly and remove the top edges, which have tongues. In our case, the gap for the fractional tile was 10 ½ inches, so we chose to cut 1 ½ inches off the first course instead of splitting the difference. That gave us a 1 ½-inch extension into the threshold and saved us from trimming the last course.
Step 4: Orient the First Tile
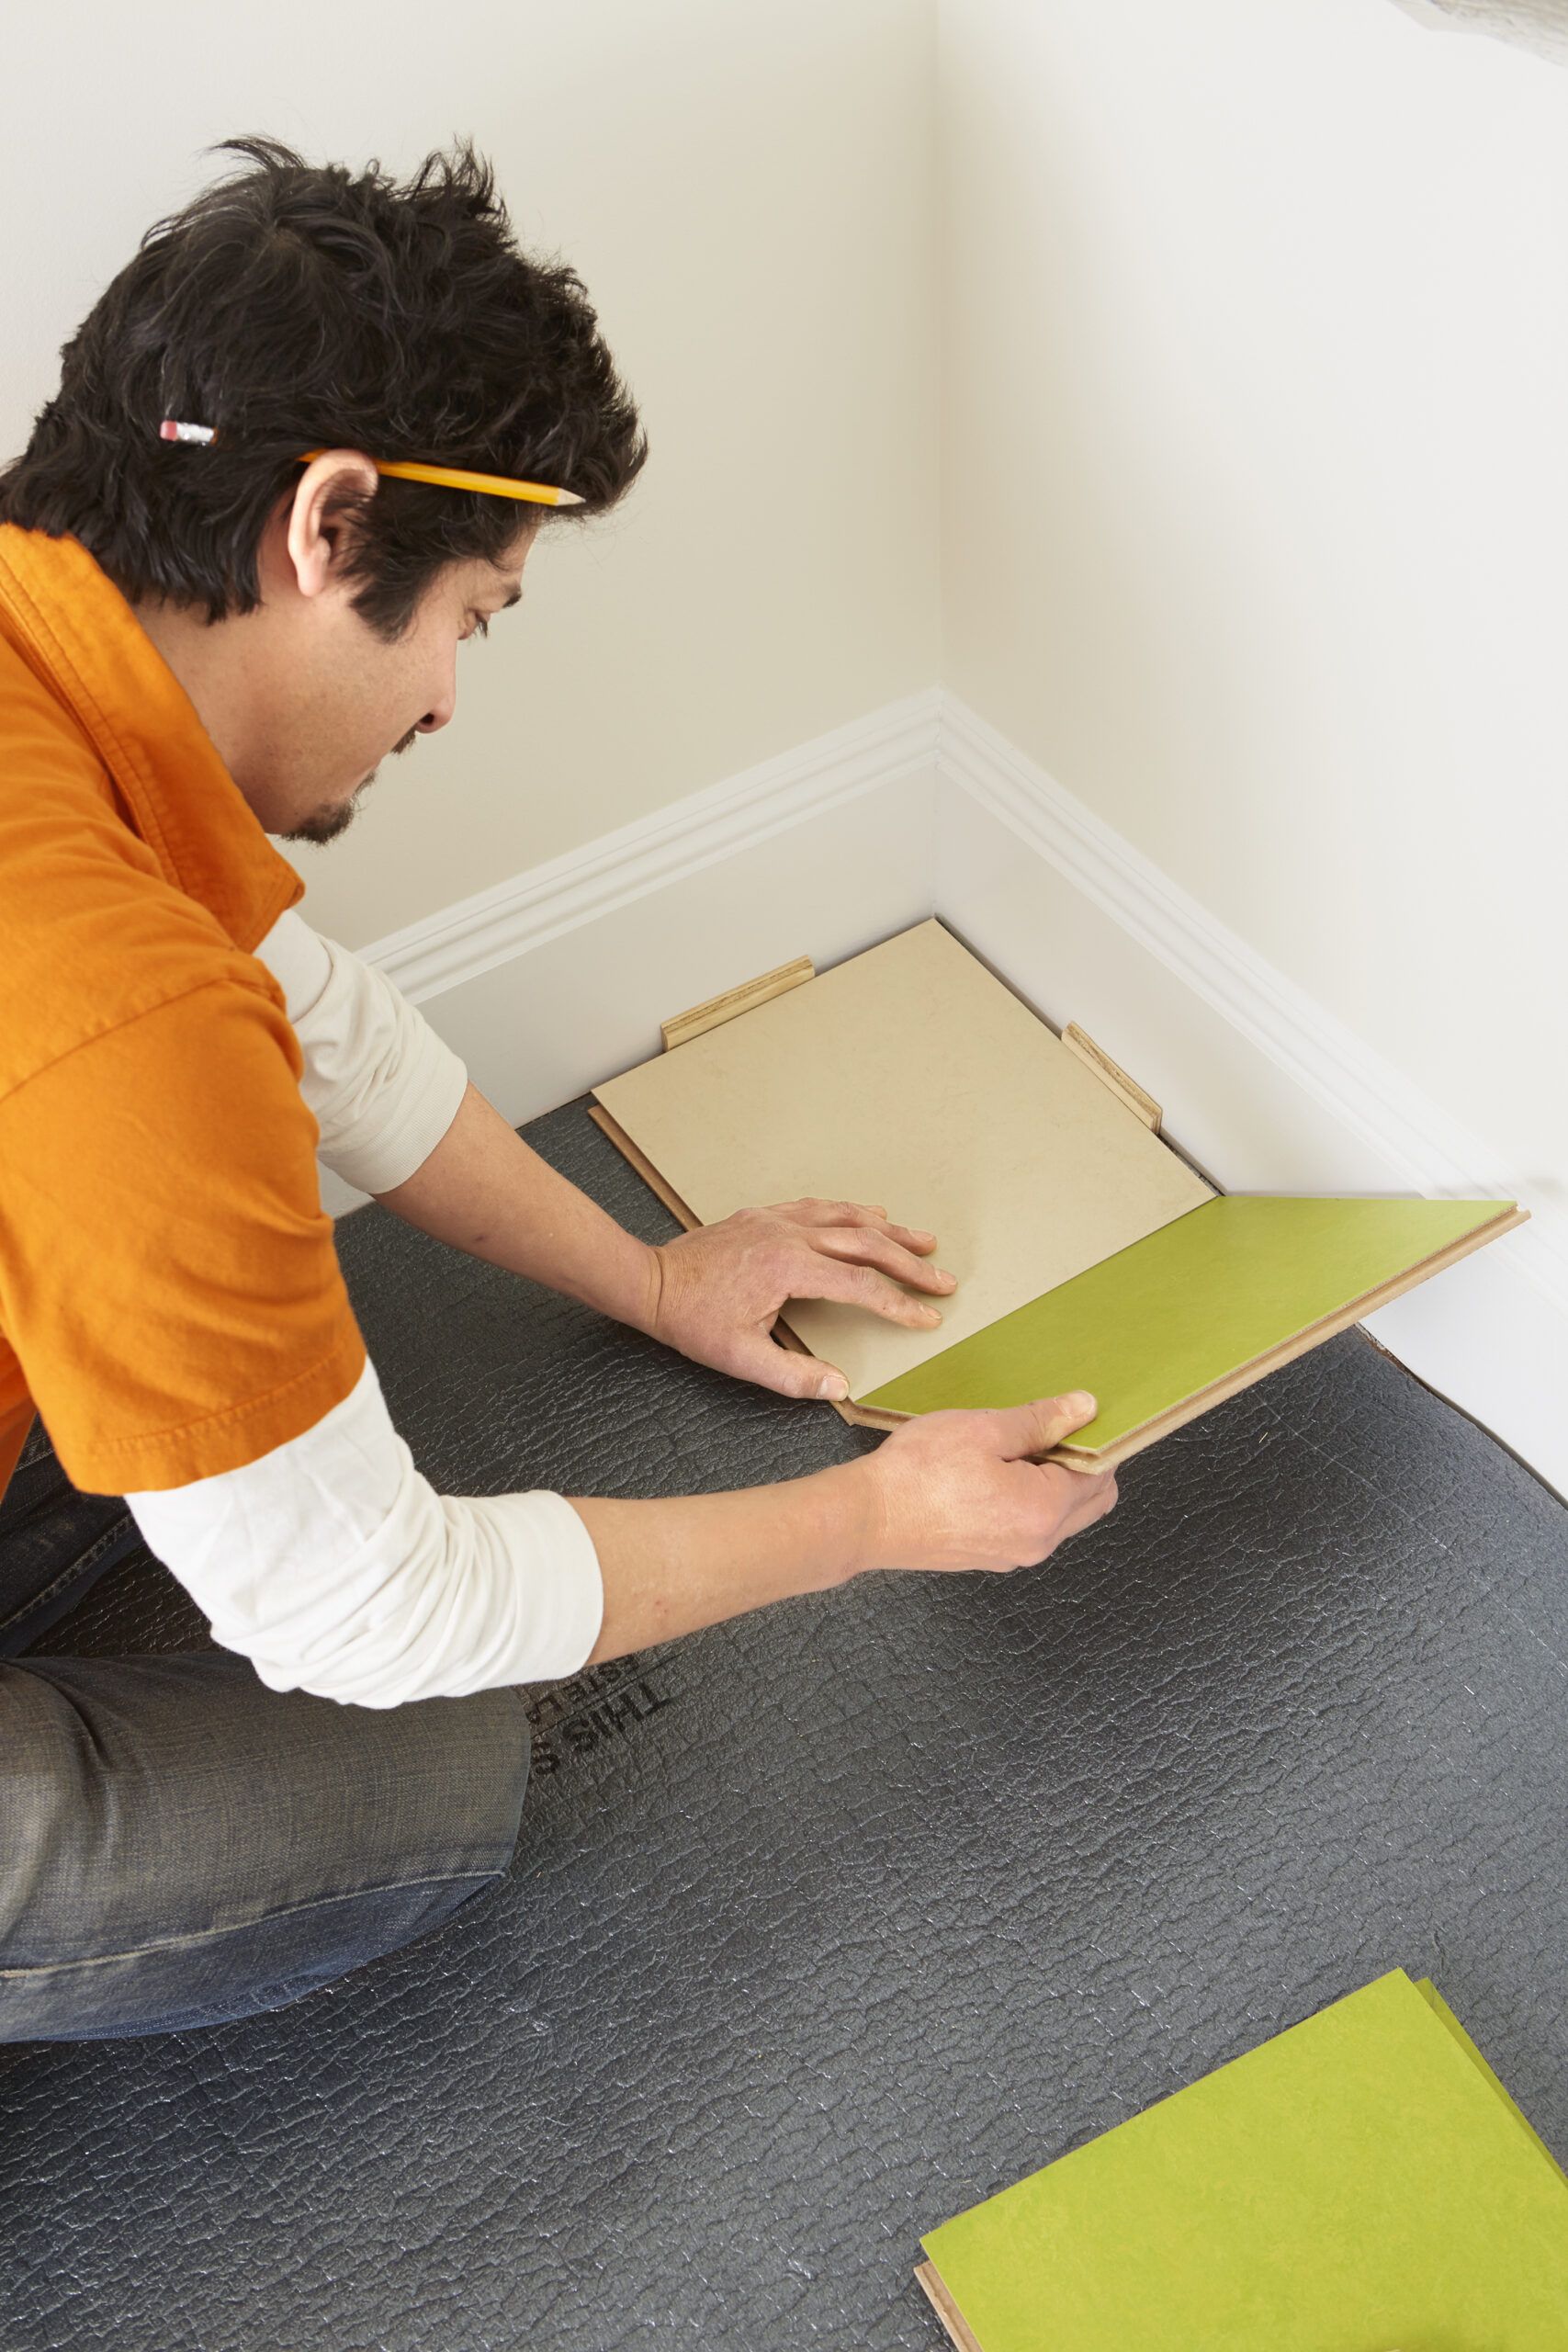
Starting at the left-hand side of the longest wall, place the first tile with its tongue edges toward the corner, against the spacers. This leaves two groove edges exposed: one for the neighboring tile and one for the second course. Working left to right, angle the left-hand tongue of the second tile into the right-hand groove of the first, as shown. Align their top and bottom edges, then press the tile flat. Continue laying tiles until you meet a threshold, as we did, or the right-hand wall—in which case you should trim-fit the last tile and skip to Step 6. For a threshold, continue to Step 5.
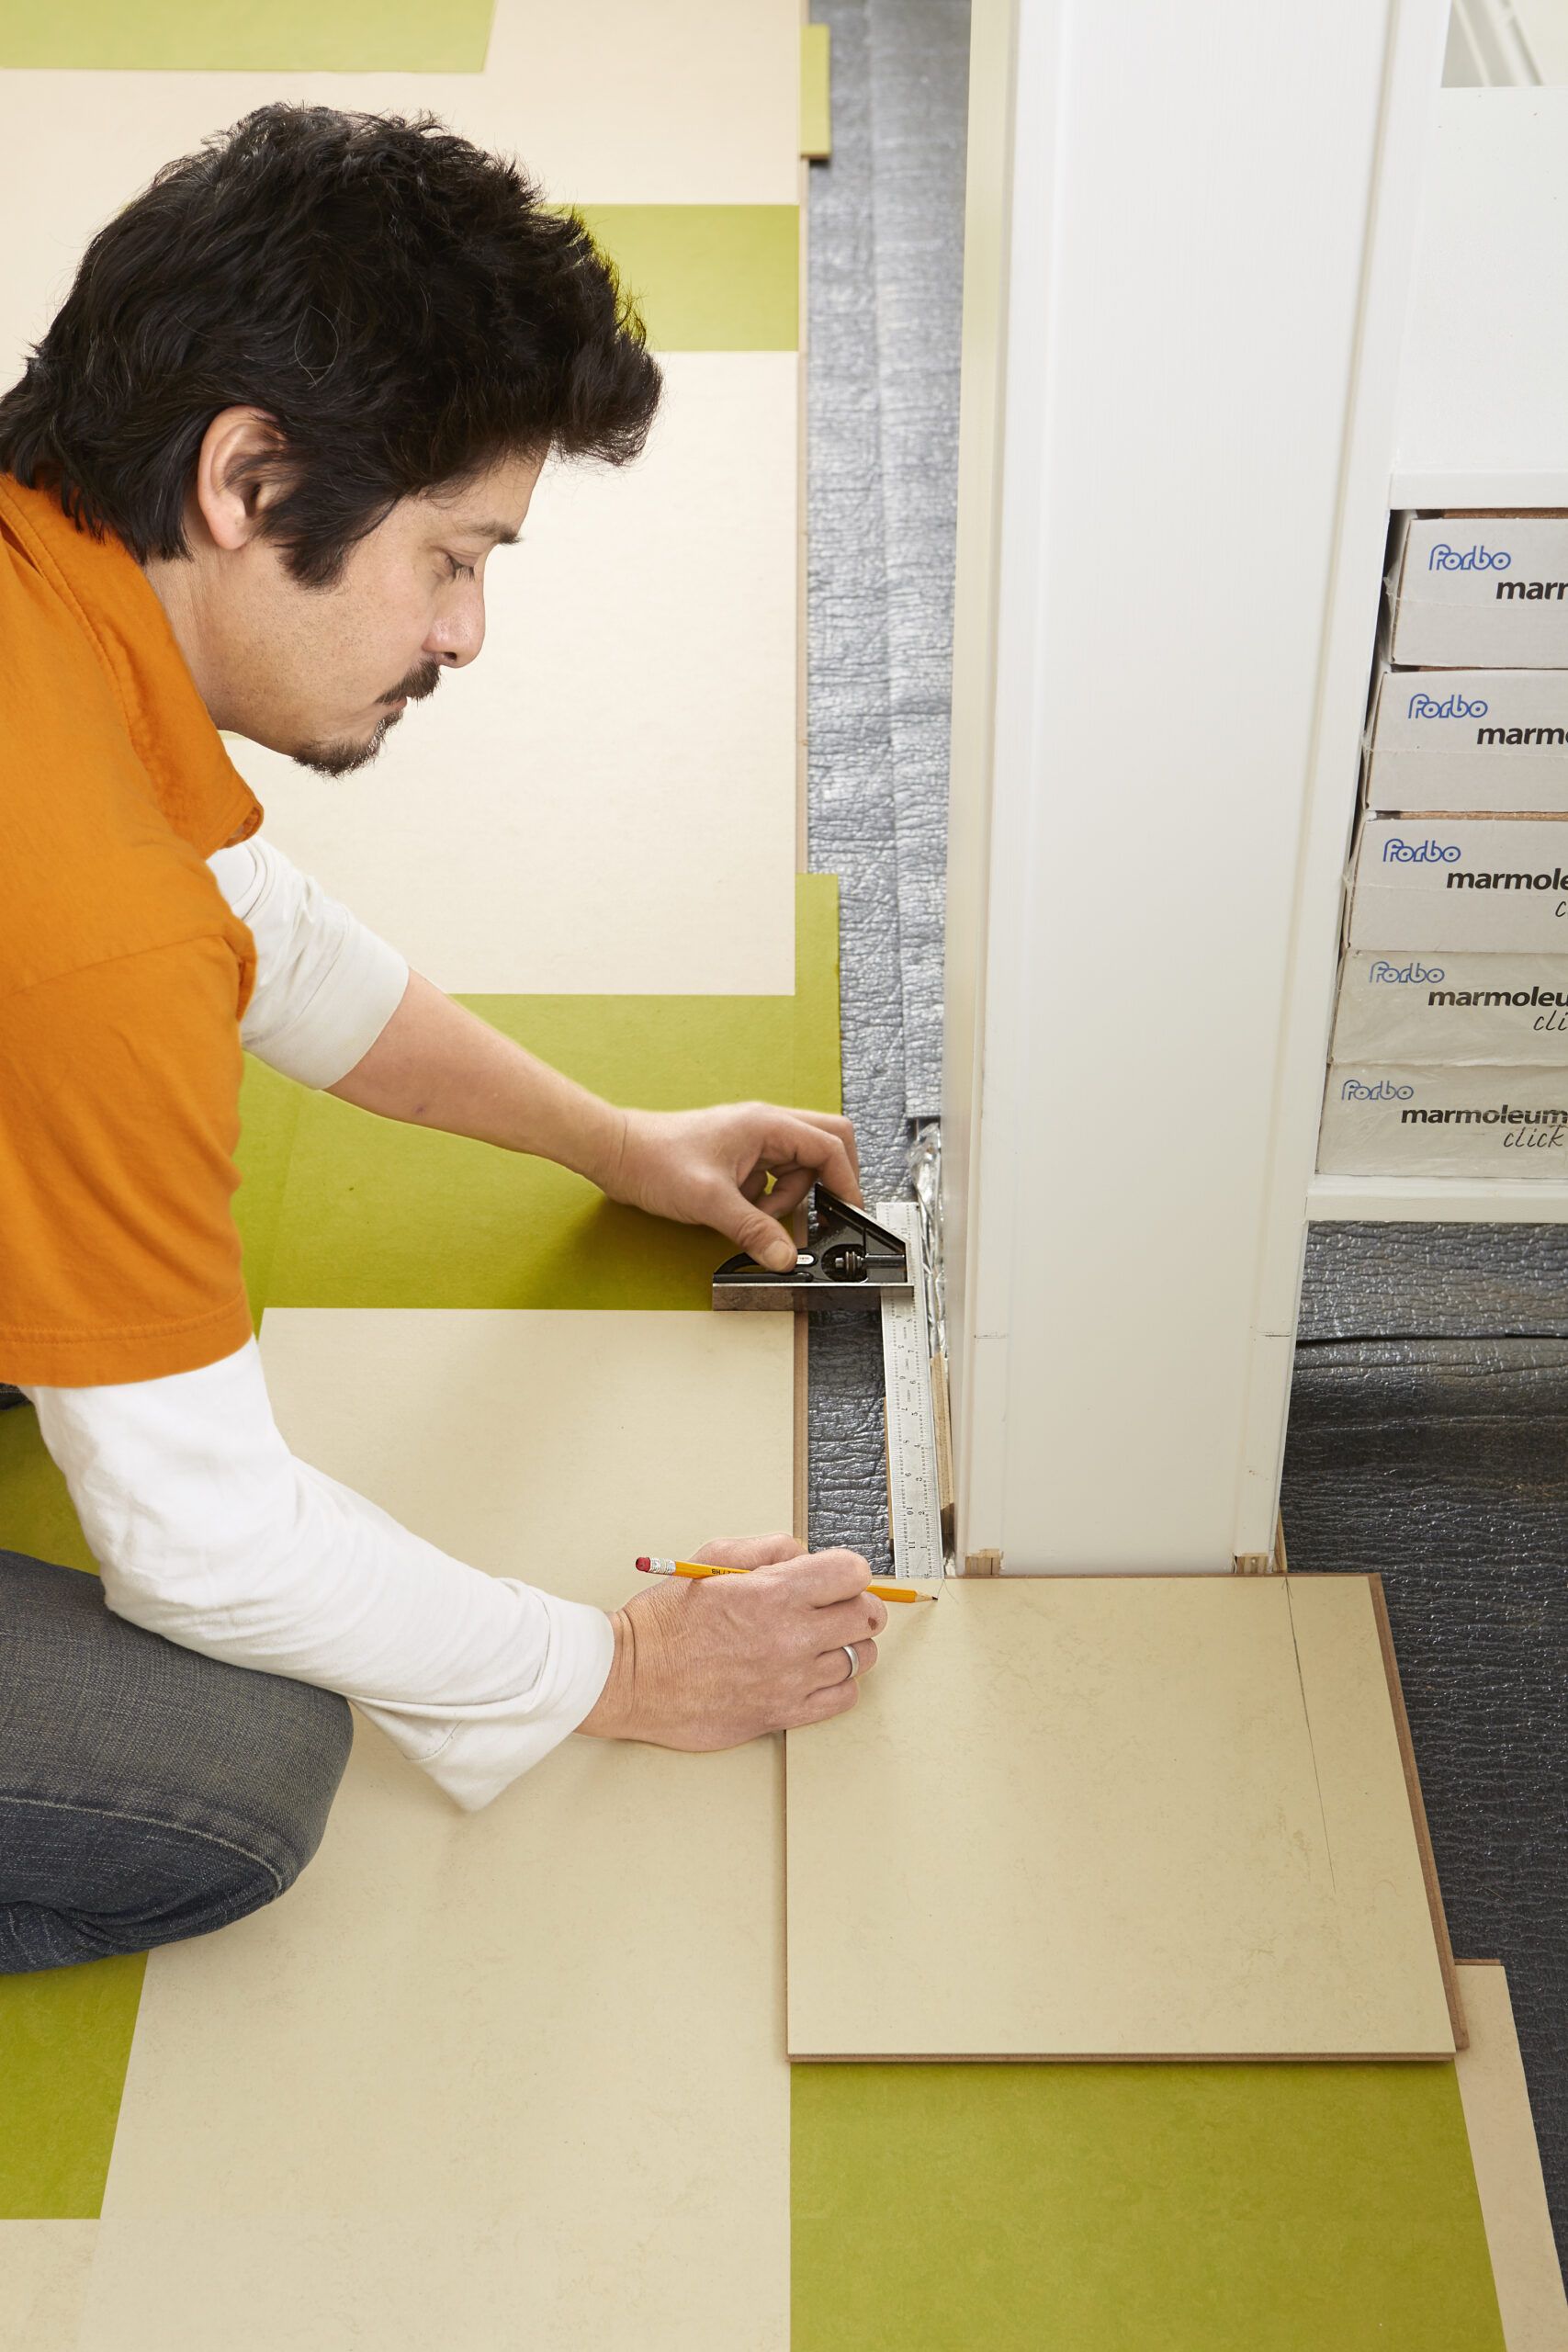
Step 5: Work Around Thresholds
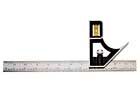
Connect the tile that straddles the threshold to its trimmed neighbor, with their top edges aligned. Hold a combination square against the jamb and mark the width of the notch. Now shift the tile to align the bottom edges, and mark the depth of the notch. Use the square to connect the perpendicular marks, and cut the notch with a jigsaw. Pull the first course from the wall to connect the notched tile, as shown, and slip it in place under the flush-cut casings.
Tip: If you want to avoid using shoe molding to cover the expansion gap, remove the baseboard before starting and reinstall it as the final step.
Step 6: Lay the Second Row
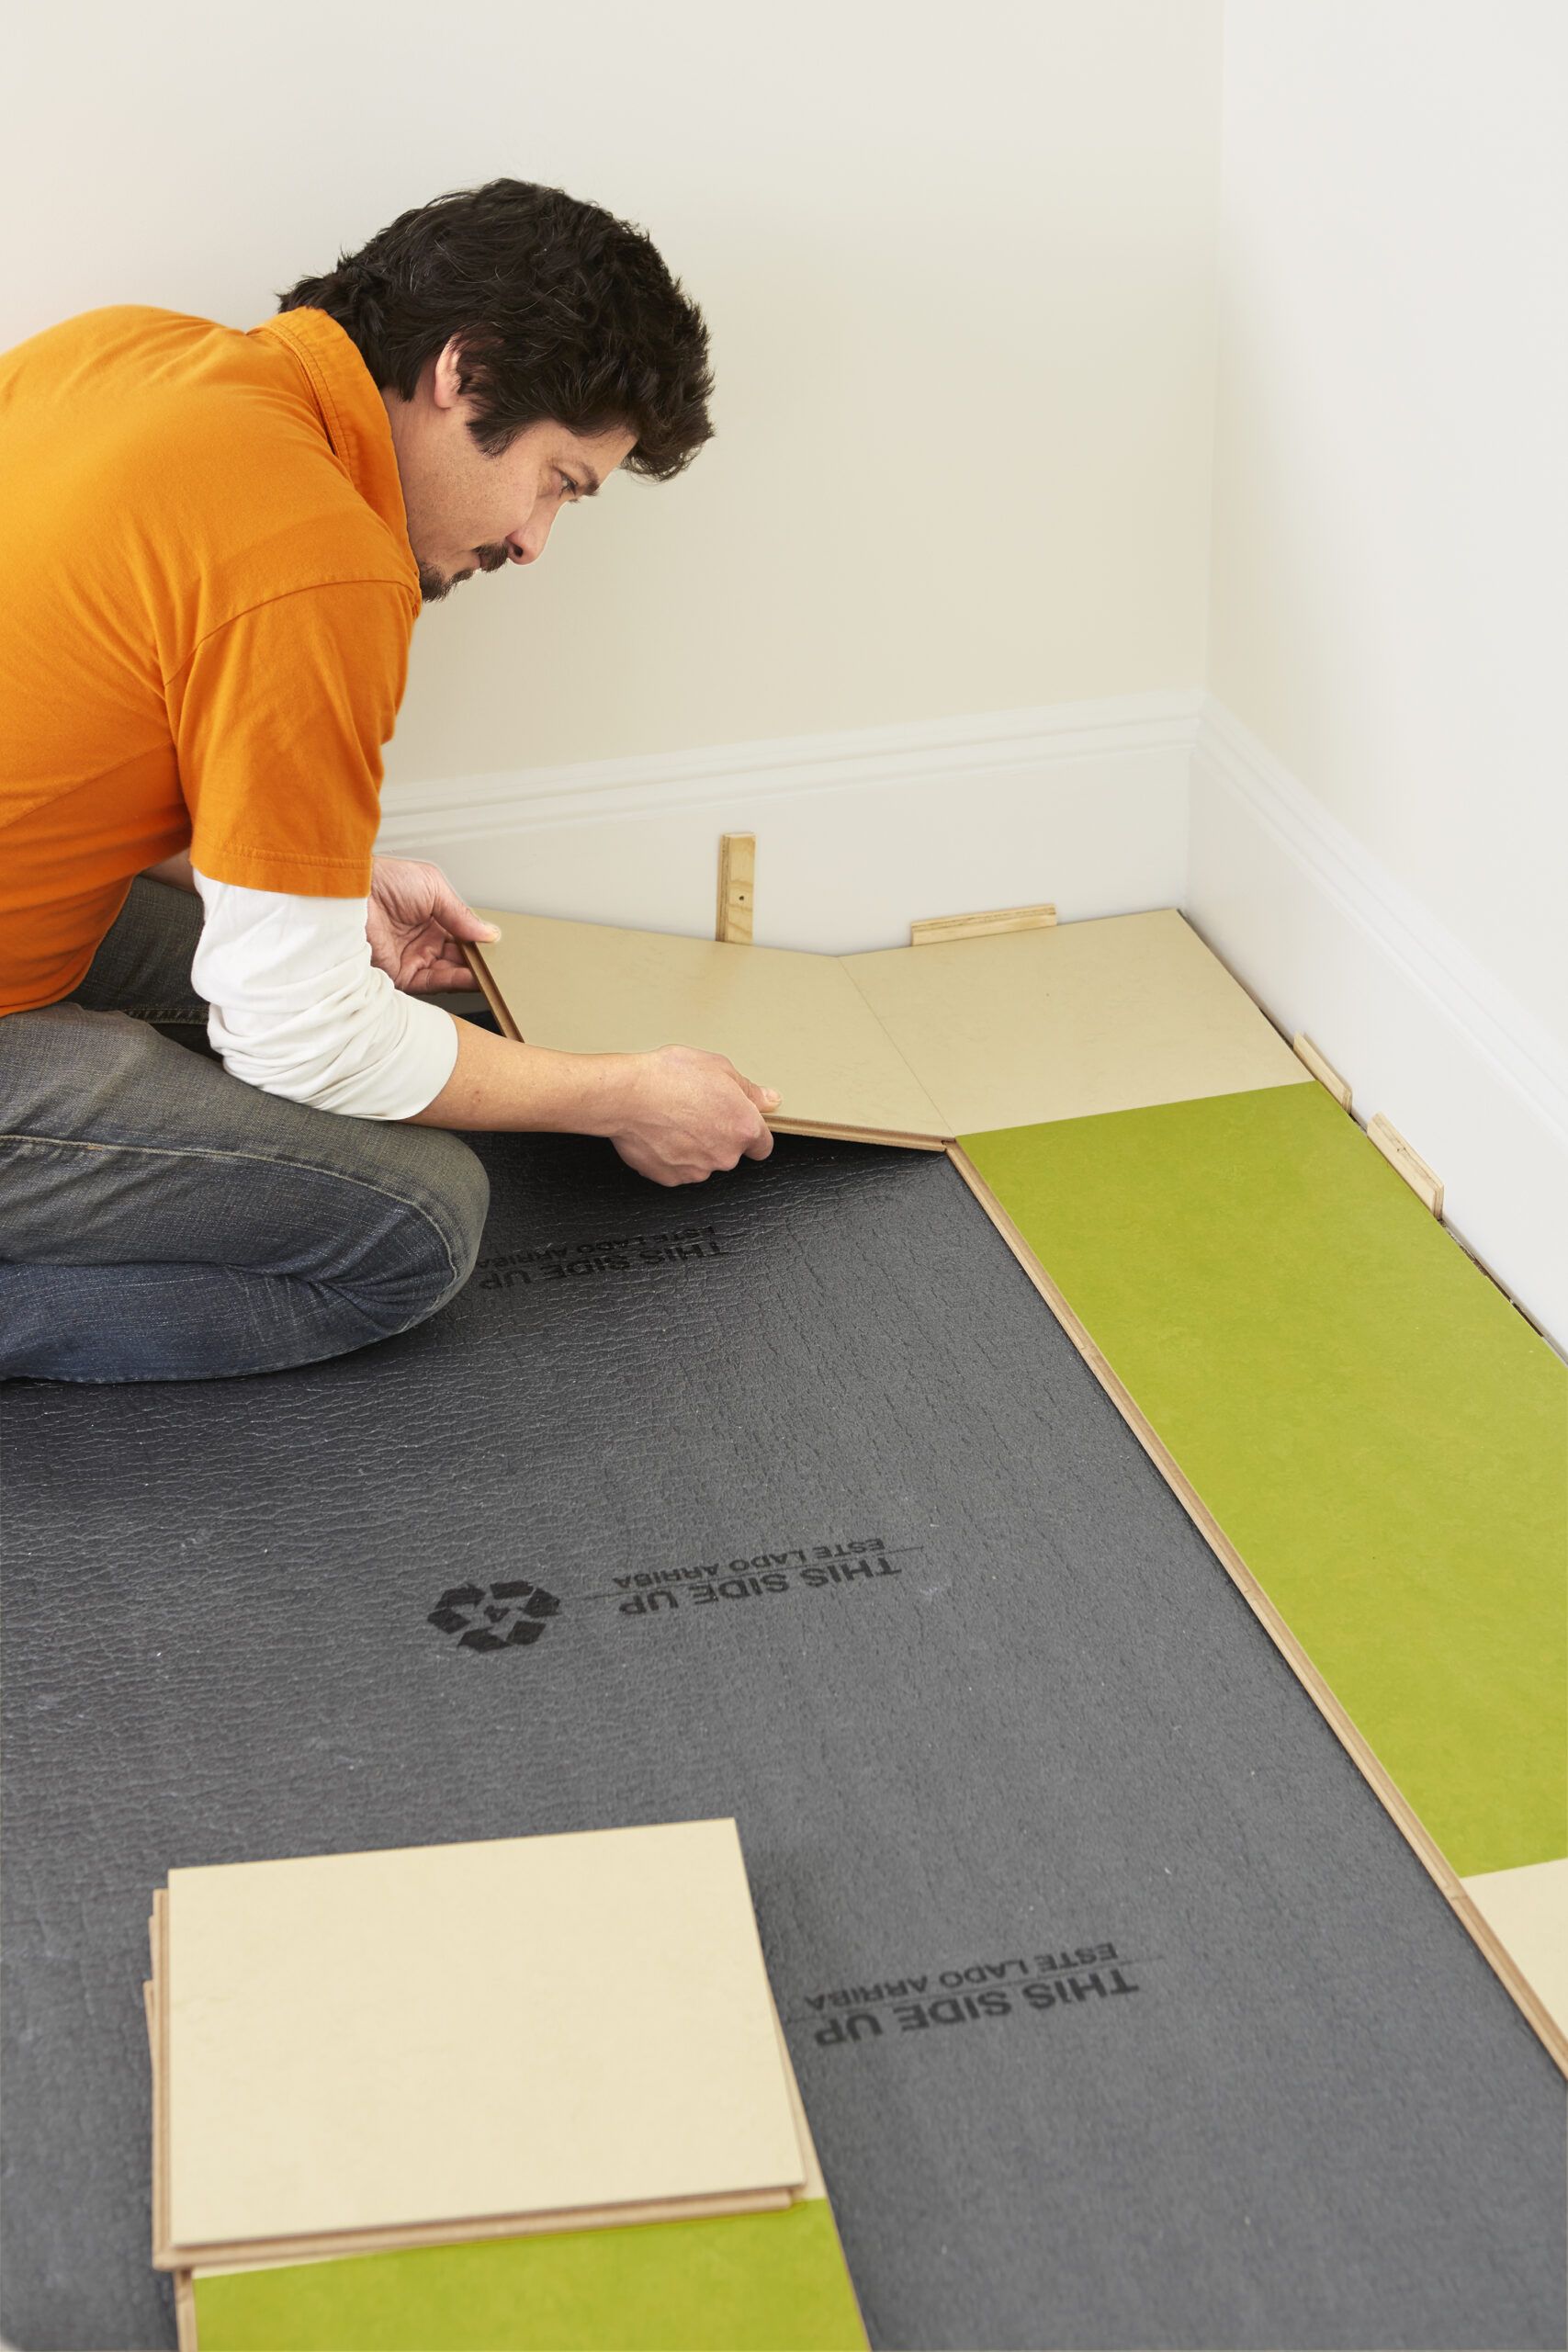
Hold the first tile at a slight angle to the floor, as shown, and insert its top tongue into the bottom groove of its counterpart in the first course. Maintain that angle and connect the next tile to its right-hand groove, coming in at a second angle. Now drop the second tile in plane with the first and slip its top tongue into the groove of the first course. Continue adding tiles until the end of the course, then drop the entire course in place.
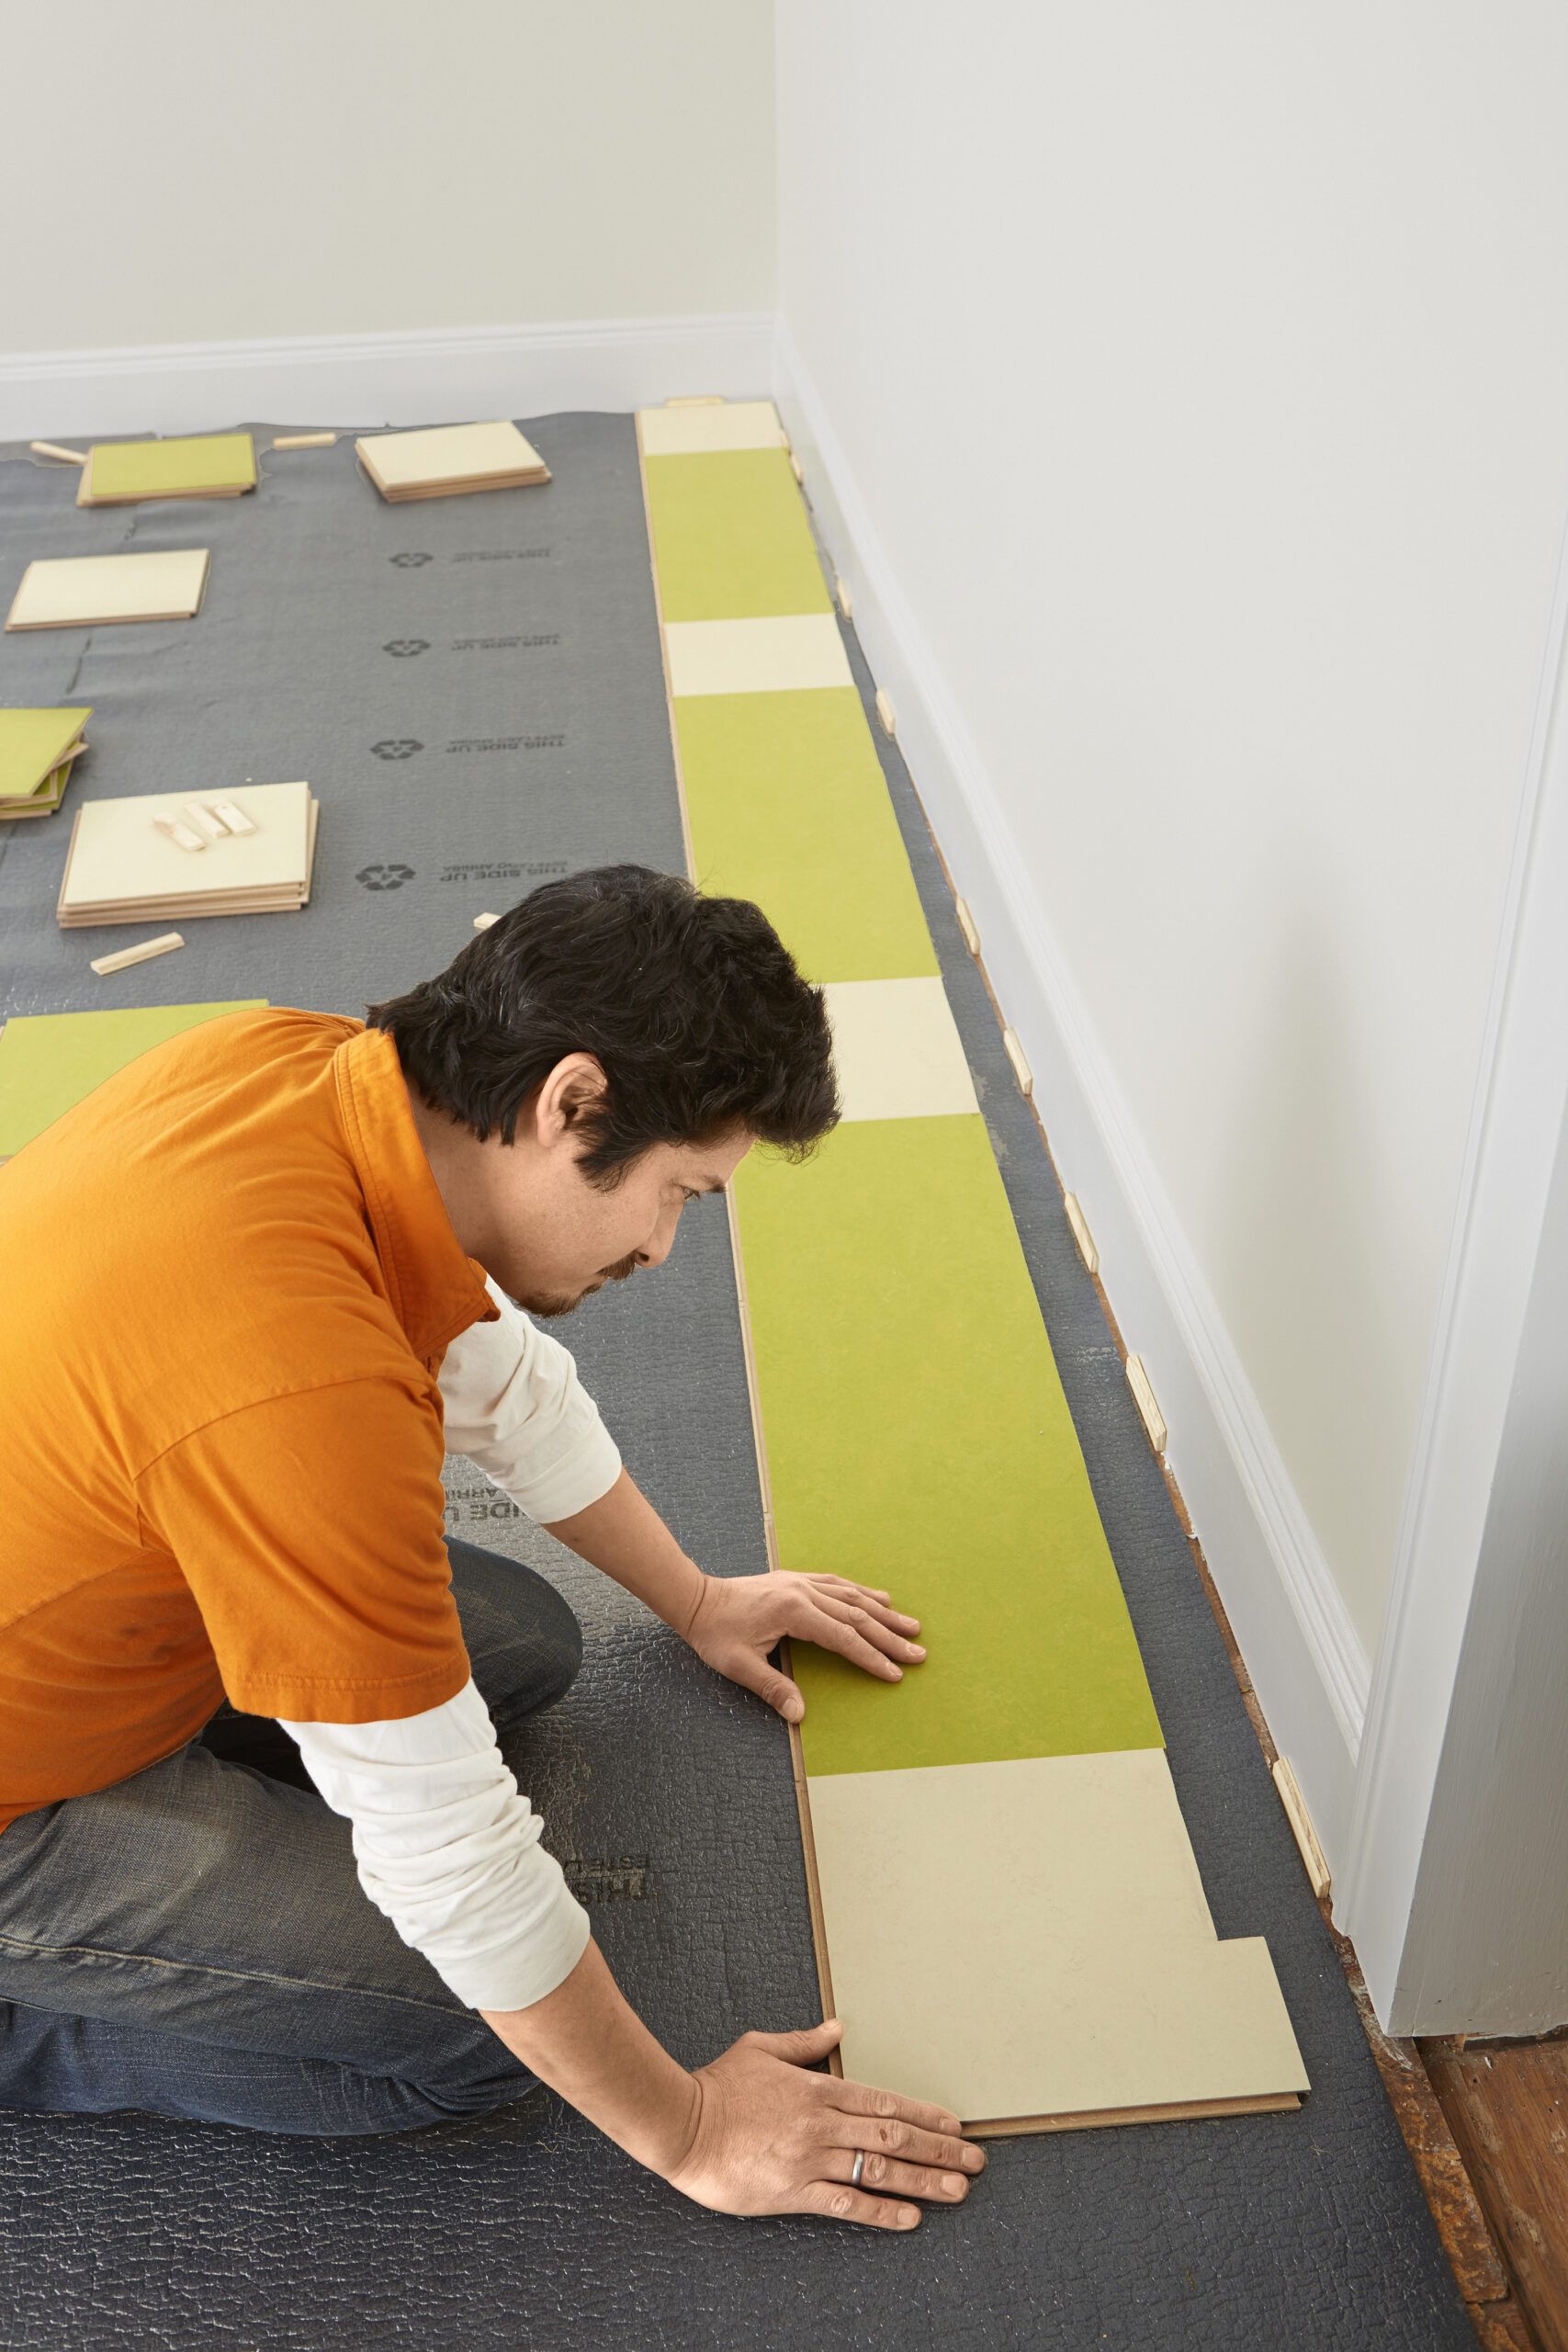
Step 7: Continue the Pattern

Continue the installation according to your graph-paper pattern. Ours alternates rows that repeat three tiles of one color, then one of the other. For each course, check that the exposed groove-side edges are flush. Where they’re not, snap a scrap tongue piece into the grooves of adjacent tiles and use a hammer, as shown, to lightly tap the protruding edge back in line. Inspect the intersections where four tiles meet, to ensure that all edges are aligned and that the seams are not visible.
Step 8: Mark the Notch
Butt the tile to be notched against the column’s spacers. Align the head of the combination square with the right-hand seam of the tile’s destination. Hold the blade against the spacers, extend it to meet your tile’s finished edge, and mark the start of the notch, as shown. Bring the square to your tile, set its blade at your mark, and trace the blade to its end. Do the same for the other side, then connect the ends of the two lines.
Step 9: Cut the Notch
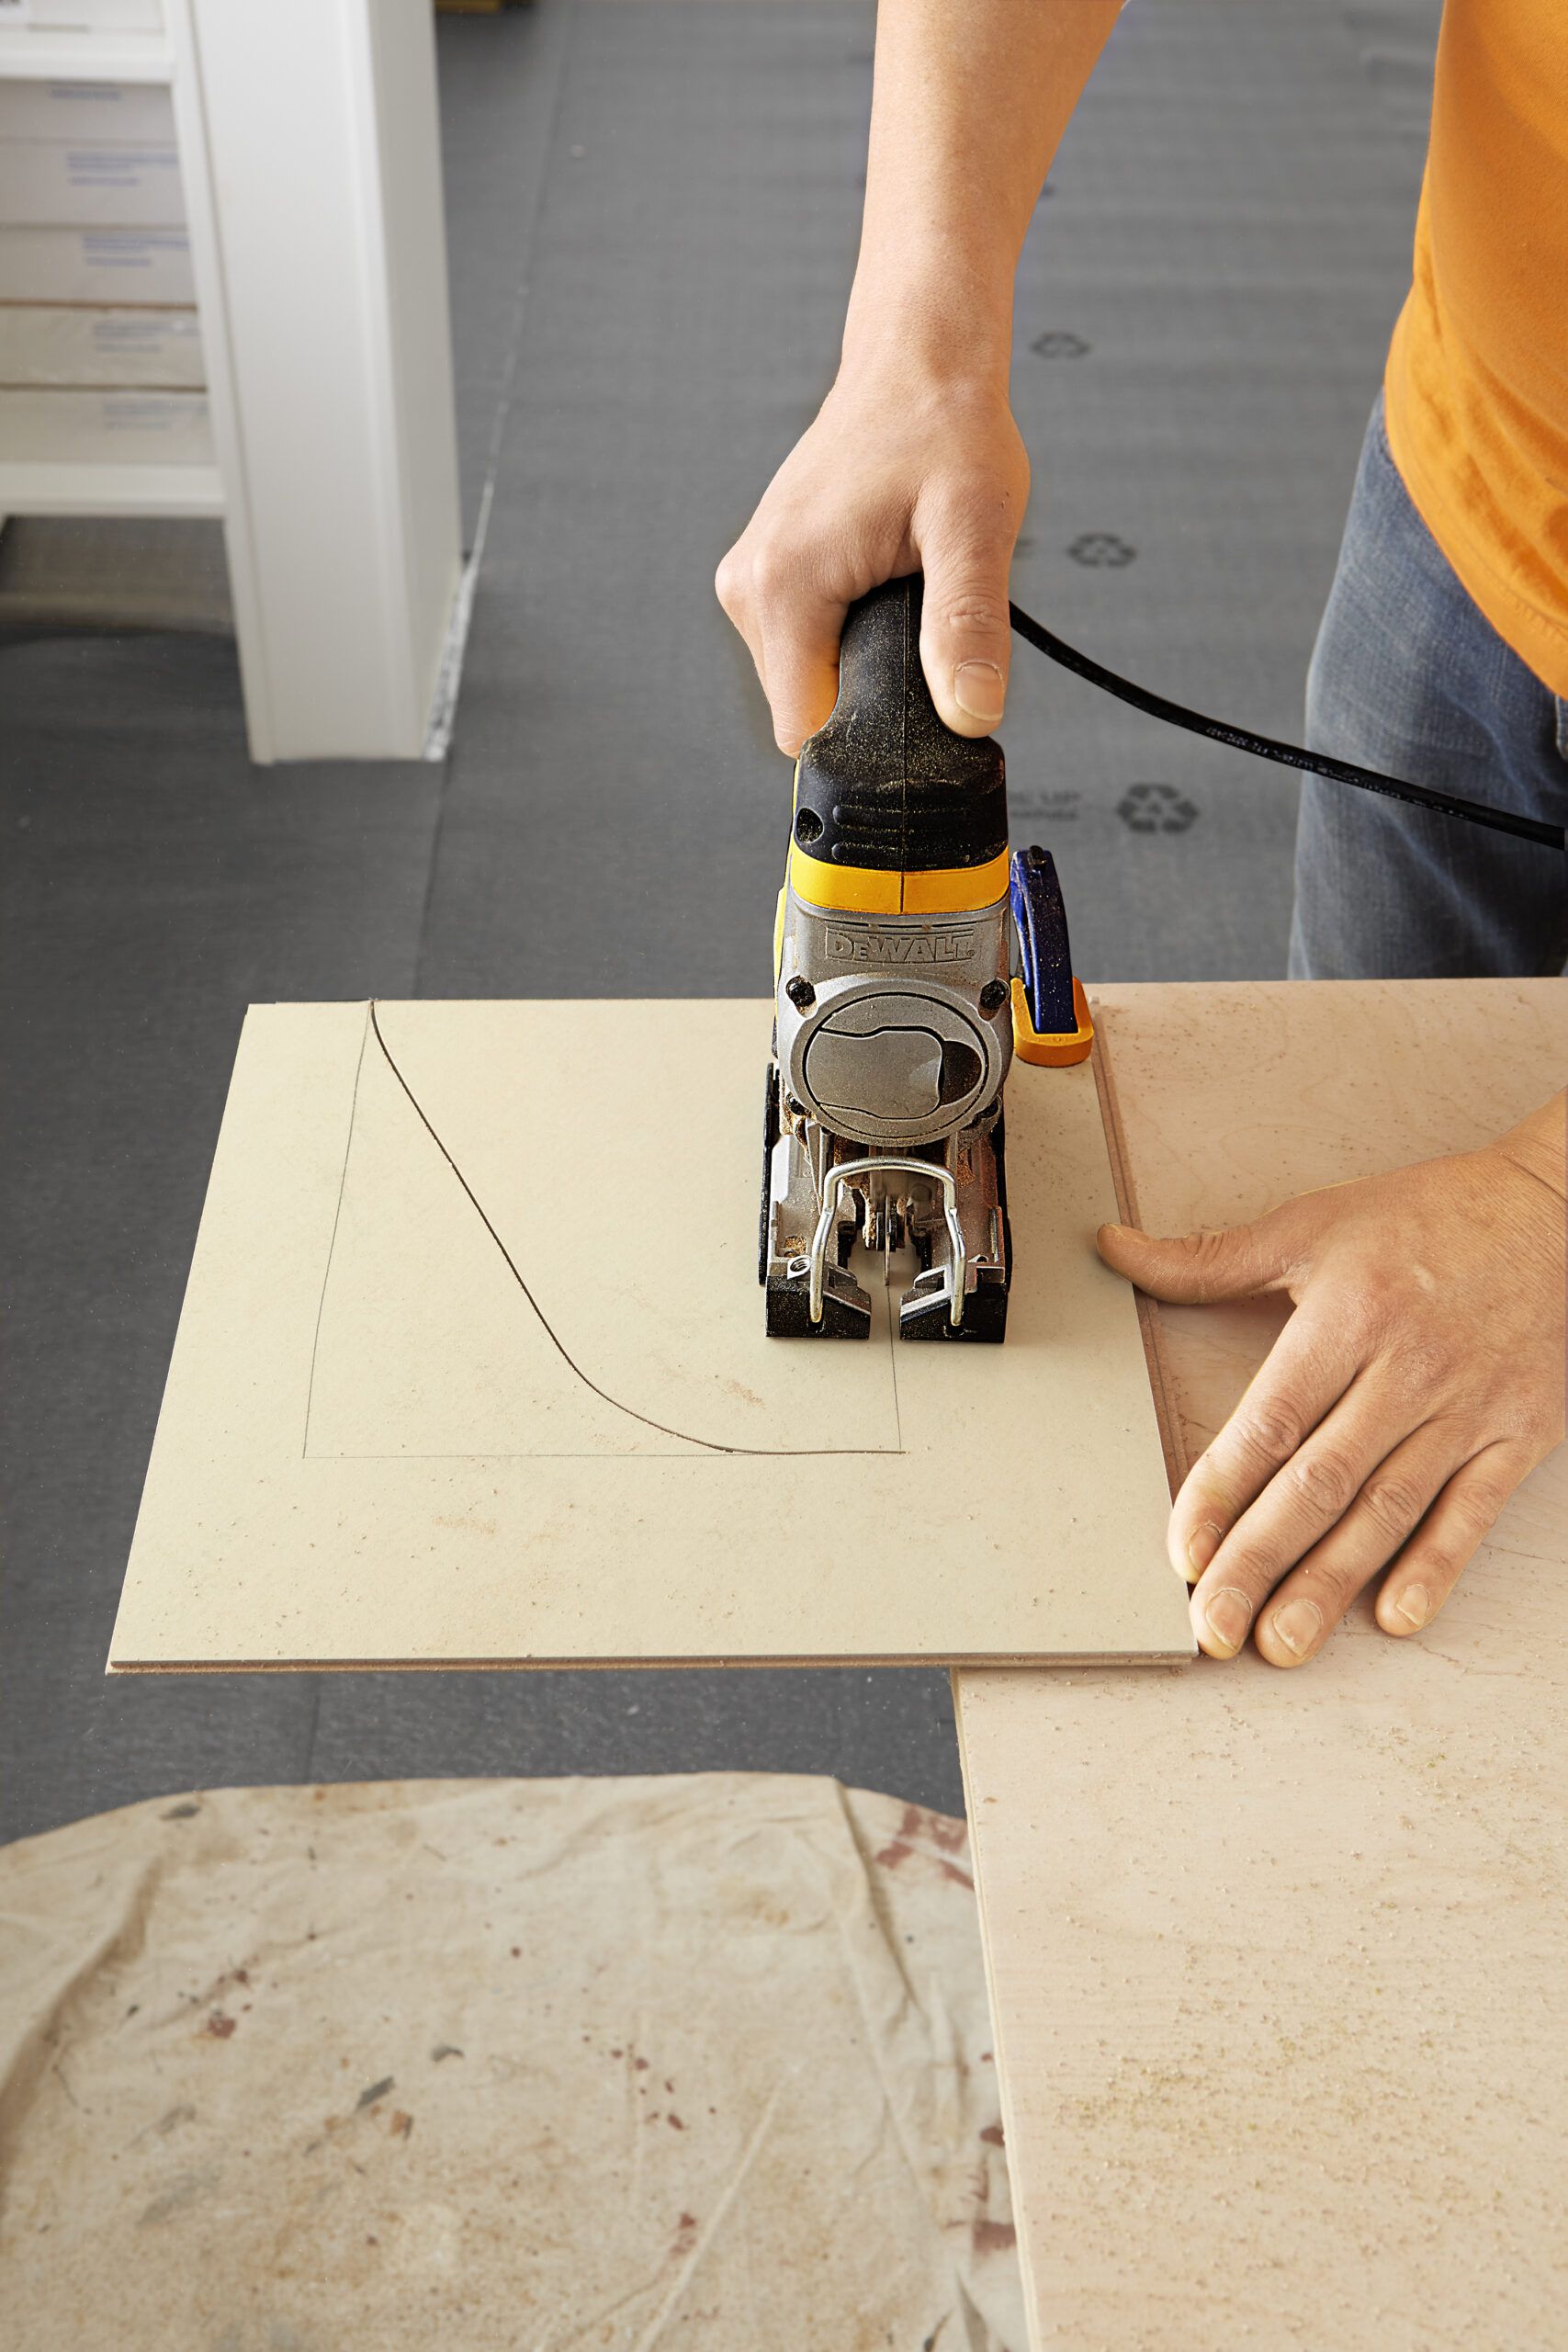
Clamp the tile extending off your work surface. Since you can’t make 90-degree turns with a jigsaw, start cutting on a curved path until you meet the diagonal corner on a perpendicular. Then cut along the other line, as shown, to connect with the cut at the corner. Now cut the other two sides of the notch.
Step 10: Fit the Notched Tile
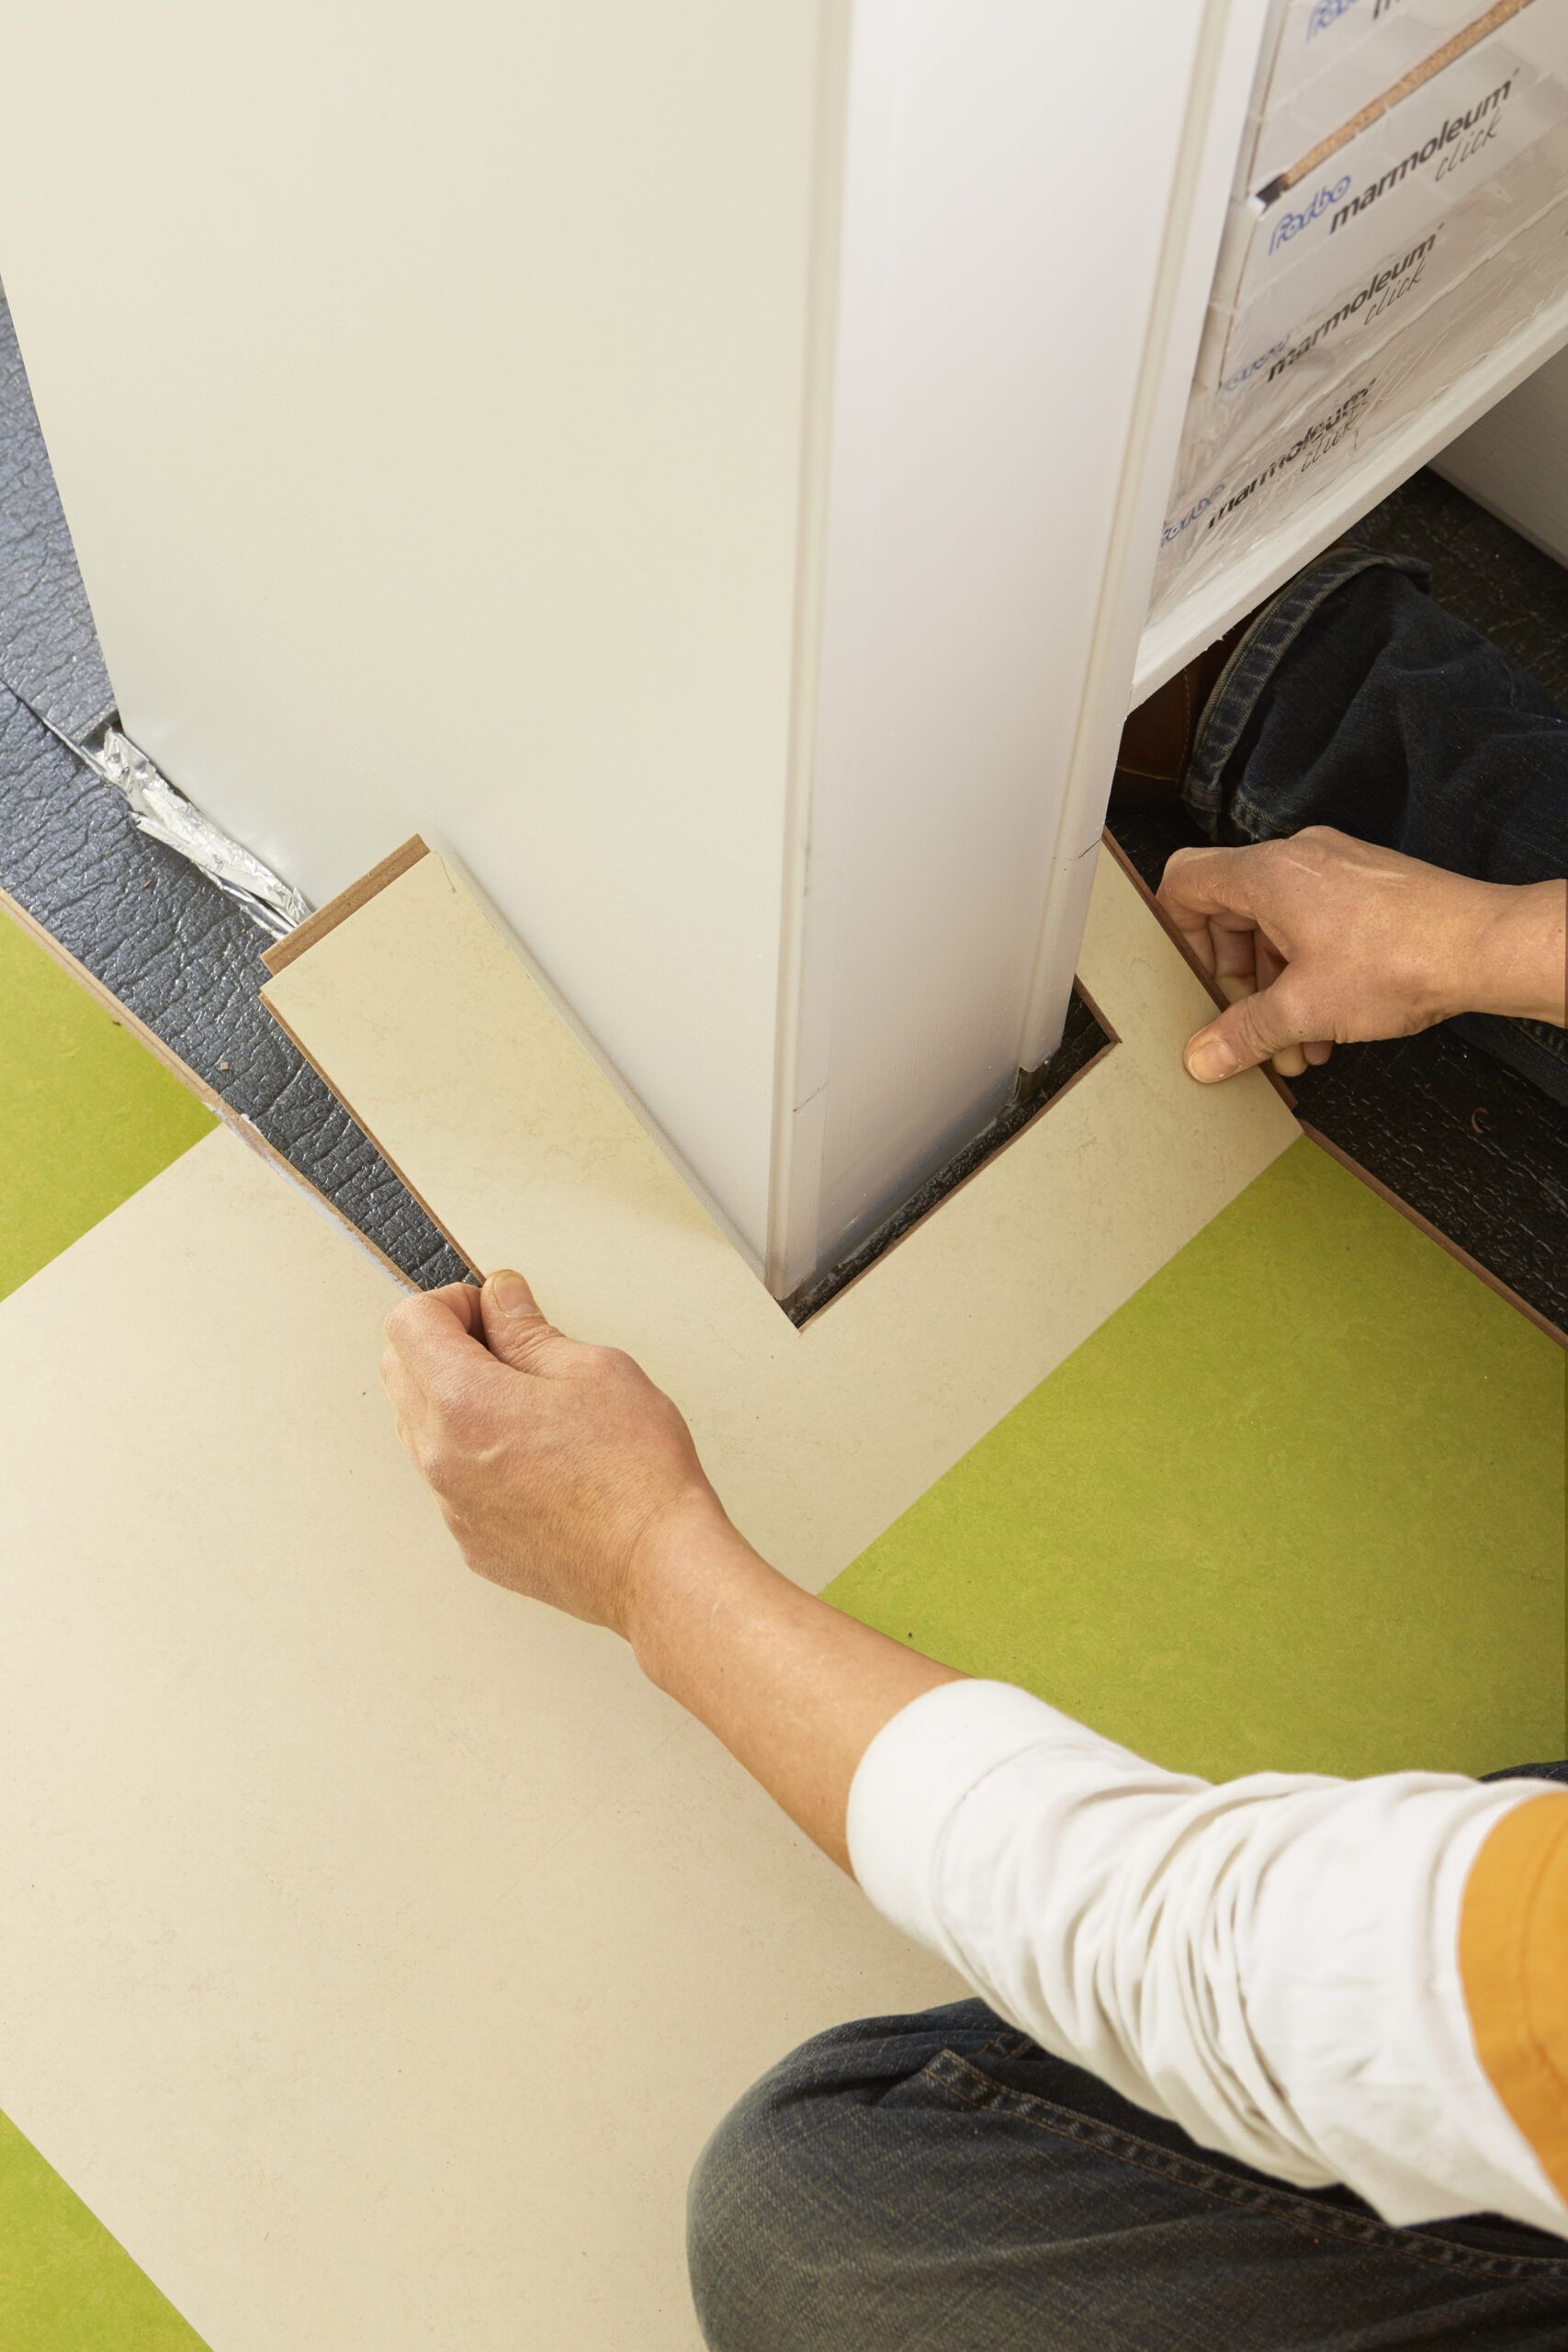
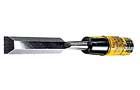
The notched tile can’t be angled to fit into the previous course. Instead, use a chisel to shave off the lip blocking the groove on the receiving tile (see Step 12) and the nubs underneath the tongue on the notched tile. Run a bead of translucent vinyl adhesive caulk on the groove, angle the notched tile into its neighbor, as shown, then lay it flat around the column. Press the caulked edges together and wipe up any excess adhesive.
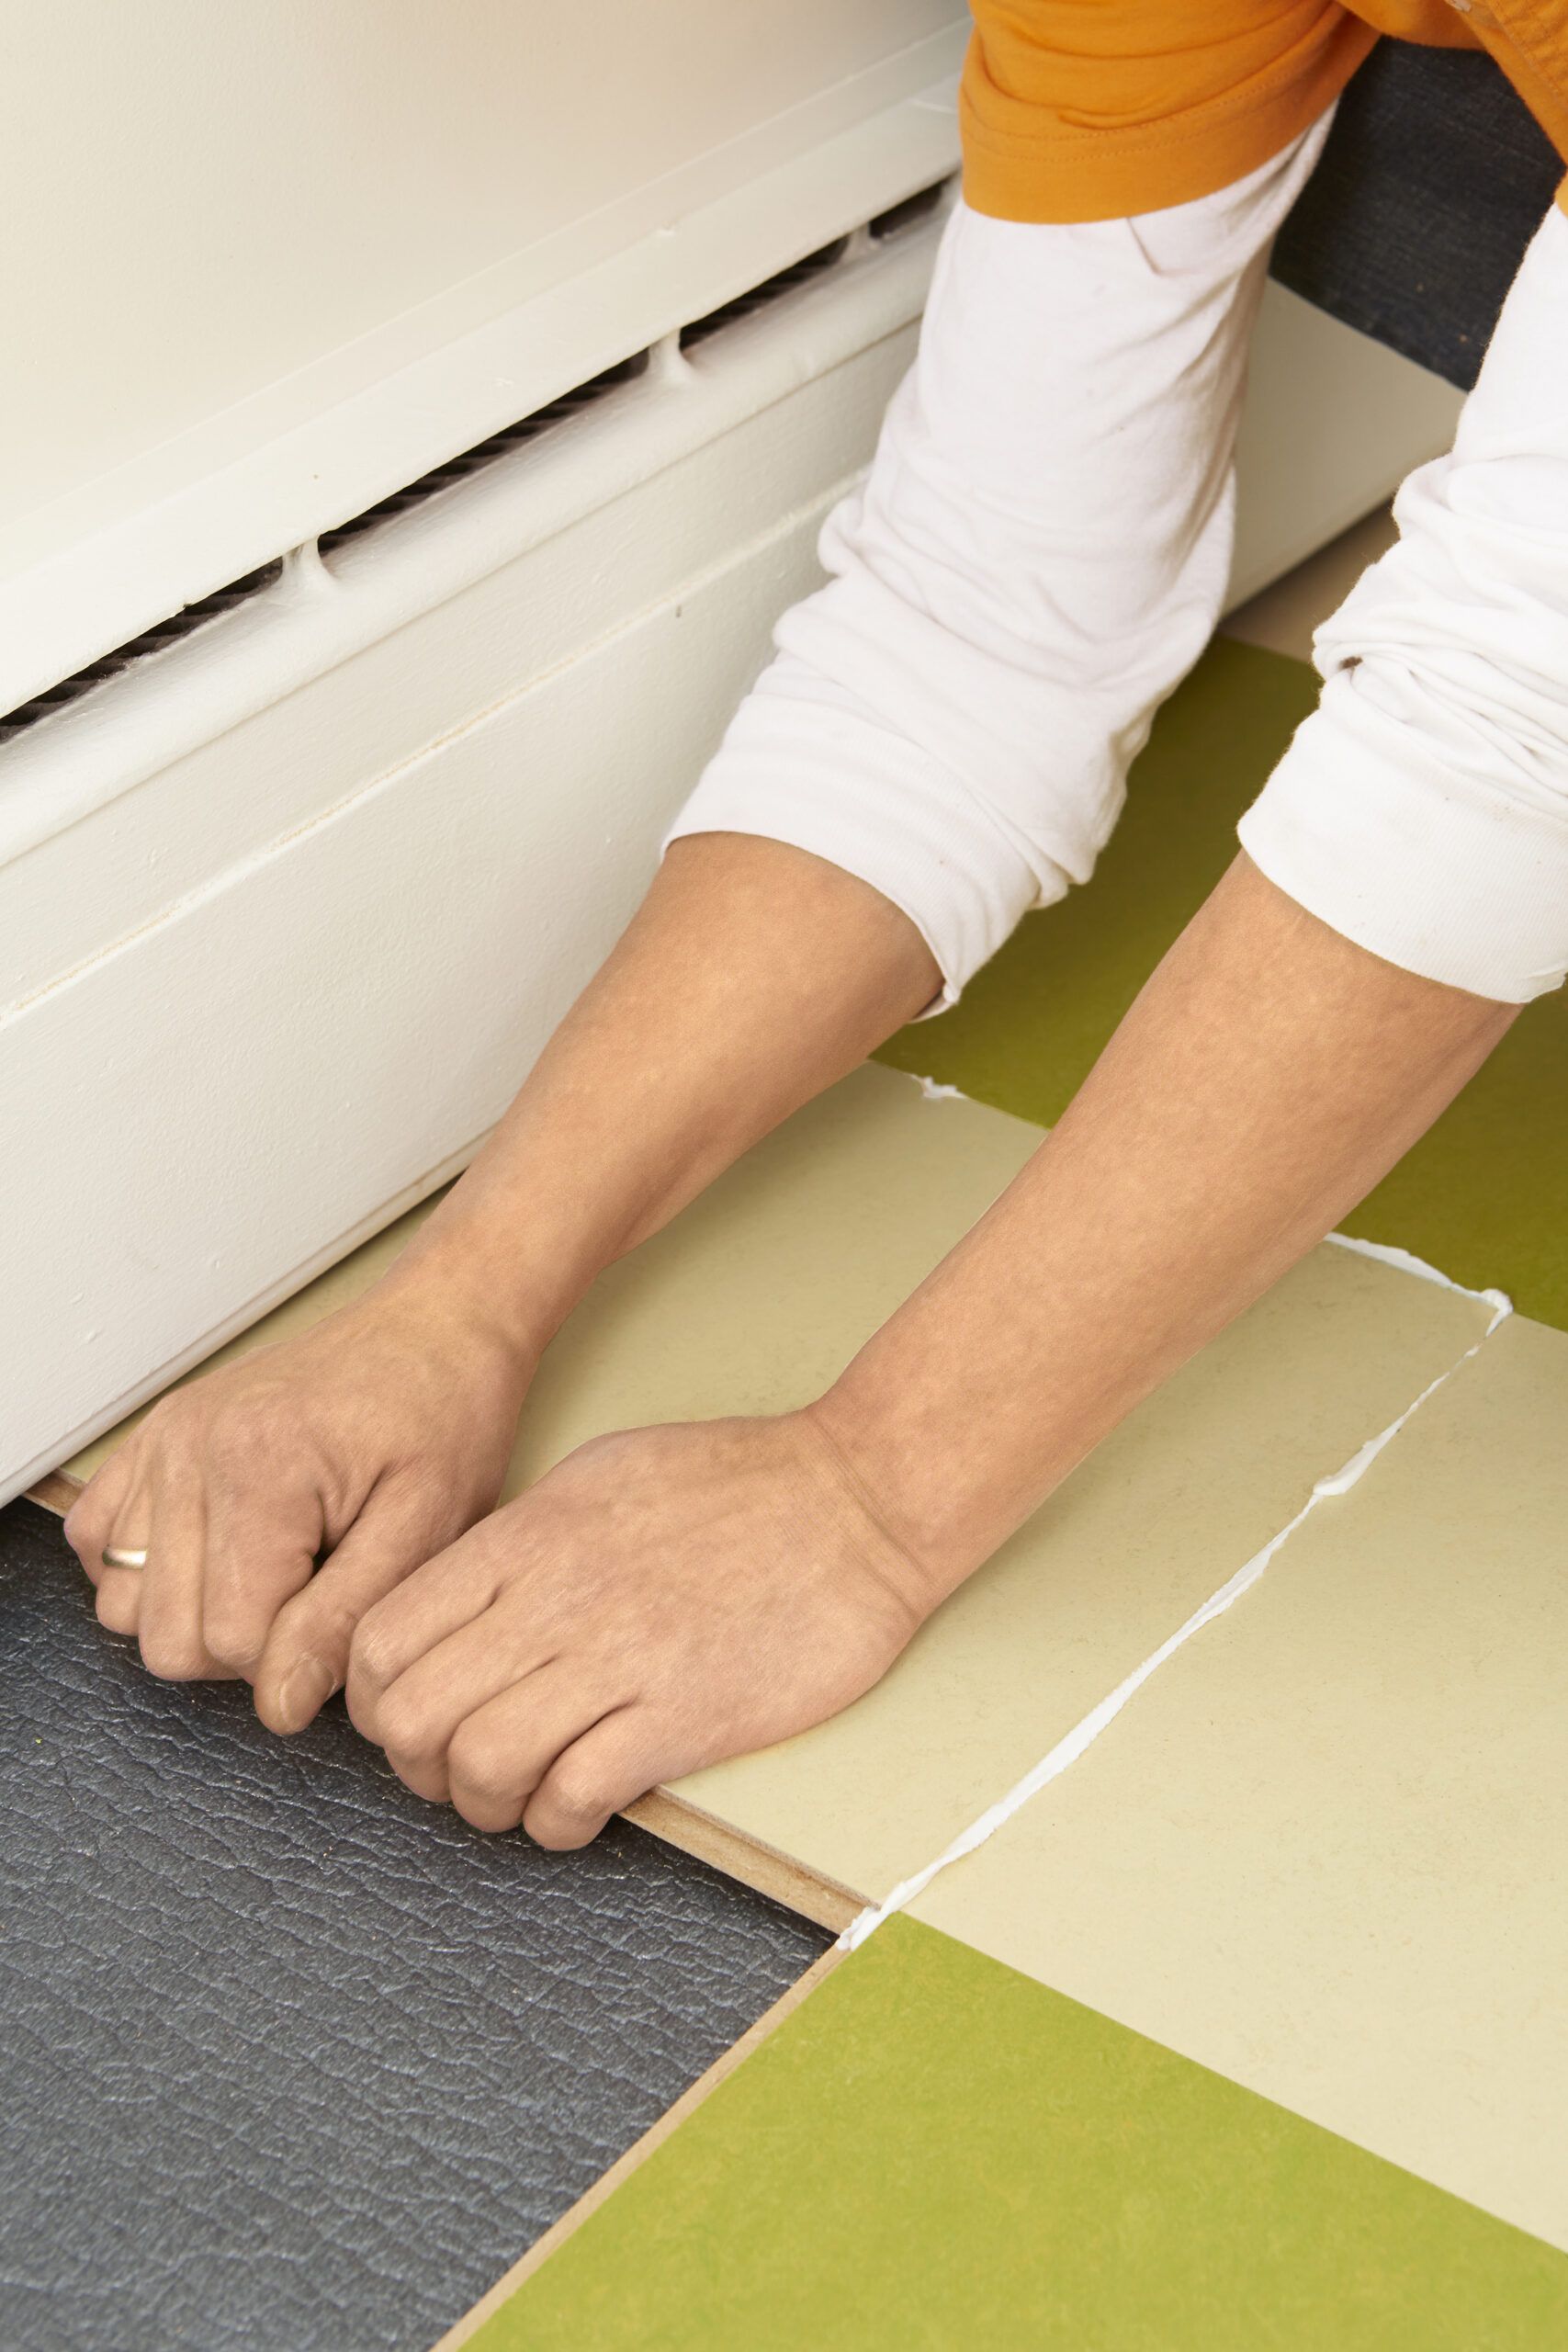
Step 11: Trim the Groove
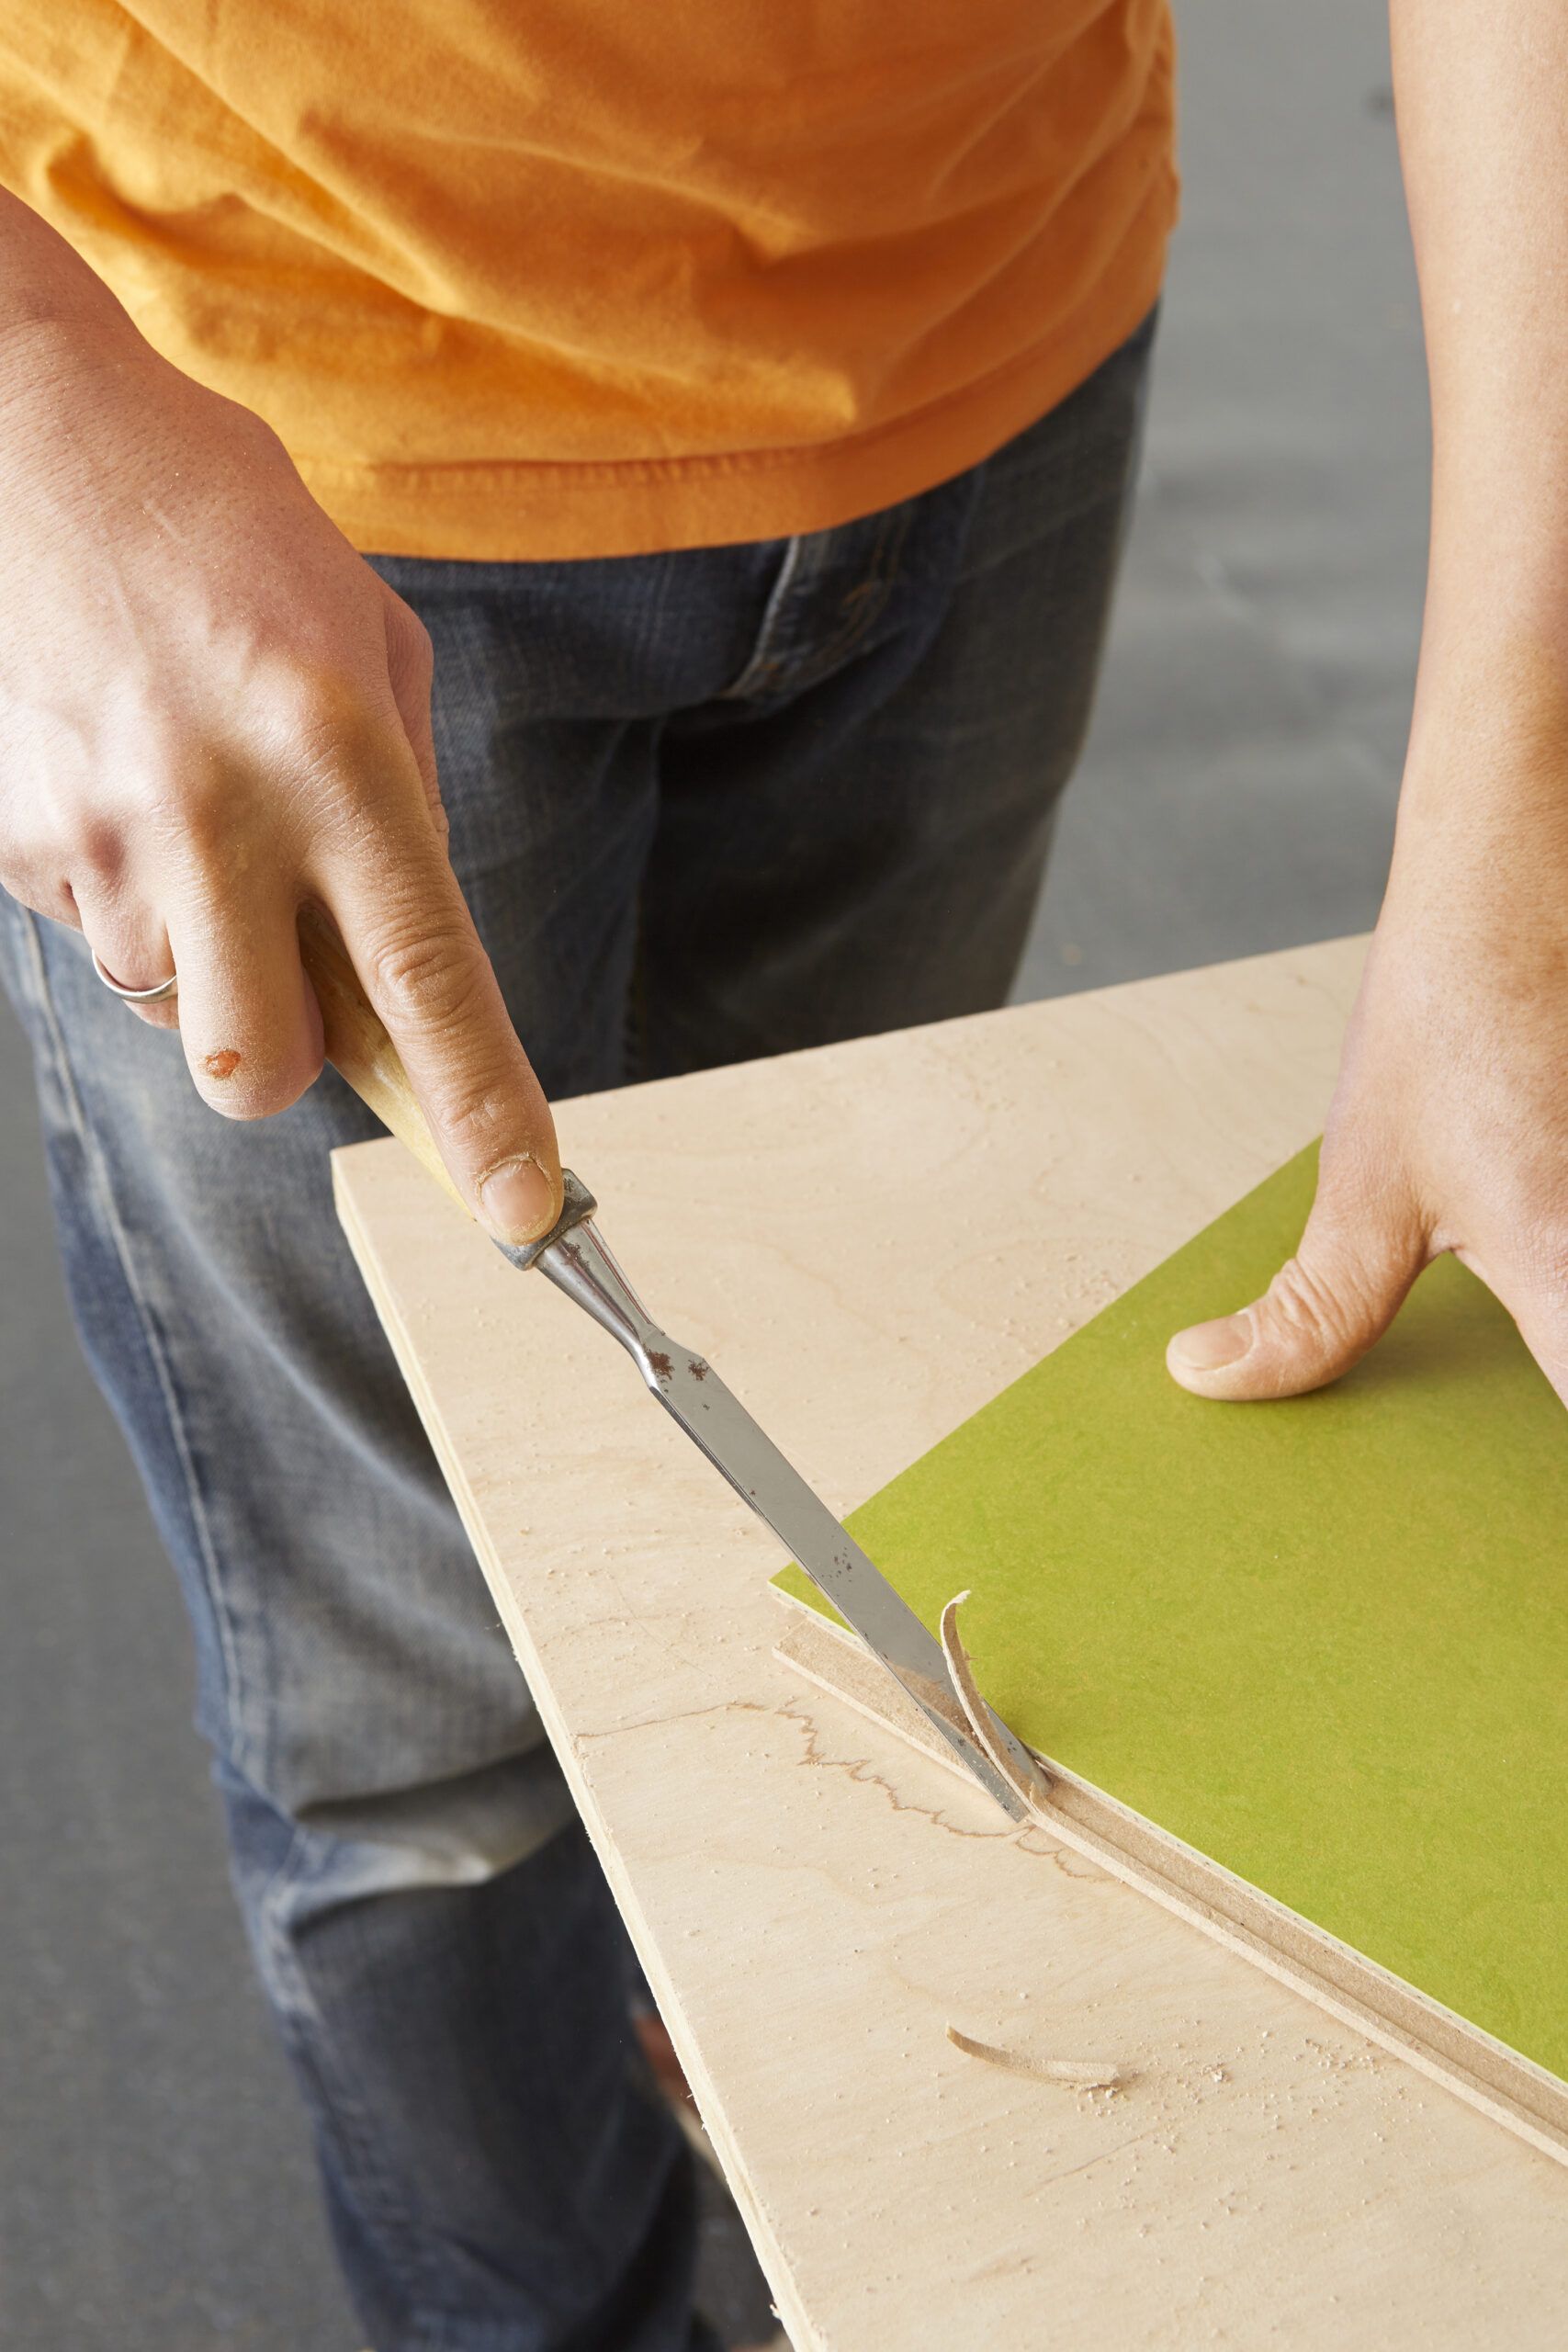
A baseboard heater stood in the way of angling our final course’s tiles into place. We used the chisel to shave down the groove along the penultimate course as well as the right-hand edges of the tiles in the final course before they went in. Once you remove the nubs underneath the tongues on the tiles in the final course, you’ll be able to slip them in place without angling them. If necessary, first trim the tiles to fit with a jigsaw, per Step 3.
Step 12: Glue the Groove
For each tile in the final course, run a bead of adhesive caulk on the grooves receiving the tile. Snug each tile into place, as shown, then use a damp rag to quickly wipe away any adhesive that squeezes out at the joints. Remove the spacers and run a thick bead of paintable white caulk around the perimeter of the room and any obstacles, such as our column. Install shoe molding to conceal the gap.