Project details
Skill
Cost
Estimated Time
If you have a wood floor that could use a built-in focal point, try inlaying a section of classic herringbone parquet. Just know that the zigzag installation isn’t a breeze. “This is the pattern that even the pros mess up,” says Charles Peterson, author of Wood Flooring: A Complete Guide to Layout, Installation & Finishing. Fortunately, we got Peterson to show us exactly how it’s done. Follow along with the man who wrote the book on the subject.
Step 1
How to Install a Herringbone Floor Overview
Veering off course by even a fraction of an inch will send the whole pattern into helter-skelter. But don’t worry—Peterson’s method will keep you on track. Mercifully, he used prefinished planks for our project, so no sanding or sealing.
Step 2
Mark the Centerline
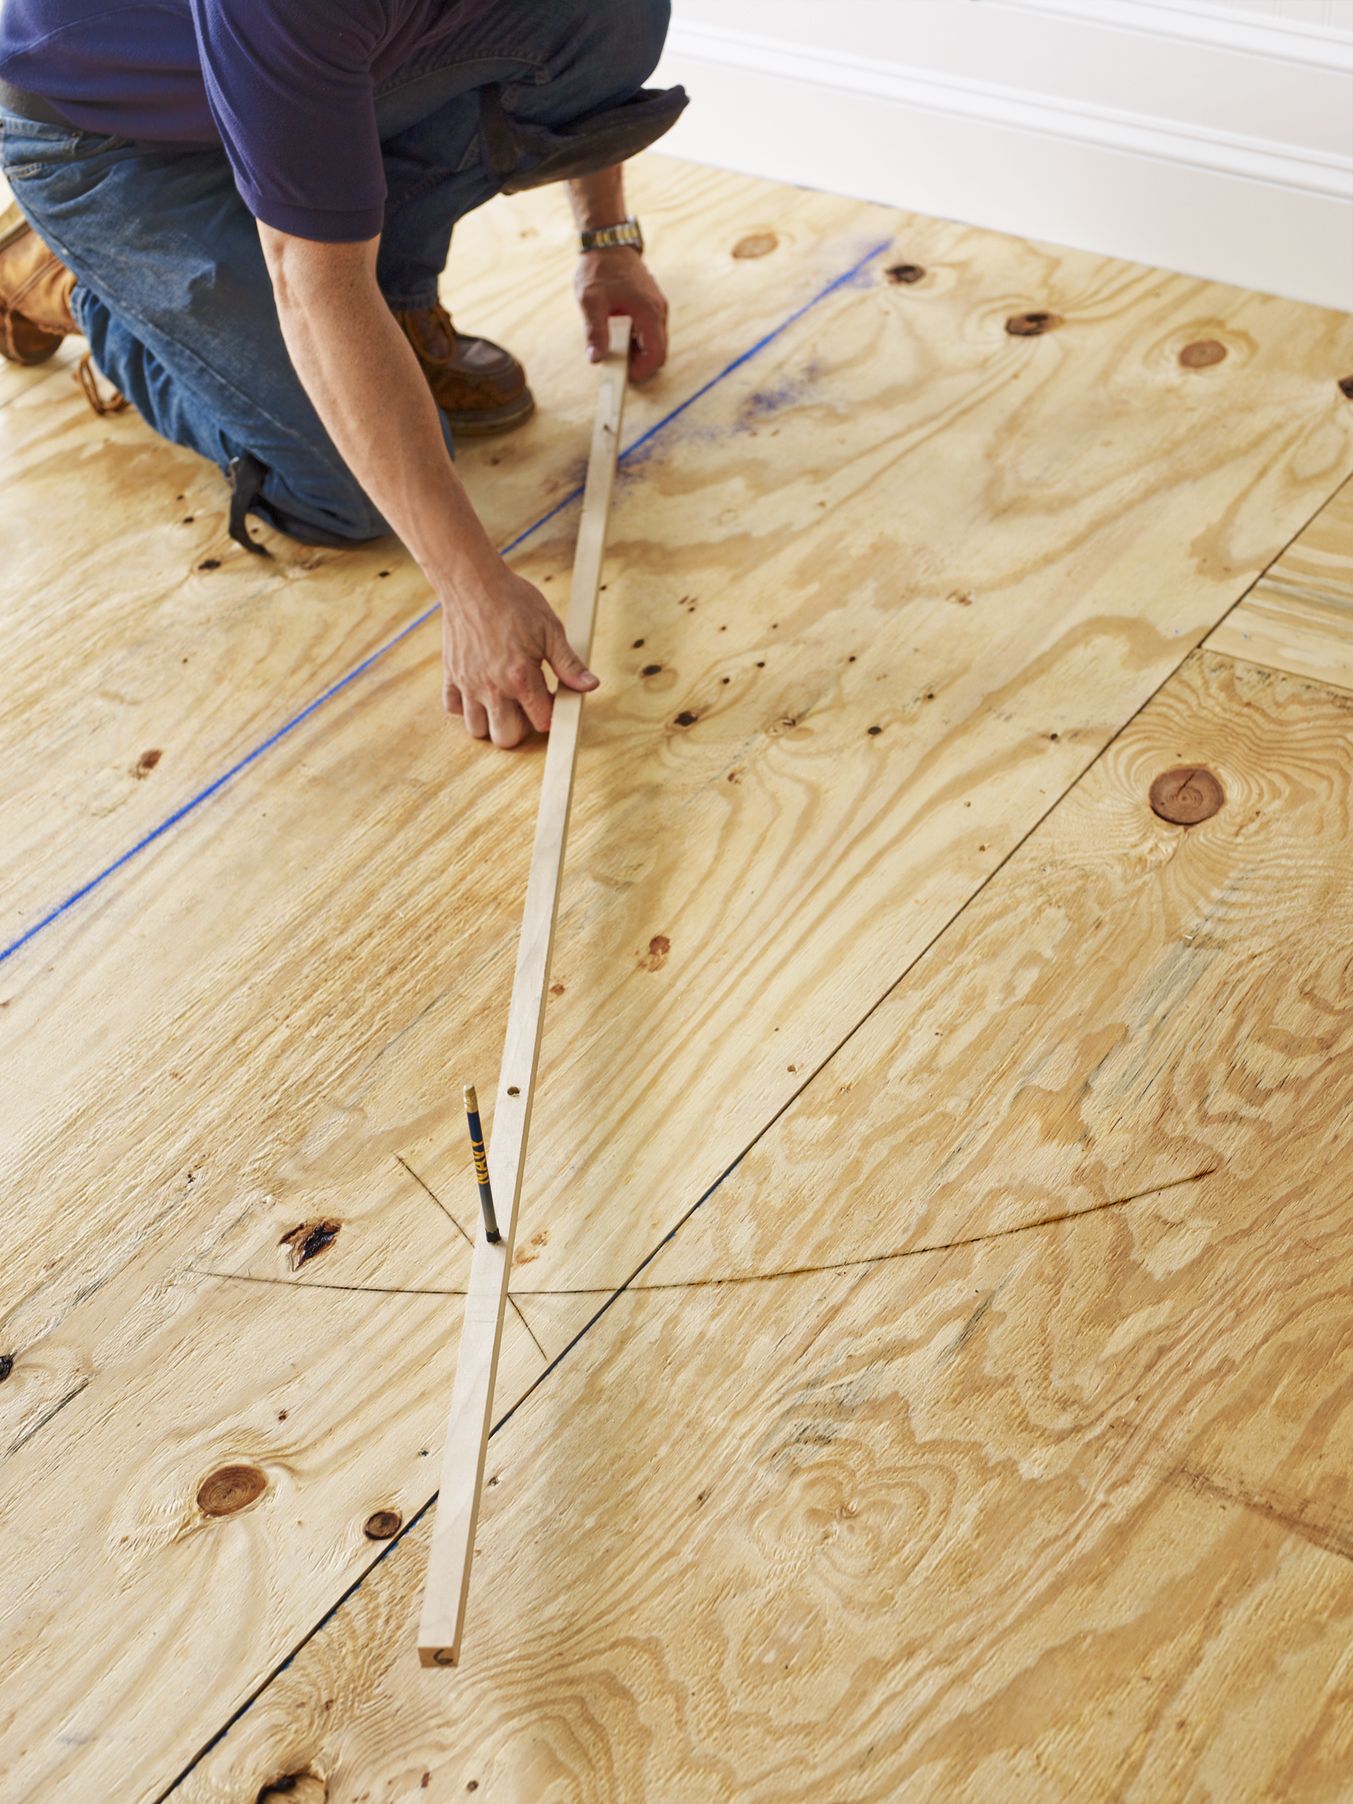
Snap a chalk line down the center of the room, along its length. Then use a trammel to mark a perpendicular line: With the trammel’s point on one end of the centerline, draw a semicircle across it; from the other end, draw intersecting arcs, as shown. Use a straightedge to connect the points where the arcs intersect. Now you can measure off of these perpendicular lines to create the rectangular field the herringbone will occupy.
Step 3
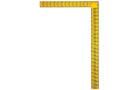
Set the Slat Length
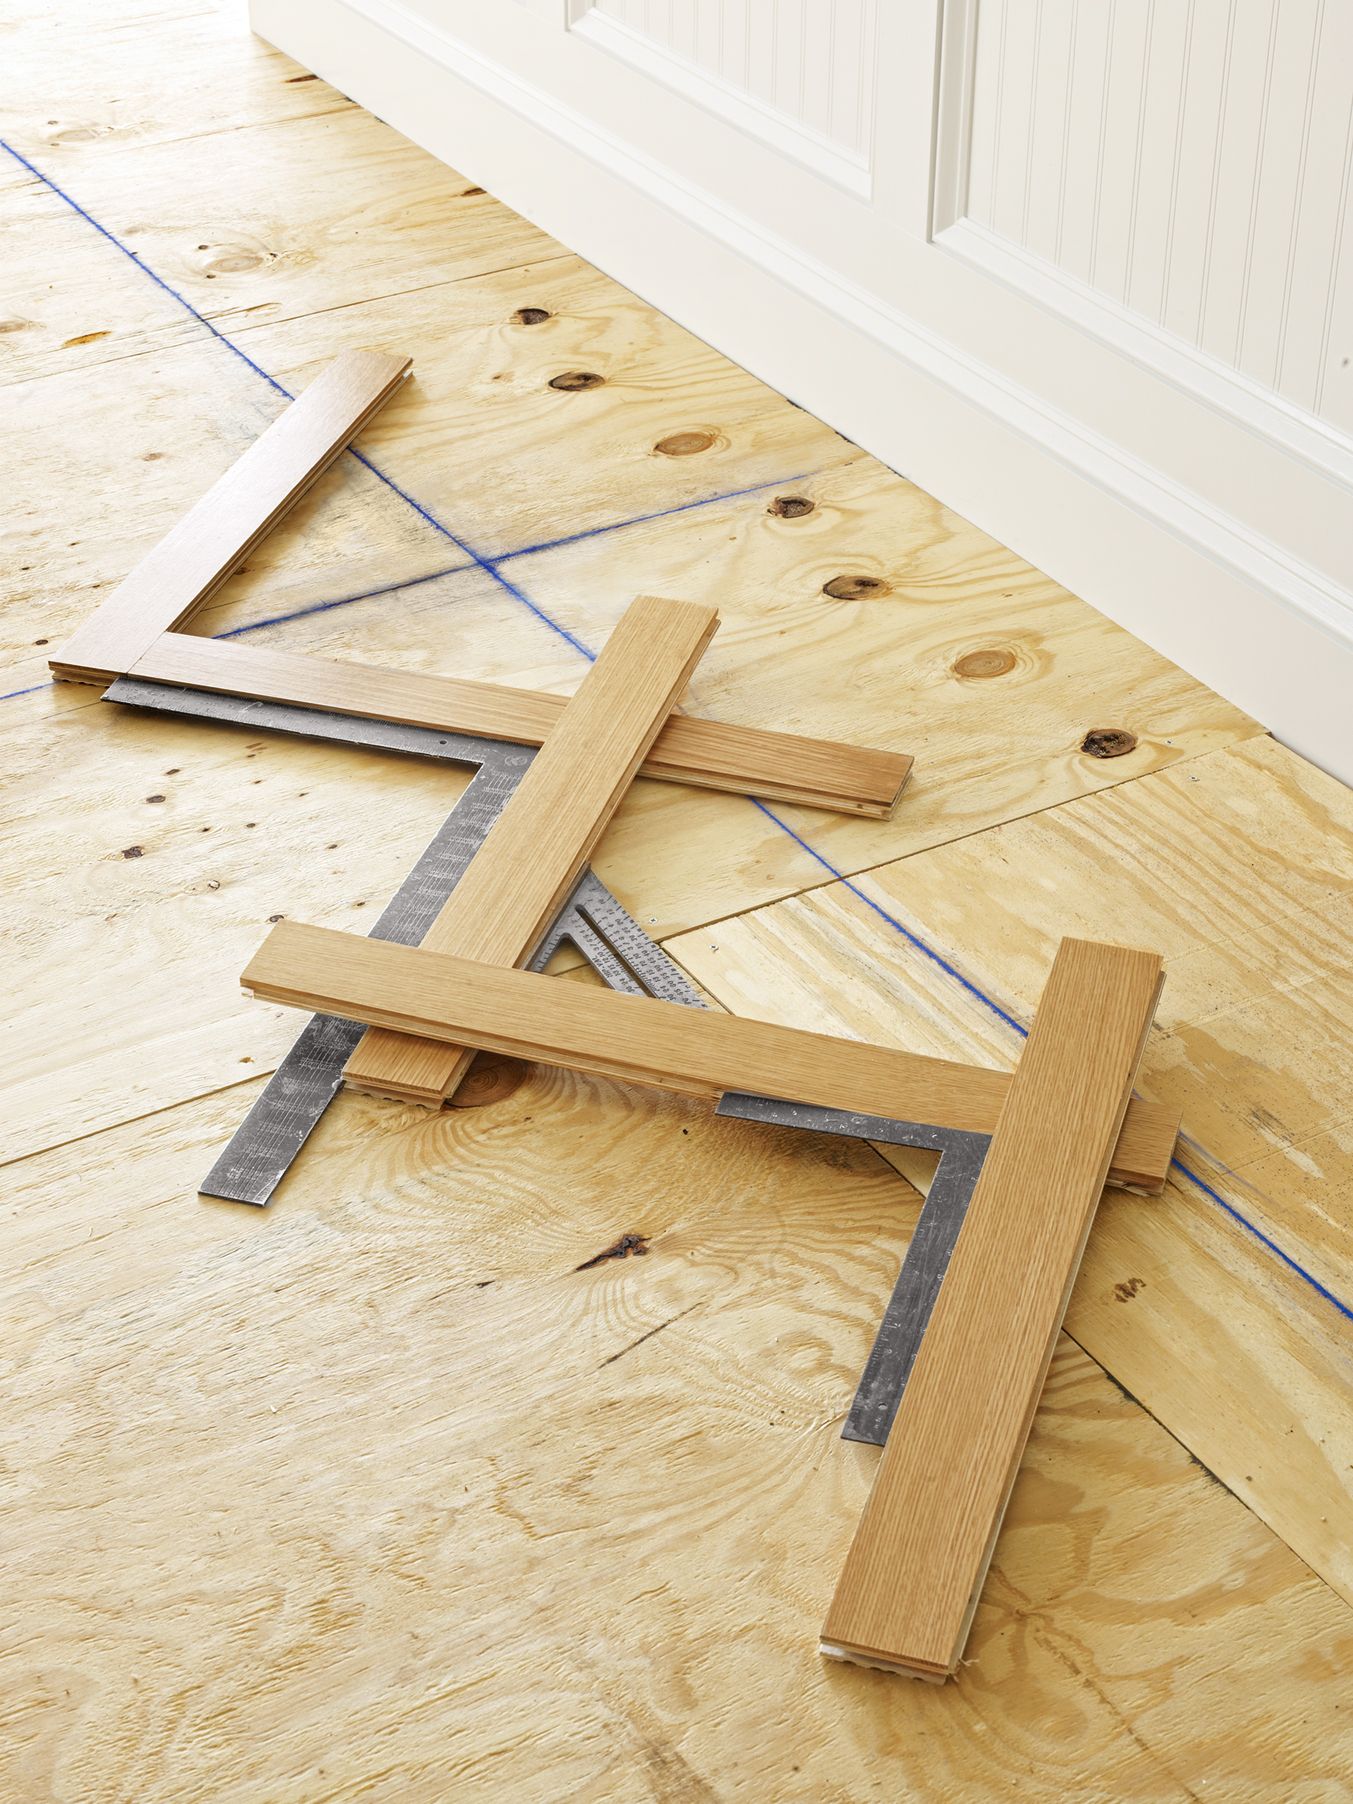
Herringbone slats must be cut to a length that is an exact multiple of their width. But unless you’re a math genius, first lay out pieces to see what approximate length will fit within your field; you want to land with a full-length slat at each side. Use a rafter square to place the first piece at a 45-degree angle to the centerline, then zigzag out to the side, overlapping pieces at 90 degrees to adjust for length. Once you’re in the ballpark, set the exact length and note that measurement. We chose a length of 27 inches to work with our 3-inch-wide flooring.
Step 4
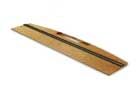
Make a Test Panel
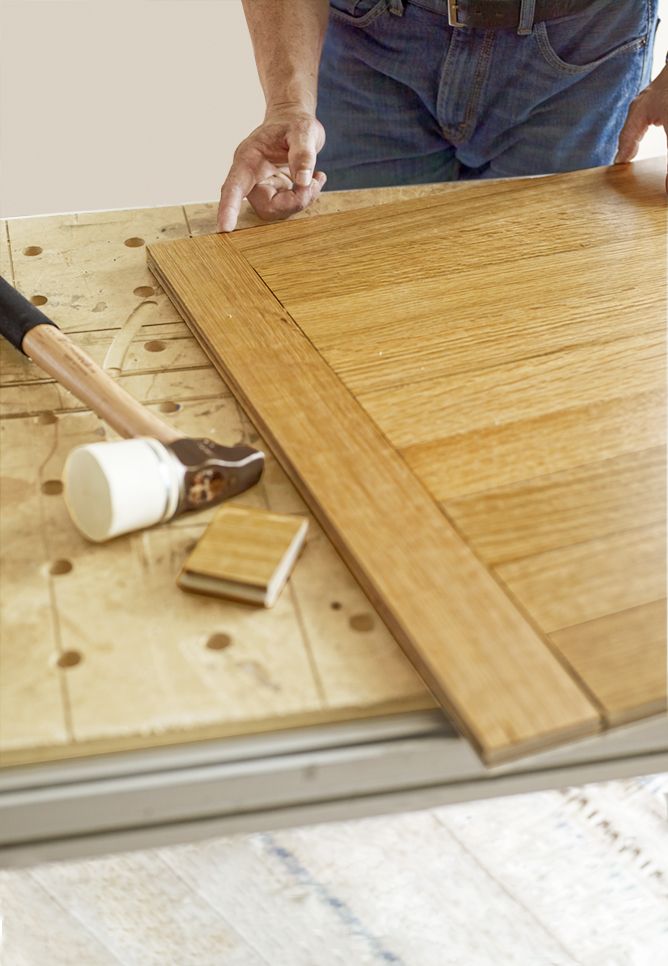
Once you have your slat length, measure and mark one strip, with the tongue end as waste, and cut it with a miter saw. Use a rubber mallet to dry-fit the number of strips that equal the length of the test slat—nine in our case. Butt the tongue of the test slat into the panel’s end groove to make sure the slat’s ends are perfectly flush with the panel’s edges, as shown. If they’re not, size another piece and test it again.
Step 5
Cut the Slats

When you’re satisfied with the slat length, set up a stop block and cut the remaining slats, making sure to chop off the tongue ends.
Tip: Sweep out any sawdust at the stop block after every cut; otherwise the buildup will throw off all your efforts to make slats of a precisely equal length.
Step 6
Add Grooves to the Flat Ends

Herringbone slats need grooves in both ends to properly interlock. Use the groove of a slat to set the depth of the flooring router bit. Clamp one slat to a workbench and rout the cut end. Fit a tongue inside the new groove to check your work. If it’s okay, rout the rest of the slats.
Step 7
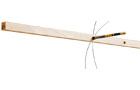
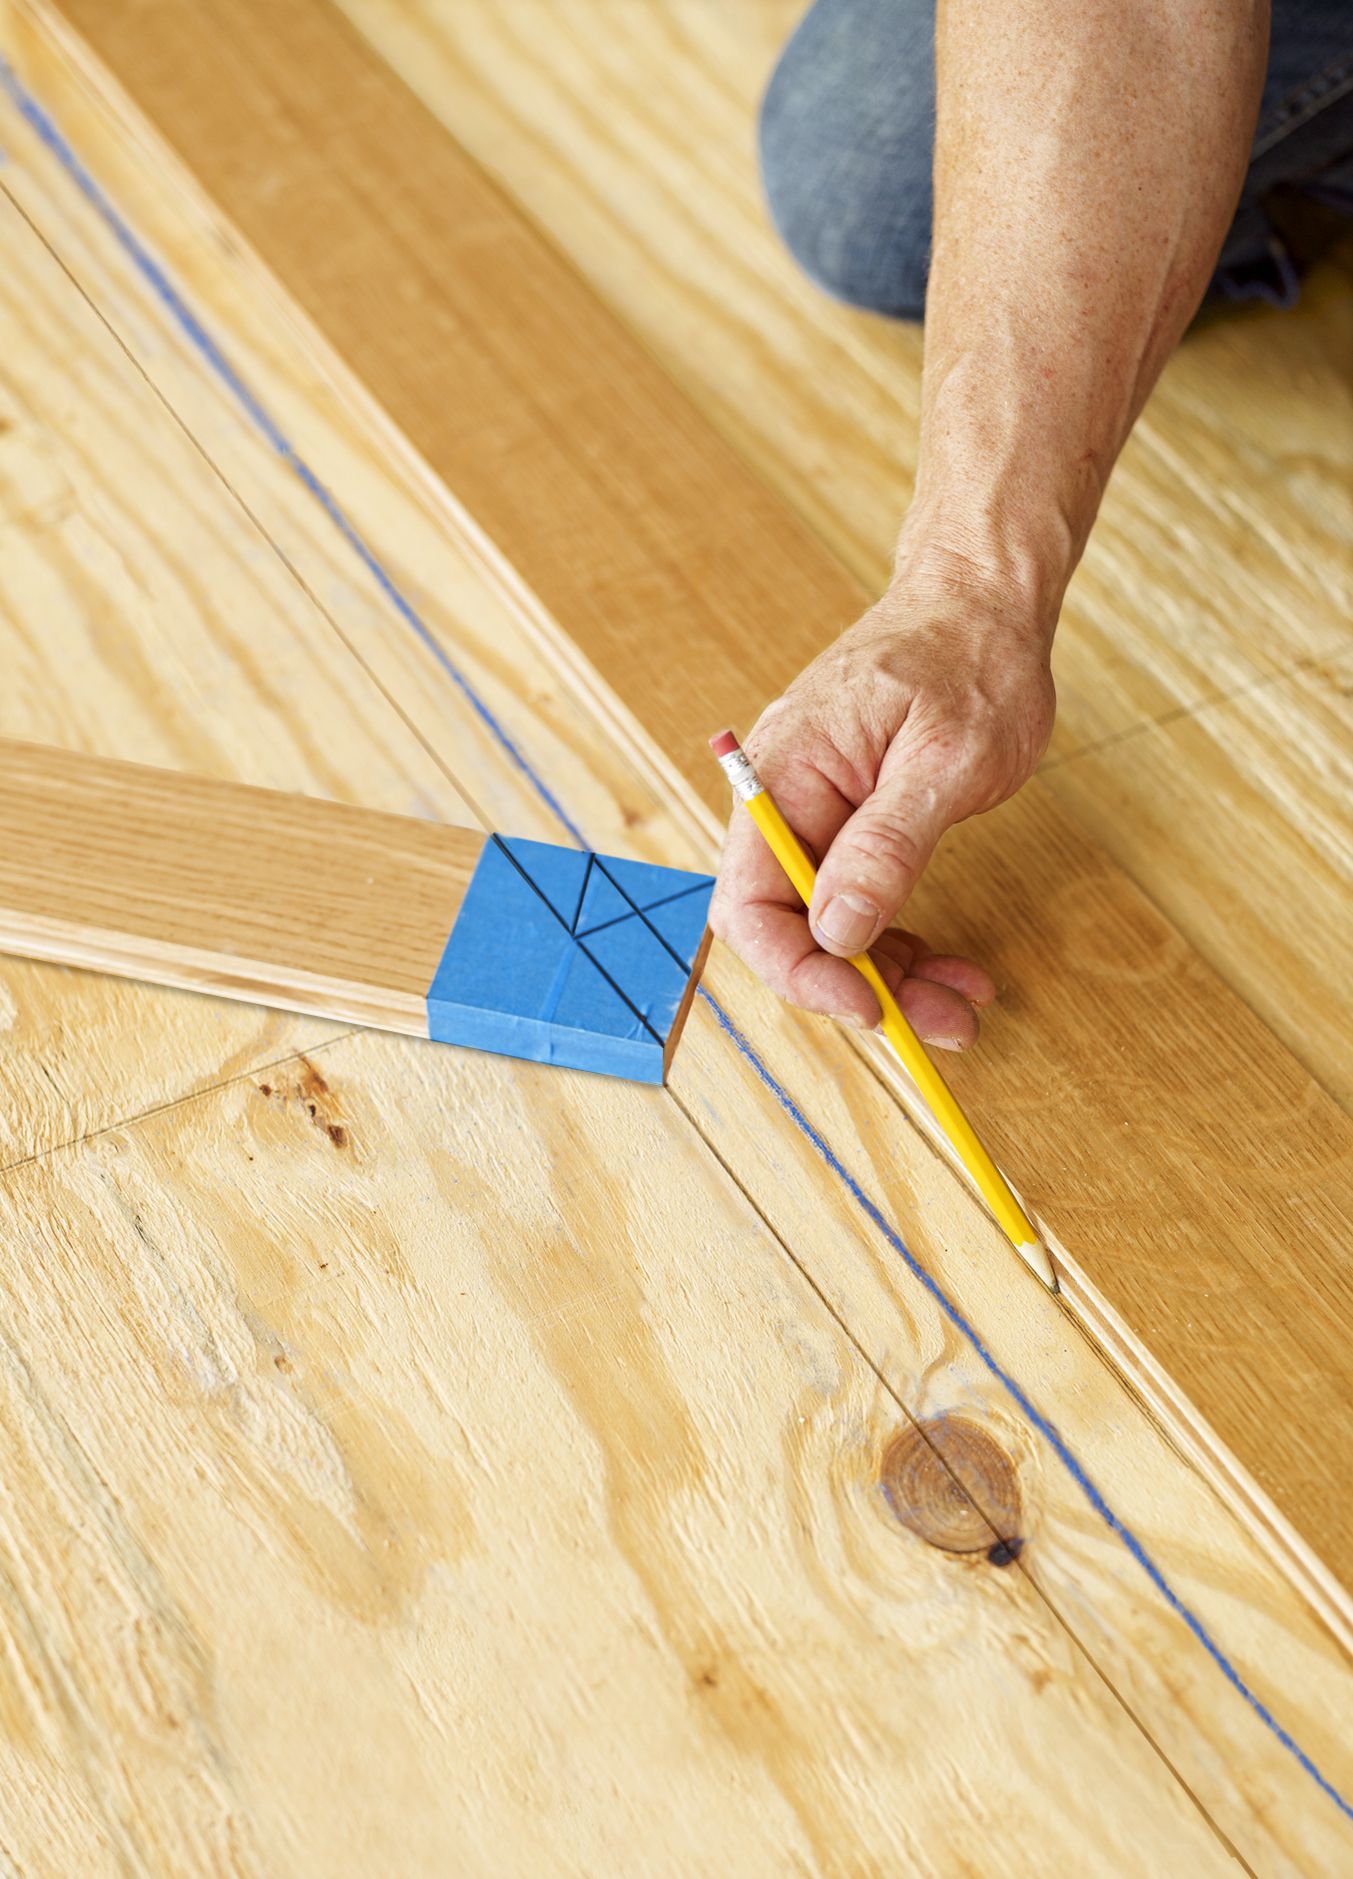
Set the Working Distance
You’ll need to draw parallel working lines on either side of the centerline to align the corners of each slat as you place it. Use a rafter square to mark a 45-degree angle from one corner of a slat, as shown, for your first working line. To get the distance to the second working line, draw a line from the opposite corner to intersect the first line. Now make a line from the intersection of the T, perpendicular to the edge of the slat. From that point on the edge, draw a line parallel with the top of the T to represent the centerline.
Step 8
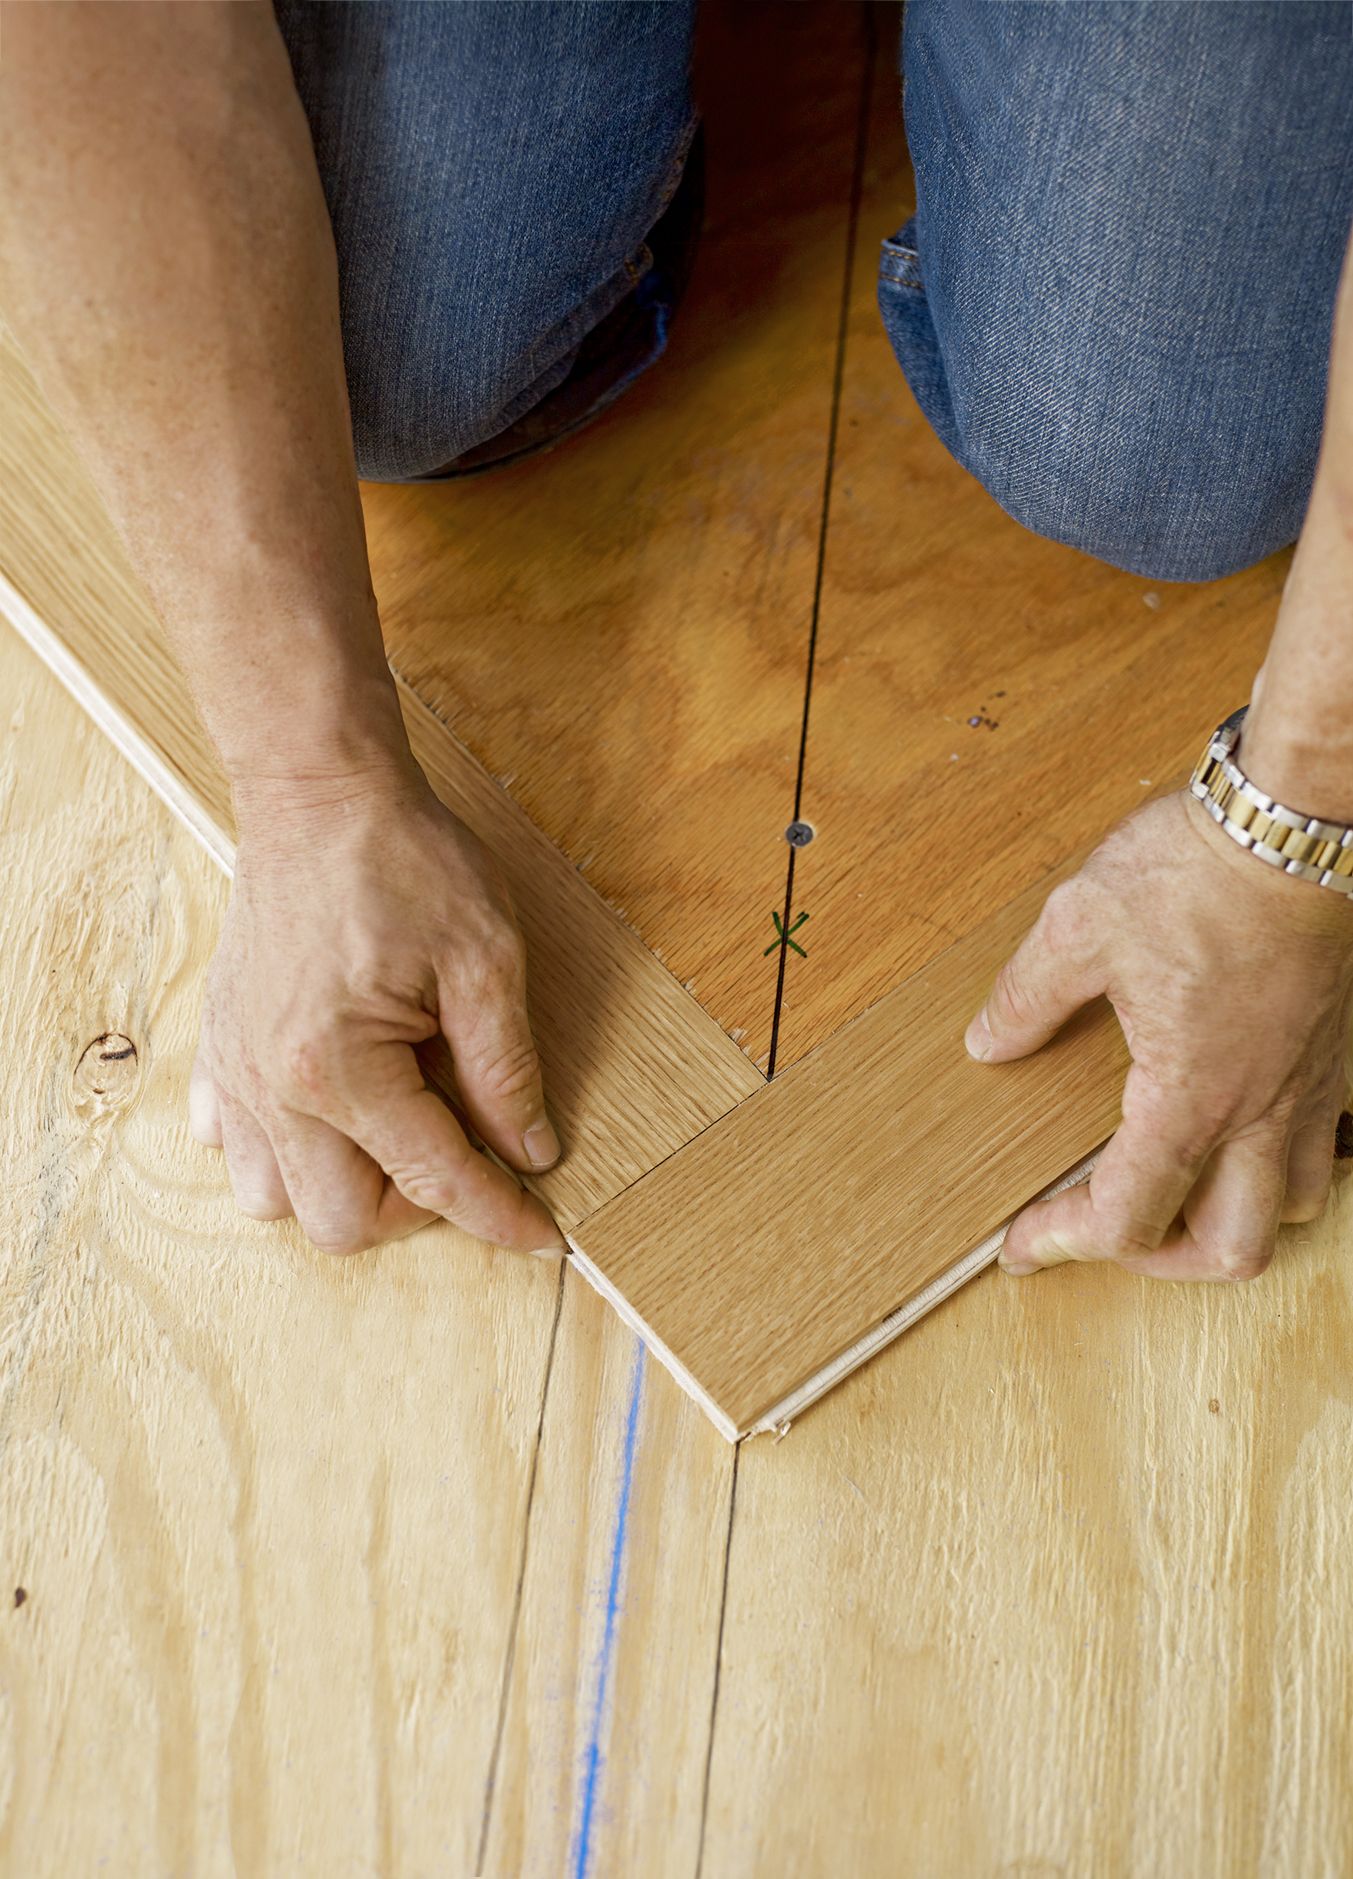
Mark the Floor
Place the slat so that the last line you drew is over the centerline, as shown. Make a mark at each corner of the slat at several intervals along the centerline. Use a straightedge to connect the marks and form two working lines.
Step 9
Install the Nailing Blank

Using a circular saw, cut the factory corner of a piece of ¾-inch plywood into a right triangle with two sides matching the length of your slats. Mark the centerline of this blank, and line it up on one of the working lines. Position the blank’s long edge on the top border of your field, and screw it to the subfloor. Route a groove along the blank’s two forward edges. The area occupied by the blank will be filled in with herringbone during Step 14.
Step 10
Establish the Pattern
Align the first slat with the side of the blank covering the centerline, tongue facing out. Lay the second slat along the other side of the blank, overlapping the end of the first, as shown, with its corners aligned with the working lines and the tongue facing out.
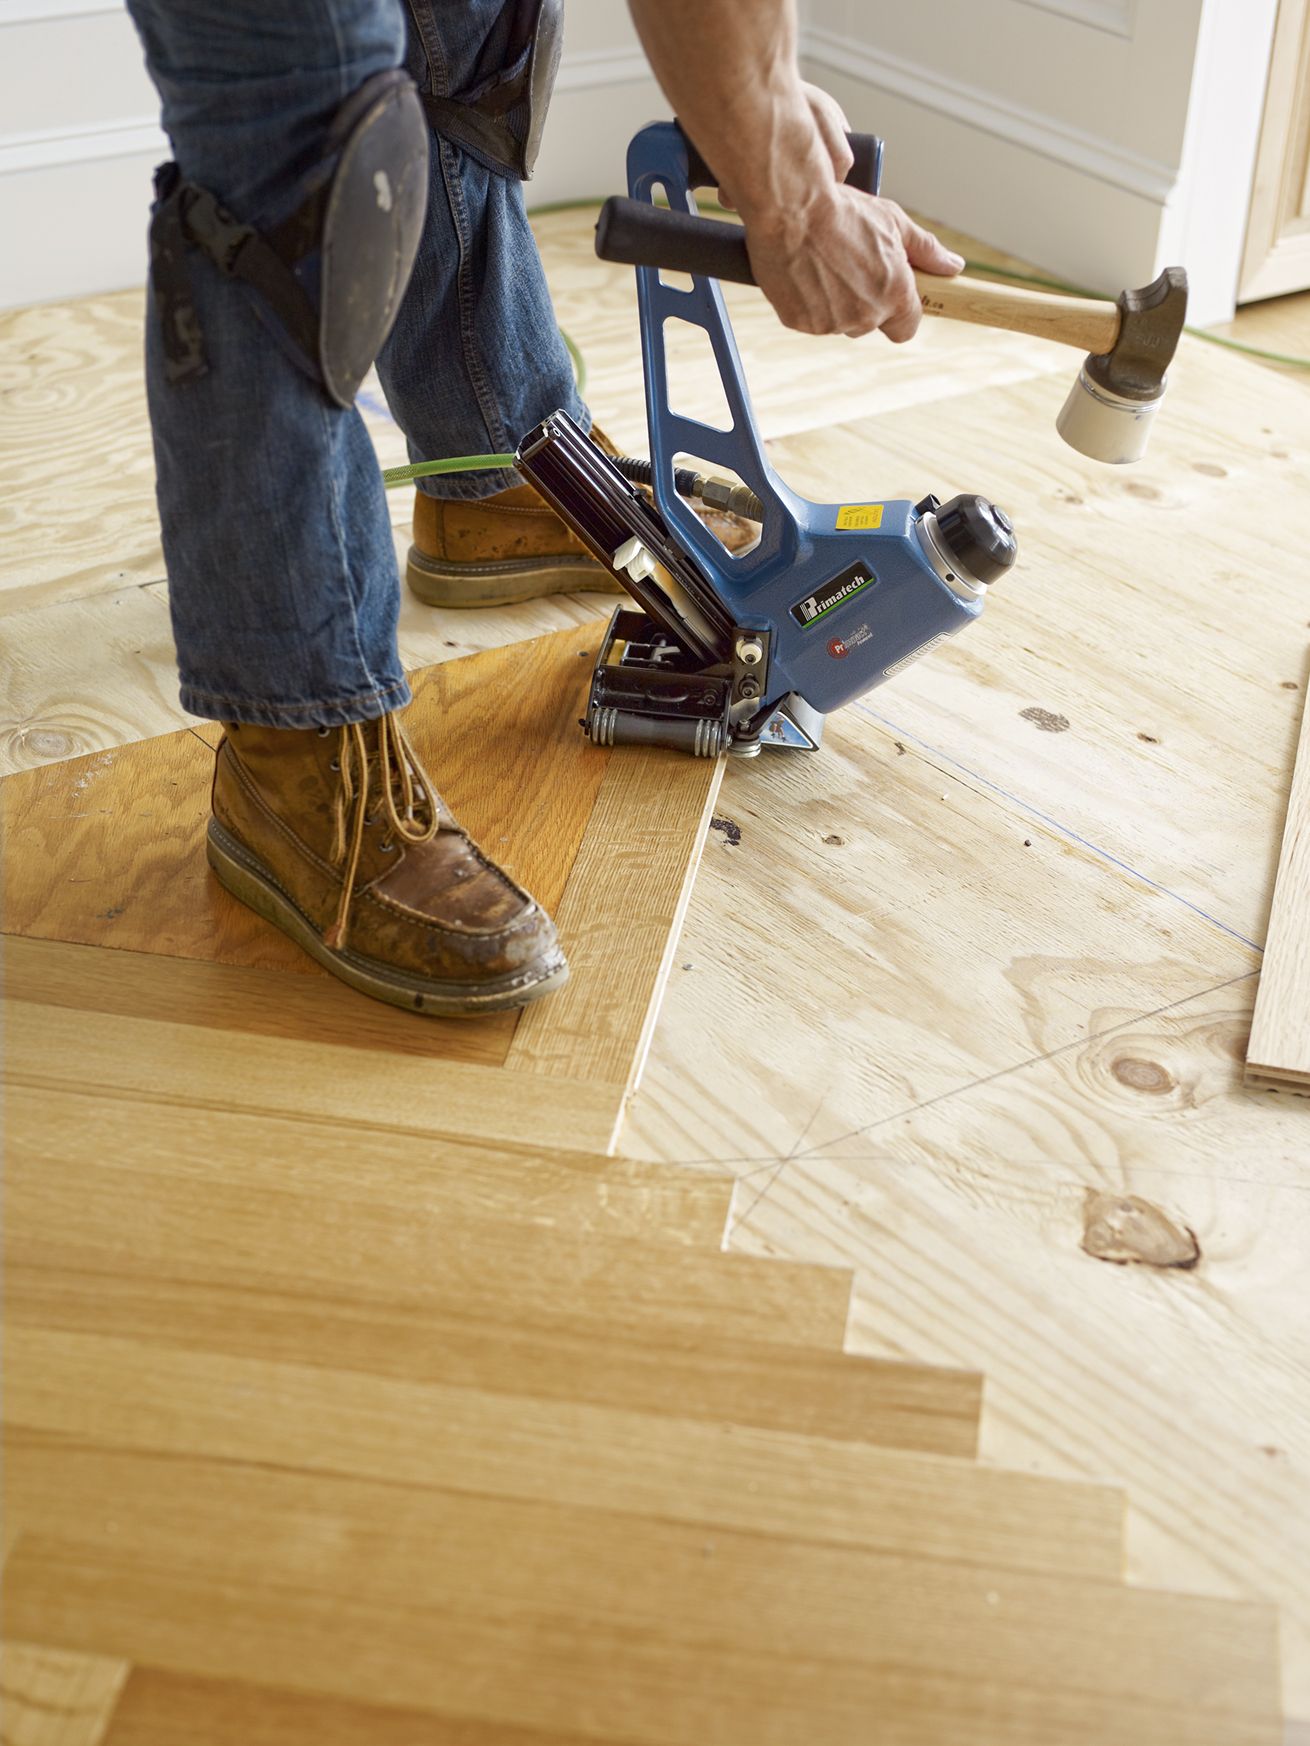
Step 11
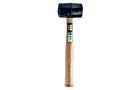
Nail the Slats in Place

Position a flooring nailer against the tongue edge of the first slat. Strike the nailer with a mallet to drive nails every 5 inches along the slat. Check the alignment of the second slat, then nail it in place.
Step 12
Finish the Course and Reverse the Blank
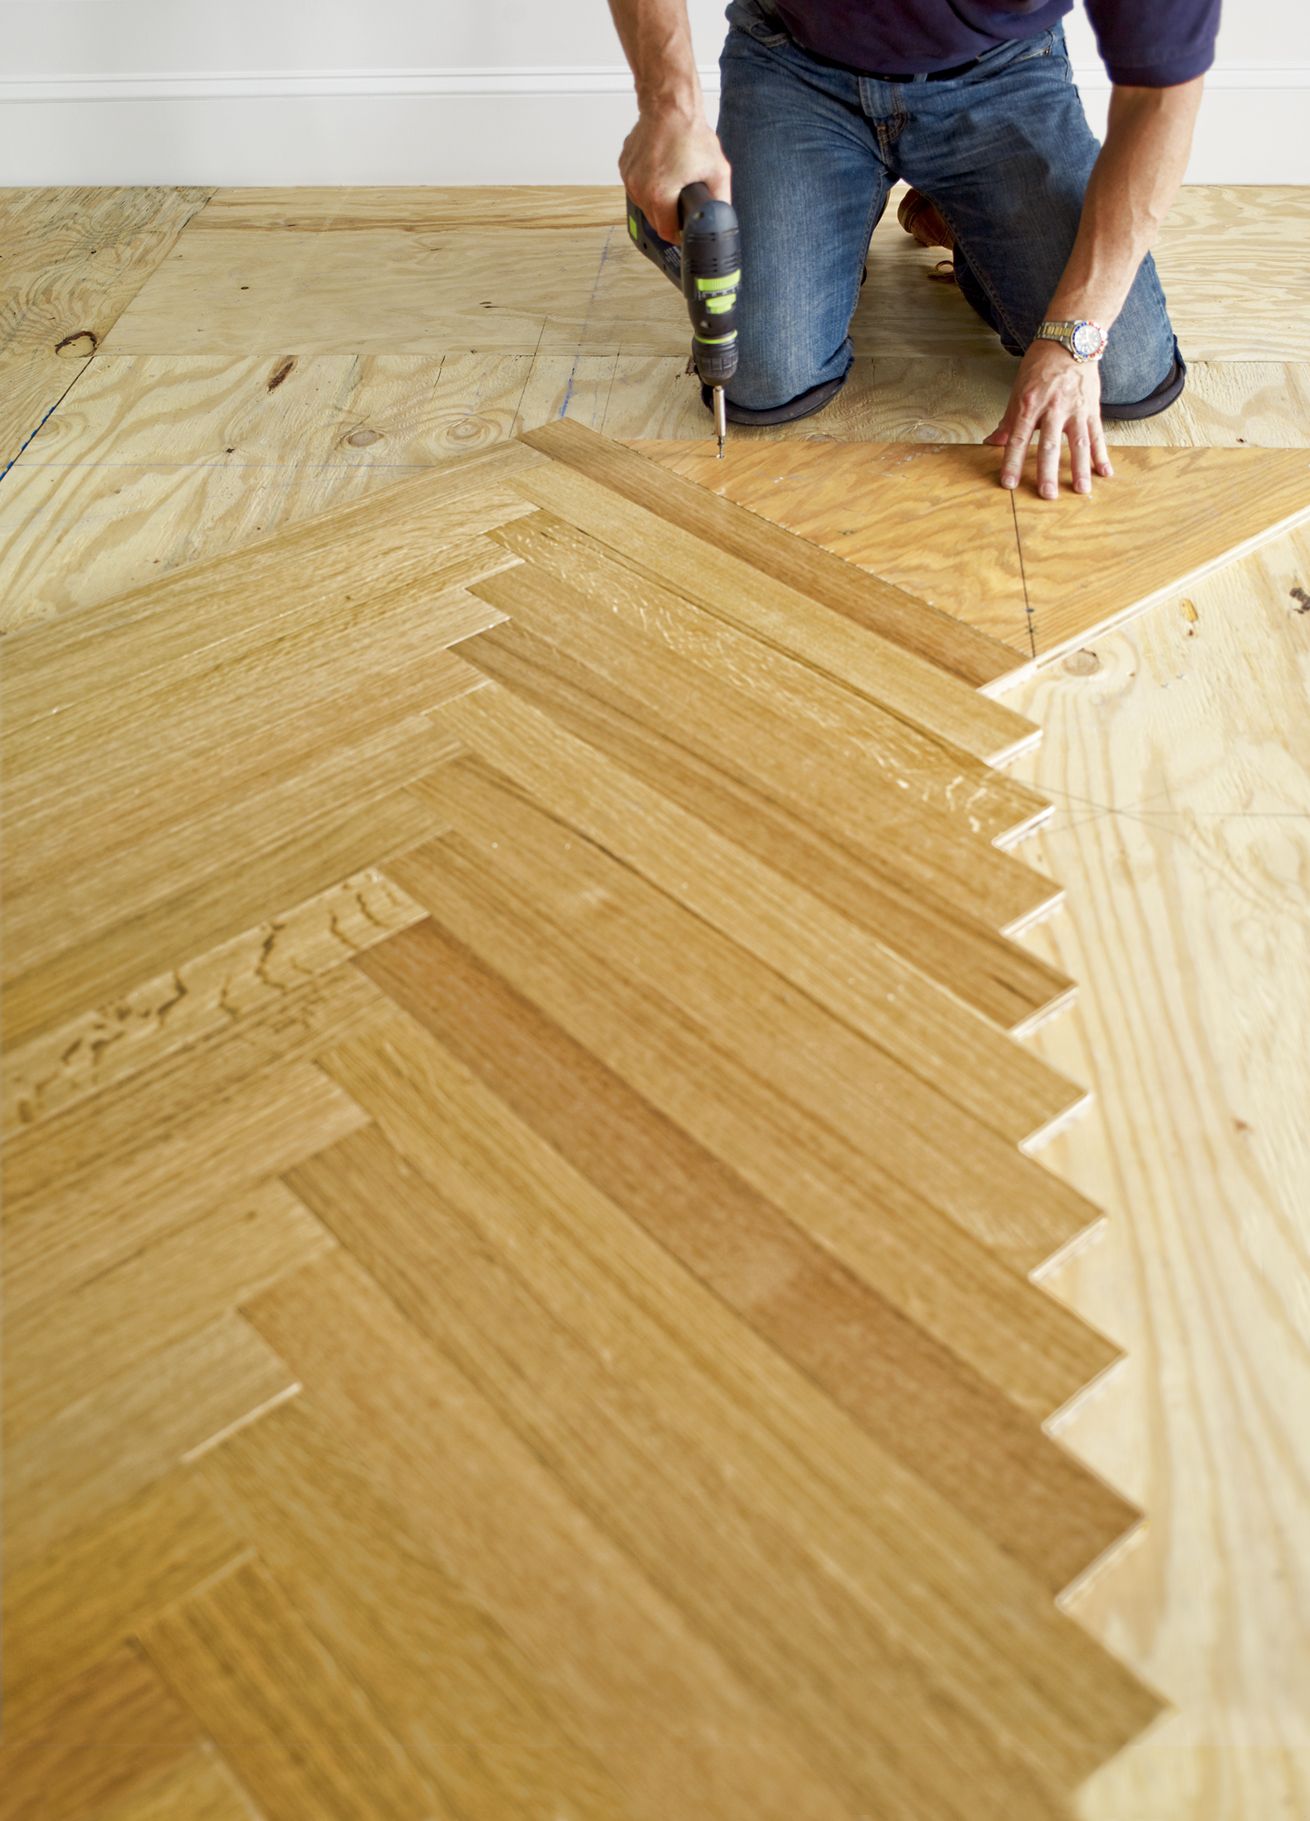
Install the third slat overlapping the end of the second slat, the fourth slat overlapping the end of third slat, and so on. Continue the pattern until the point of the chevron reaches the border. Unscrew the blank, reverse it, and place it against the tongue of the last slat laid, flush with its end. Screw it to the subfloor, as shown.
Step 13
Begin the Second Course
Butt the next slat against the blank, tongue out. Check for a tight joint, and nail it in place. Continue until the chevron reaches the opposite border. Keep adding slats until their ends reach the side borders.
Step 14
Backfill the Empty Triangles
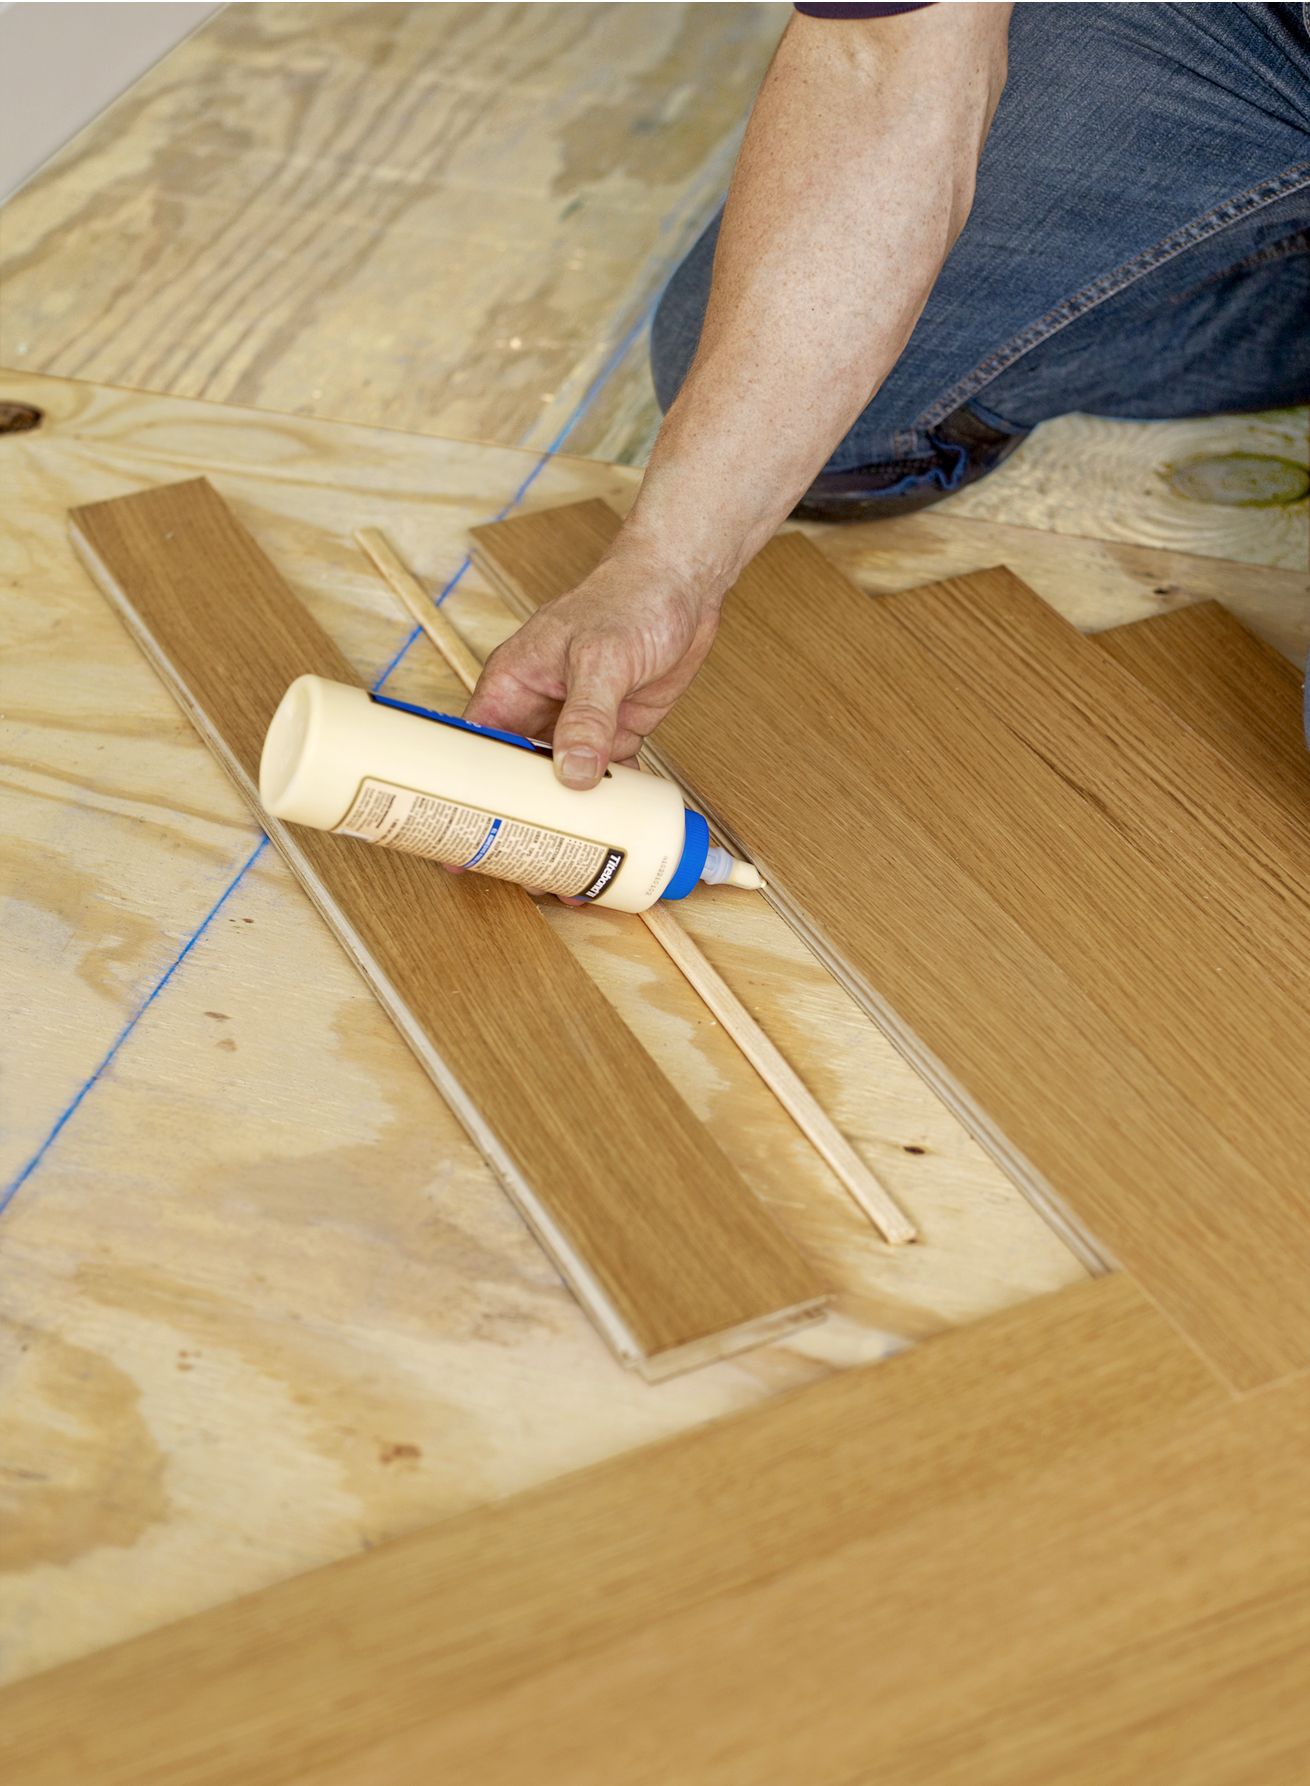
You can’t nail into the groove of a slat, so you have to reverse the slats’ direction to cover the areas left by the blank. To do that, you need a flooring spline, which allows you to butt two grooves together. Run a bead of wood glue in the groove of an installed slat, as shown. Insert the spline and nail it down like you would any other slat. Now work off that “tongue,” adding slats until the border of your field is covered.
Step 15
Mark the Overlap for Removal
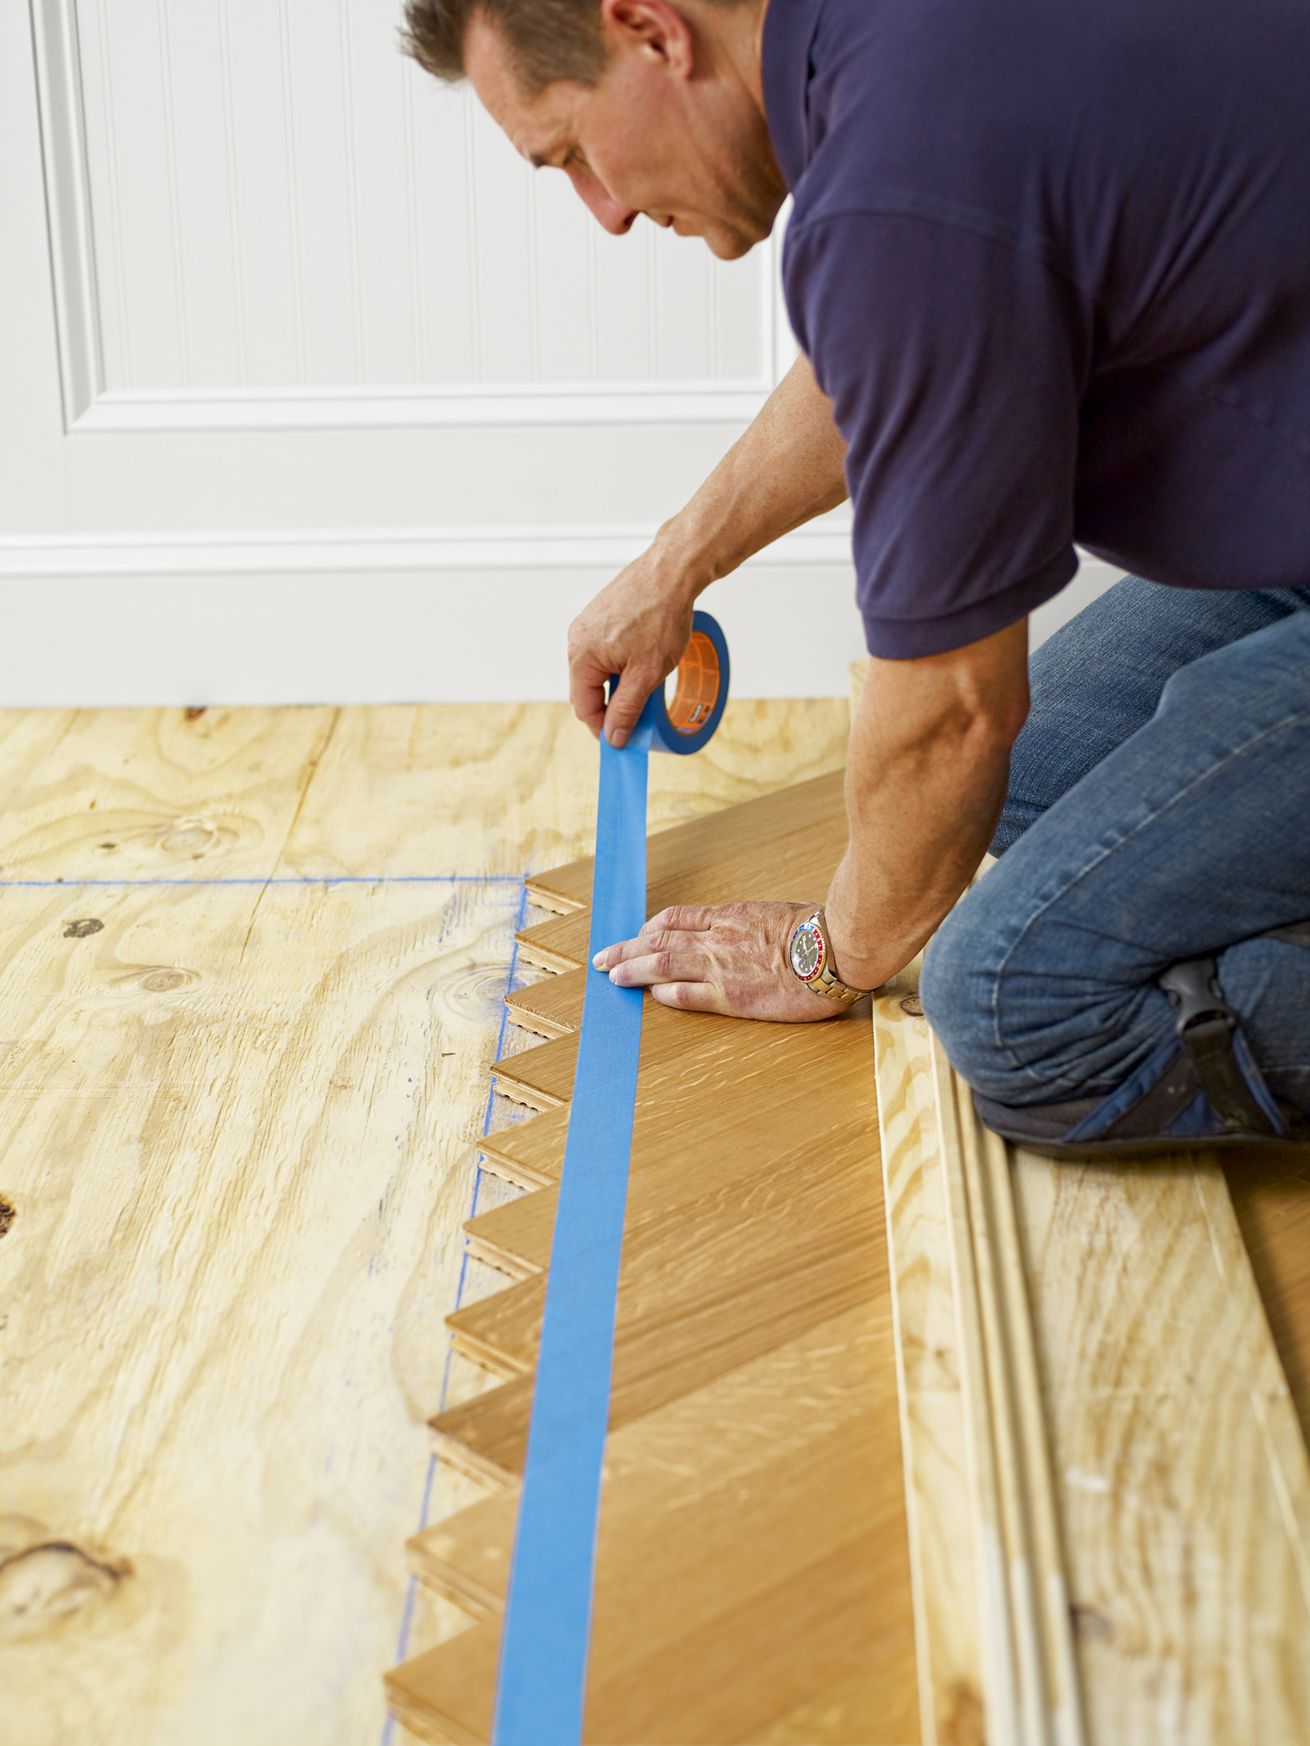
Where the slats overlap the field’s borders, you’ll trim them to get a straight line. Use painter’s tape to mark a cutline, as shown. The tape will guard against splintering as you cut.
Step 16
Cut Off the Excess

Screw a strip of molding or other material to a narrow length of plywood, place the fence of a circular saw against the strip, and rip the plywood to create a long cutting guide for the saw. Line up the guide over the tape and, using spacers, screw it to the subfloor where it extends past the installed flooring. Set the circular saw on the guide, and adjust the depth of the blade to a hair more than the thickness of the slats. Trim the slats along the border, as shown; do the same thing on the other three sides of the field.
Step 17
Add Grooves to the Edges

Use the router to cut a groove around the perimeter so that you can add an apron of long flooring strips to frame the herringbone.
Step 18
Attach a Feature Strip
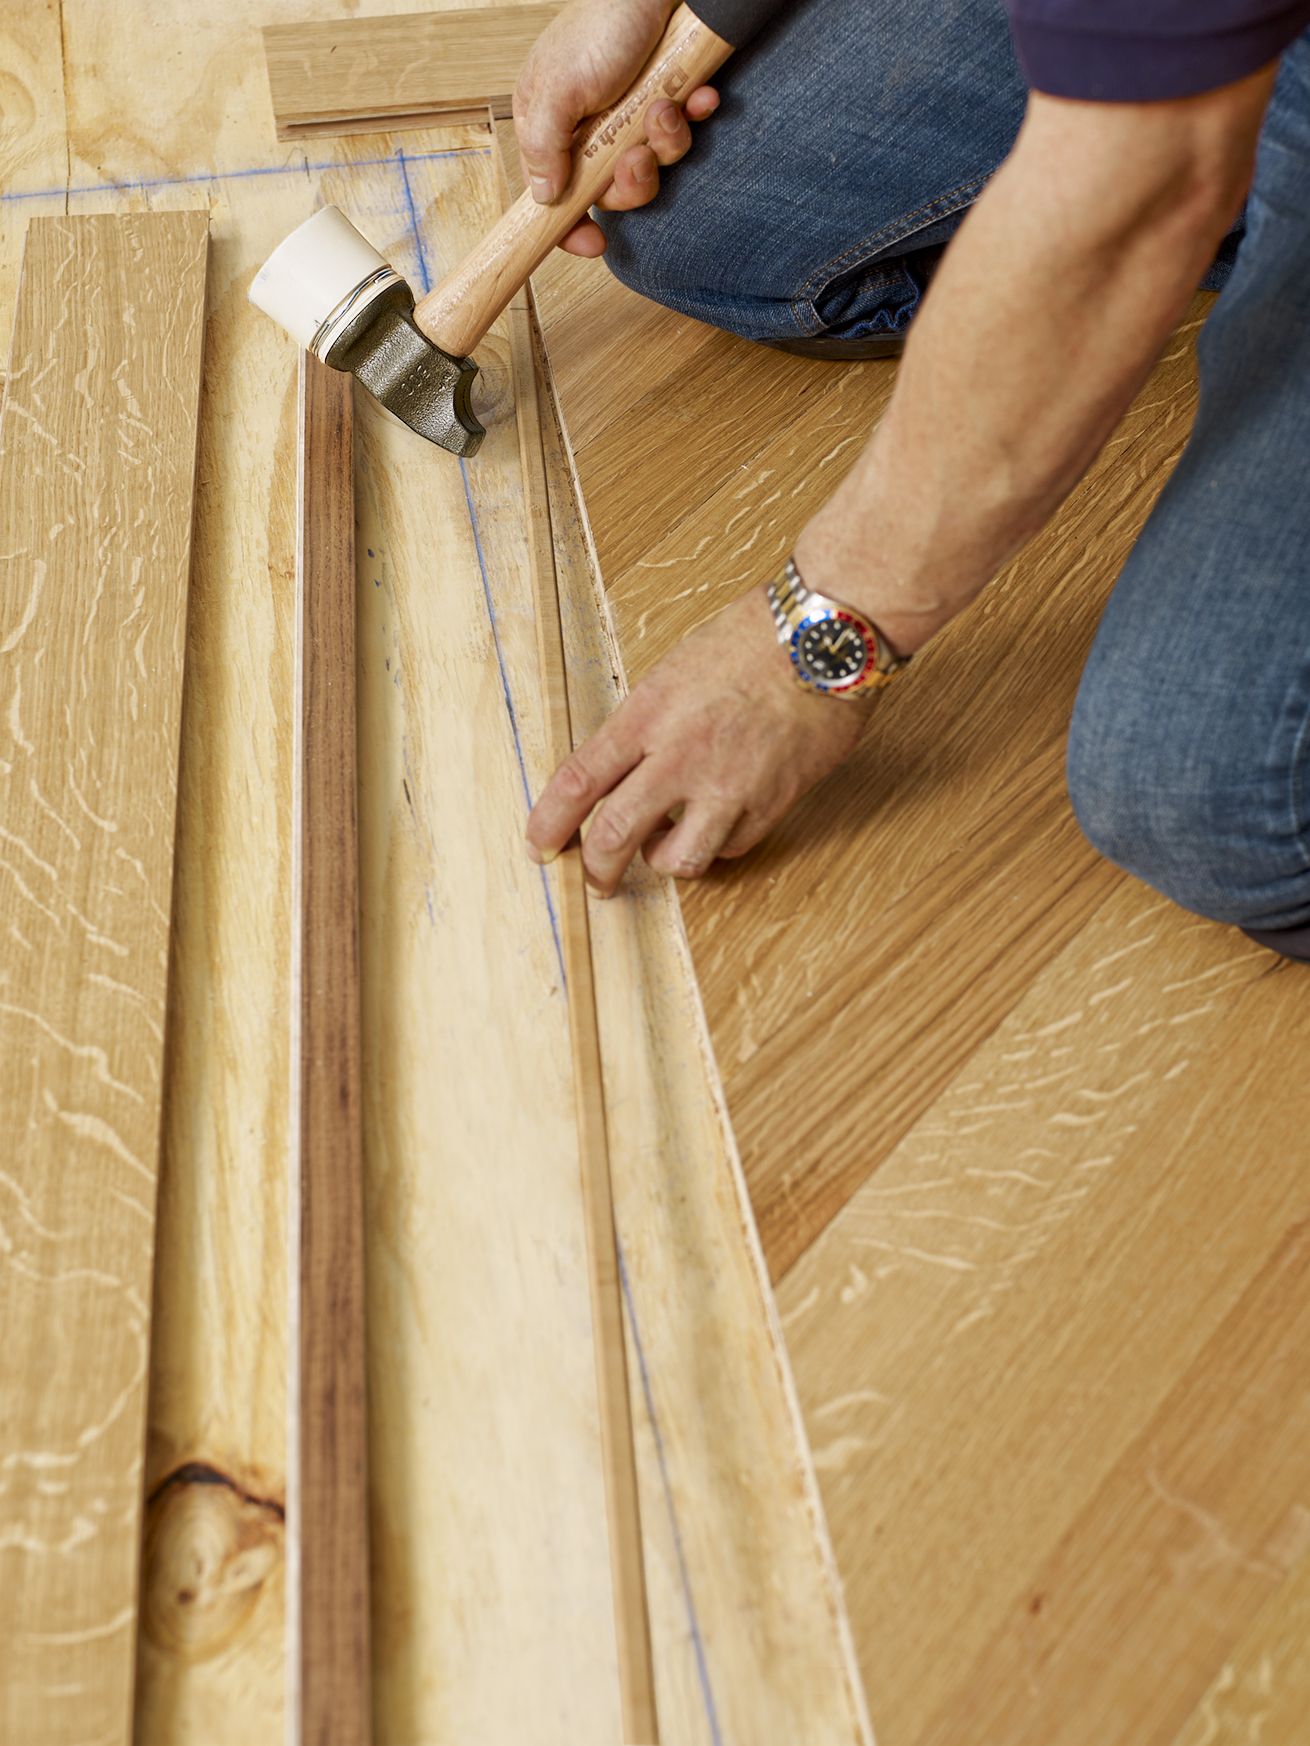
Run a bead of wood glue in the groove along one side of the herringbone field and insert a long spline, then tap the spline in place. Repeat for the other three sides. Now install a decorative accent piece to define the edge of the field; we used 1¼-inch walnut.
Step 19
Nail the Border Pieces

For the next layer in the apron, measure and cut as you go to ensure a close fit. Use the nailer to install each strip so that it overlaps the end of the next, log-cabin style, in a frame around the field. Continue nailing border pieces until your apron is complete.