Project details
Skill
Cost
Estimated Time
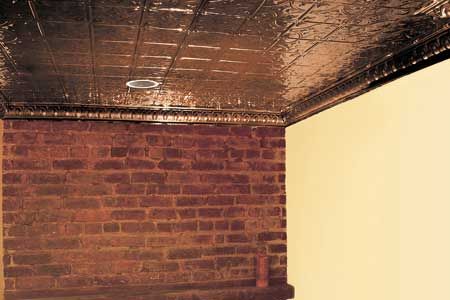
So you’re soaking in the tub, you’ve got the candles going, you look up, and what do you see? Nothing. Well, technically, it’s something—it’s a plain, white ceiling. However, if you had nicely decorated copper panels overhead…well, that dancing candlelight would look sweet.
As This Old House technical editor Mark Powers shows here, in less than a weekend you could turn your blank ceiling into an architectural showpiece of pressed metal—with plenty of time left for a Sunday soak. And why stop there? Put some sleek steel above the kitchen cabinets, or take a classic Victorian-era pattern and paint it white to make a lacy canopy in your bedroom.
So before your next bubble bath, jot down some measurements and soon you’ll have all the parts for your new ceiling in hand. Then all you’ll have to do is raise it up and lie back.
Tin Ceiling Overview
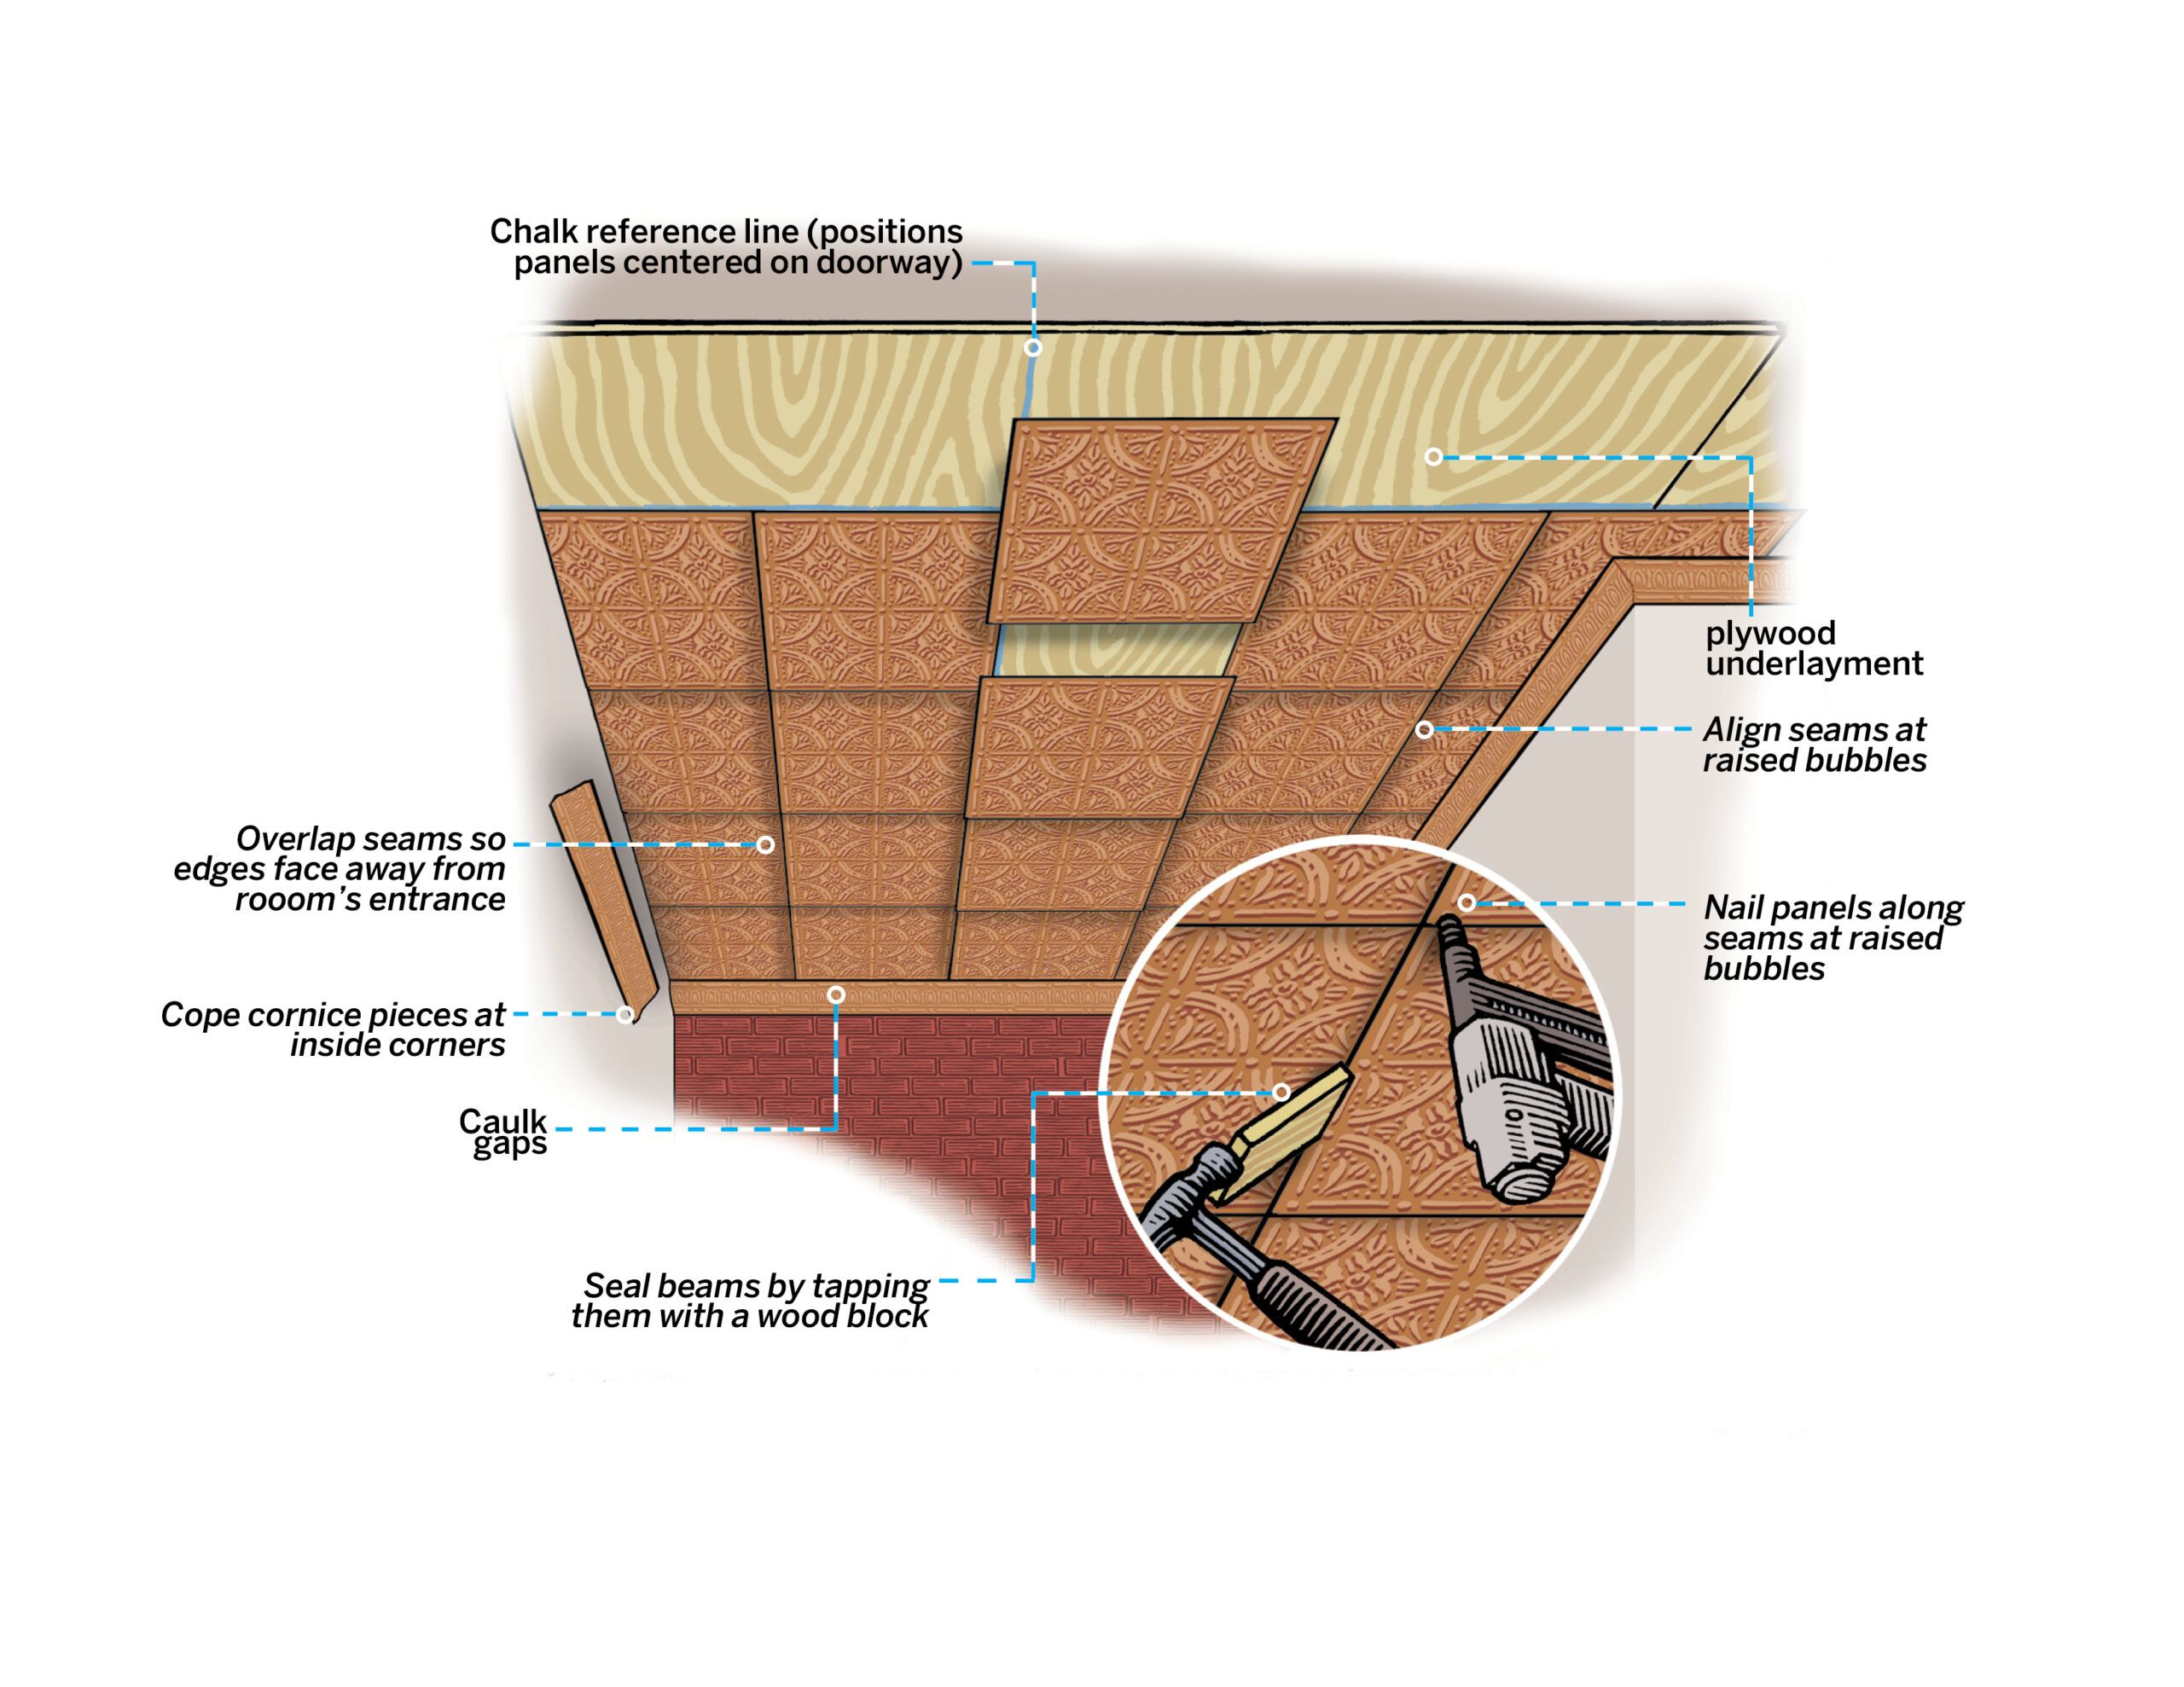
To cover a ceiling with tin (steel, actually) you need panels for the field and cornice pieces to bridge the junction between ceiling and wall. The good news is that, once you provide room measurements and — configuration, manufacturers will calculate for you how many of the 2-by-2-foot panels and 4-foot cornice pieces you actually need. That includes cornice pieces cut to fit together tightly: At inside corners, one piece will be coped (cut at an angle and shaped to hug the curves of the adjoining piece) and at outside corners both pieces will be mitered to meet at a point.
The steel comes either powder coated or bare; the former is meant to be left looking like metal (and is colored in different finishes), while the latter is for painting. Traditionally, tin ceilings were painted; if you have any trepidation about installing the ceiling neatly, you should probably plan to go that route. That way, you can caulk and paint over mistakes. If you leave the metal showing, you can still cover imperfect joints with clear caulk and metallic touch-up paint, but these spots will be more visible. Keep in mind, also, that the patterns on these ceilings have a repeat; a smaller repeat is better for a smaller room.
The metal used for the panels is heavy—if you hang them directly off of drywall or plaster the nails will pull out. So first you’ll need to cover the ceiling with plywood to create a secure nailing surface. This is the most difficult part of the job: finding the joists and then raising and screwing plywood sheets to them. Think about layout before you start putting up panels. A row of panels should be centered over the entry to the room, and the joints between panels should overlap in such a way that cut edges face away from the room’s entry. This will make the ceiling look neater to someone walking through the door.
Once you have your plywood up and your layout scheme established, nailing up the metal—especially if you rent yourself a brad nailer and compressor to alleviate the tiresome work of hammering overhead—is just a matter of finessing the panels and cornice pieces into place.
Step 1: Create a plywood underlayment
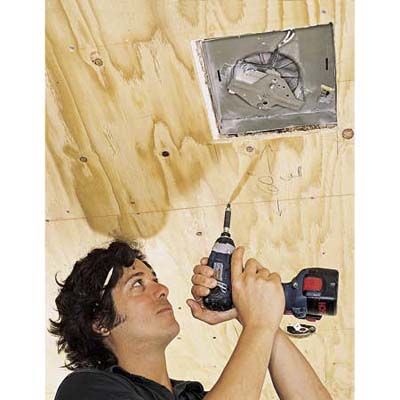
Turn off the room’s power at the circuit breaker and remove ceiling fixtures.
Use a drill/driver with a ⅛-inch bit to make exploratory holes to find a joist. Mark its center. Measure across the ceiling in 16-inch increments to locate other joists.
Snap chalk lines along the center of every joist, and mark their locations onto the walls.
Use the chalk lines as guides for securing the plywood to the joists with 2 ½-inch decking screws spaced every 8 inches.
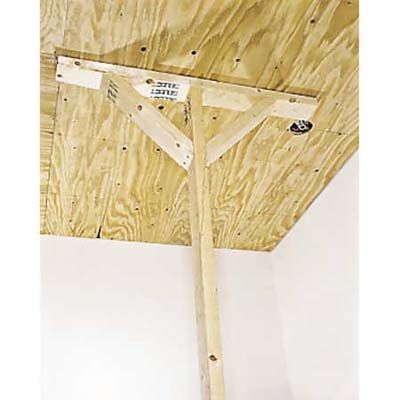
Step 2: Hold plywood with T-brace
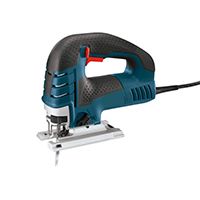
When you encounter an electrical box or other ceiling fixture, use a square or compass to draw its outline on the plywood. Make the cutout with a jigsaw.
If you don’t have a helper to hold up the plywood, make a deadman, which is a T-shaped brace assembled from 2x4s.
Fasten the 2x4s together and add angled supports under the horizontal top piece. Cut the brace just slightly taller than ceiling height.
Step 3: Mark the layout lines

The panels will look best if one row is centered over the room’s entrance. Begin by locating the midpoint of the doorway.
Measure one foot (half the width of a panel) to one side of the midpoint.
Snap a chalk line that starts at this point and runs perpendicular to the opening. This will give you a layout line that centers a row of panels over the door.
The first panel will go up at the middle of this chalk line. Mark the midpoint of the line.
Use a square to make another mark that bisects it at a right angle. Snap a chalk line across the width of the room along that perpendicular line.
Step 4: Nail up the panels
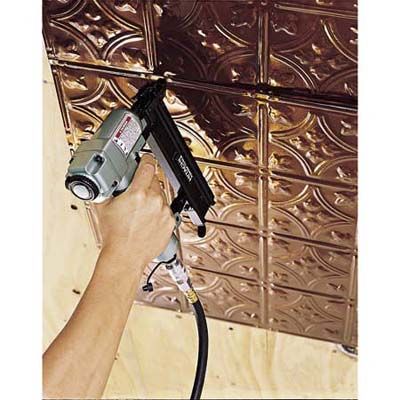
As you begin nailing up panels, leave one or two sides unfastened so you can tuck the edge of the next panel to be installed underneath it. The panels should always overlap with exposed edges facing away from the entrance to the room.
Align the corner of a panel at the intersection of the layout lines. Using a brad nailer, fasten it to the plywood every 6 inches along the edge. Angle the nails slightly. Don’t nail any edges that need to overlap the next panel.
Ceiling panels have raised bubbles along their edges, which create a perfect ¼-inch overlap. Tuck the edge of the second panel under the first panel, lining up the bubbles.
Nail through two layers of metal at the bubbles. Continue nailing up panels in this manner.
Step 5: Cut pieces to fit
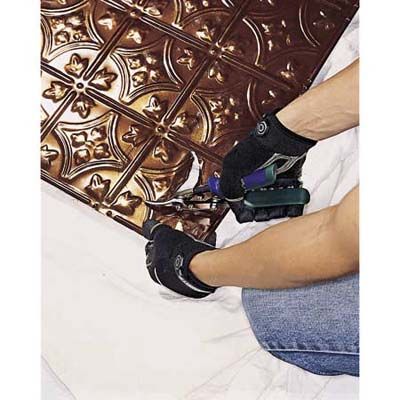
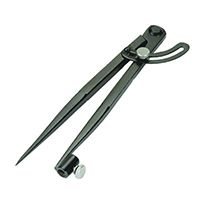
When you reach a cutout in the plywood, make a similar cutout in the metal. Use a fine-point marker and a straightedge—or a compass—to draw the fixture’s outline.
Draw a second line ¼- inch inside the first to create a slightly smaller cutout. Later, you can bend the extra metal over the plywood to hide the sharp edge.
Place a wood scrap behind the panel and drill a ⅜-inch starting hole for the tin snips. Cut along the line, then make ¼-inch relief cuts along the cutout edge.
Install the panel over the fixture opening and bend the metal inside the plywood.
Continue installing full panels until you get close to the wall. Measure the distance between the last full course and the wall.
Using snips, trim the panels to fit. Install them with the cut edges facing the wall.
Step 6: Seal the seams
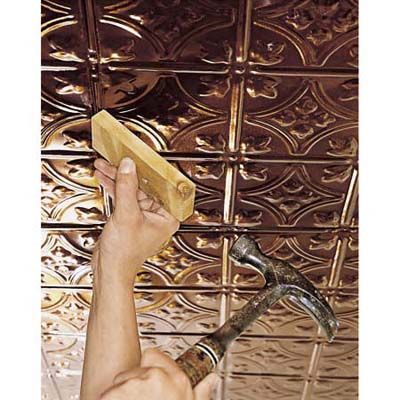
Take a short 1×4 block and hold it at a 45-degree angle against the thin groove at a seam between two ceiling panels.
Gently tap the block with a hammer along the seam to close any small gaps. Be careful not to tap on the raised dimples or you’ll crush them.
Seal all the seams between the ceiling panels in this manner.
Step 7: Hang the cornice
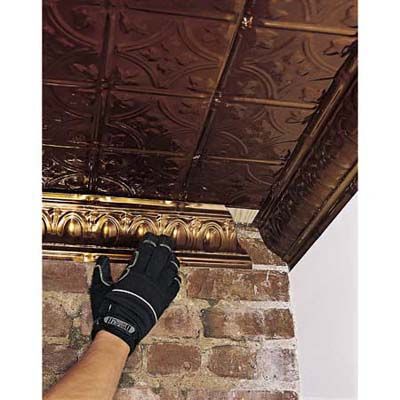
Lay out the precut coped and mitered cornice pieces on the floor to determine how they’ll be arranged on inside and outside corners.
Coped pieces slide into square-cut pieces at inside corners. Mitered pieces meet at 45-degree angles at outside corners. However, the starting piece should have square cuts at both ends.
Hold a cornice to the ceiling on the starting wall, overlapping the edge of the last row of panels. Mark its bottom edge on the wall.
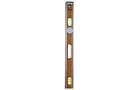
Use a level to extend this mark across the wall and around the room, creating a level reference line for positioning all the cornice pieces.
Place the first cornice on the line and against an inside corner. Nail it to the wall and ceiling every 6 inches. Continue installing square-cut cornice pieces until you reach the next corner. Cut the last piece to fit.
After installing cornice pieces across the first wall, move on to the adjacent wall.
Cut a coped joint on a length of cornice and then slide it tightly into the corner. Then, install the rest of the cornice around the room.
Seal cornice seams. Then caulk and touch-up any gaps. If desired, you can prime and then paint the ceiling.