
Project details
Skill
Cost
Estimated Time


A pileup of coats and jackets near the front door is never a welcoming sight. But if your house lacks a proper foyer or entryway, as many do, finding a spot to store this stuff can be a challenge. Our solution? Build a low-profile, cottage-inspired coatrack that takes up just a few feet of wall space. This Old House general contractor Tom Silva made this one from 1× lumber and embellished it with a couple of strips of decorative, fluted door casing, available in a range of profiles and materials at home centers. Double coat hooks and wire storage baskets for holding mail, gloves, and miscellany maximize storage space, and the board-and-batten-like design protects the underlying wall from dings and dents. Best of all, the price tag won’t send you into sticker shock—we dare you to find an off-the-shelf coatrack that’s this easy on the eyes for less.
Casing: ⅜-by-2⅜-inch Whitewood Casing, about $8 per 7-foot length. Hooks: Brainerd Decorative Flat Black Garment Hooks, about $4.50 each. Both available at lowes.com
Step 1
Overview of How to Build a Wall-Mounted Coatrack

Our piece measures 48 by 24 inches; you can easily change the size to suit the space you have. This Old House general contractor Tom Silva added a French cleat to the back side to make installation simple, so you’ll need a circular saw or table saw to make the bevel rip cut. If you don’t have one, fasten the piece directly to the wall by driving screws through the upper and lower cleats into wall studs or anchors. CUT LIST
1×4: three at 48 inches 1×3: two at 24 inches ⅜-by-2-⅜-inch fluted door casing: two at 48 inches
Step 2
Crosscut the Parts
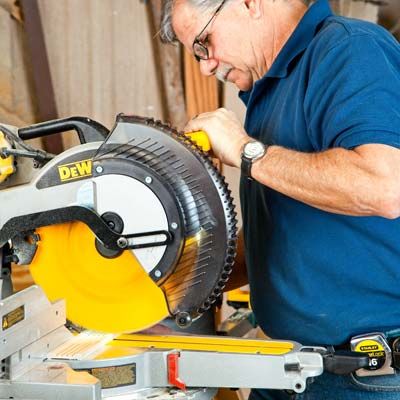
Use a miter saw to cut the seven boards to length. Crosscut the two 1×3s to 24 inches long, then cut the three 1×4s and two 2⅜-inch-wide fluted casings to 48 inches.
Step 3
Make a French Cleat
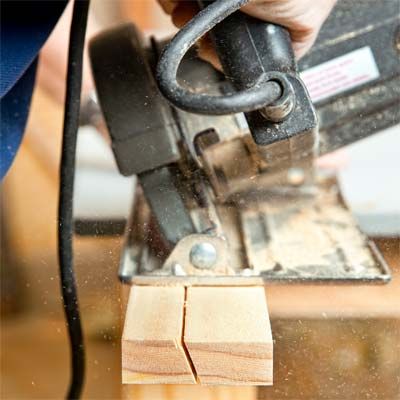
Adjust the bevel angle on your circular saw to 25 degrees, and set the blade depth to slightly deeper than the board’s thickness. Cut the 1×3 upper cleat lengthwise to create two identical beveled strips.
Step 4
Attach the French Cleat

Lay the two outside 1×4s parallel on a flat surface and place one half of the French cleat across them, flush with the edges and 6 inches below the top. As shown, the cleat’s narrow face should rest on the 1×4s, with the square edge facing the top. Drill pilot holes, then attach with wood glue and 1¼-inch trim-head screws.
Step 5
Install the Lower Cleat
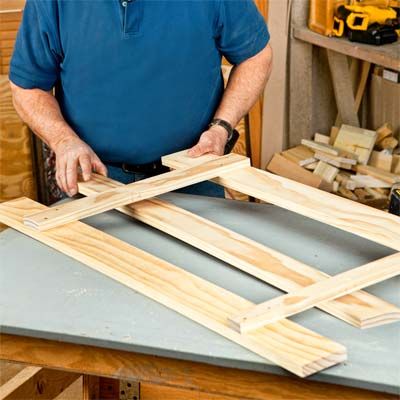
Glue and screw on the 1×3 lower cleat, 6 inches from the bottom end of the 1×4s. Next, slide the third 1×4 beneath the cleats, centered between the outside 1×4s. Fasten it to the two cleats with wood glue and 1¼-inch screws.
Step 6
Add the Fluted Casing
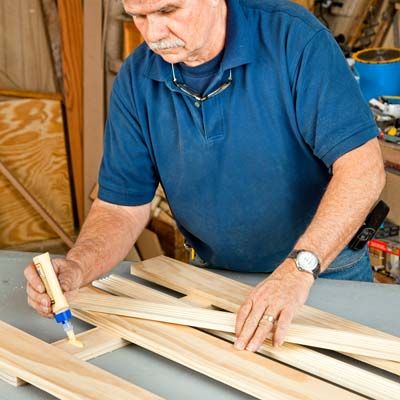
Turn over the frame and position the fluted casing pieces so that they’re centered between the 1×4s. Attach the casings to the cleats with wood glue, and clamp in place until dry. Sand all surfaces with 120-grit sandpaper, and prime and paint the coatrack.
Step 7
Paint the Wire Baskets

While the rack dries, coat the wire baskets with spray primer and paint so that they match the coat hooks. Allow the paint to dry for at least two hours, then flip the baskets over and paint the other sides. Add a second coat of paint if desired.
Step 8
Install the Coat Hooks
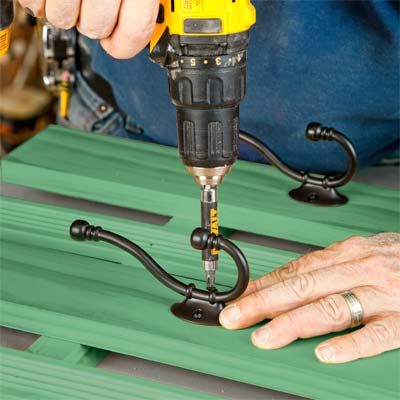
Attach one coat hook to each 1×4, using the screws provided. Position the hooks about 9 inches down from the top end of the coatrack, and be sure each one is centered on the 1×4.
Step 9
Hang the Baskets and Install the Coatrack
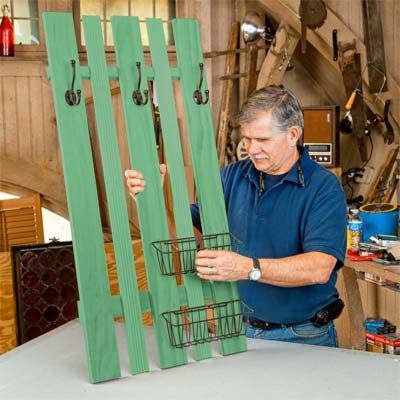
Hold the baskets in place and mark positions for two cup hooks per basket. Screw the hooks into the 1×4s, and hang the baskets. Screw the other half of the French cleat to the wall, with its narrow face resting on the wall and its square edge facing down. Hang the coatrack on the wall-mounted cleat.