Project details
Skill
Cost
Estimated Time

Claw-foot tub interiors were coated in porcelain, but the outsides and feet were usually bare metal and periodically required a fresh coat of paint, typically white, to prevent rust. Metallic gold or silver feet were also common, and I had an old silvery finish in mind on a shopping trip to Zaborski Emporium, in Kingston, New York. I needed three matching feet to mount on the base of a galvanized-tin flower bucket to turn it into an umbrella stand. To preserve the feet’s painted patina, and contain any harmful lead, I just brushed on a couple of coats of clear polyurethane.
Step 1
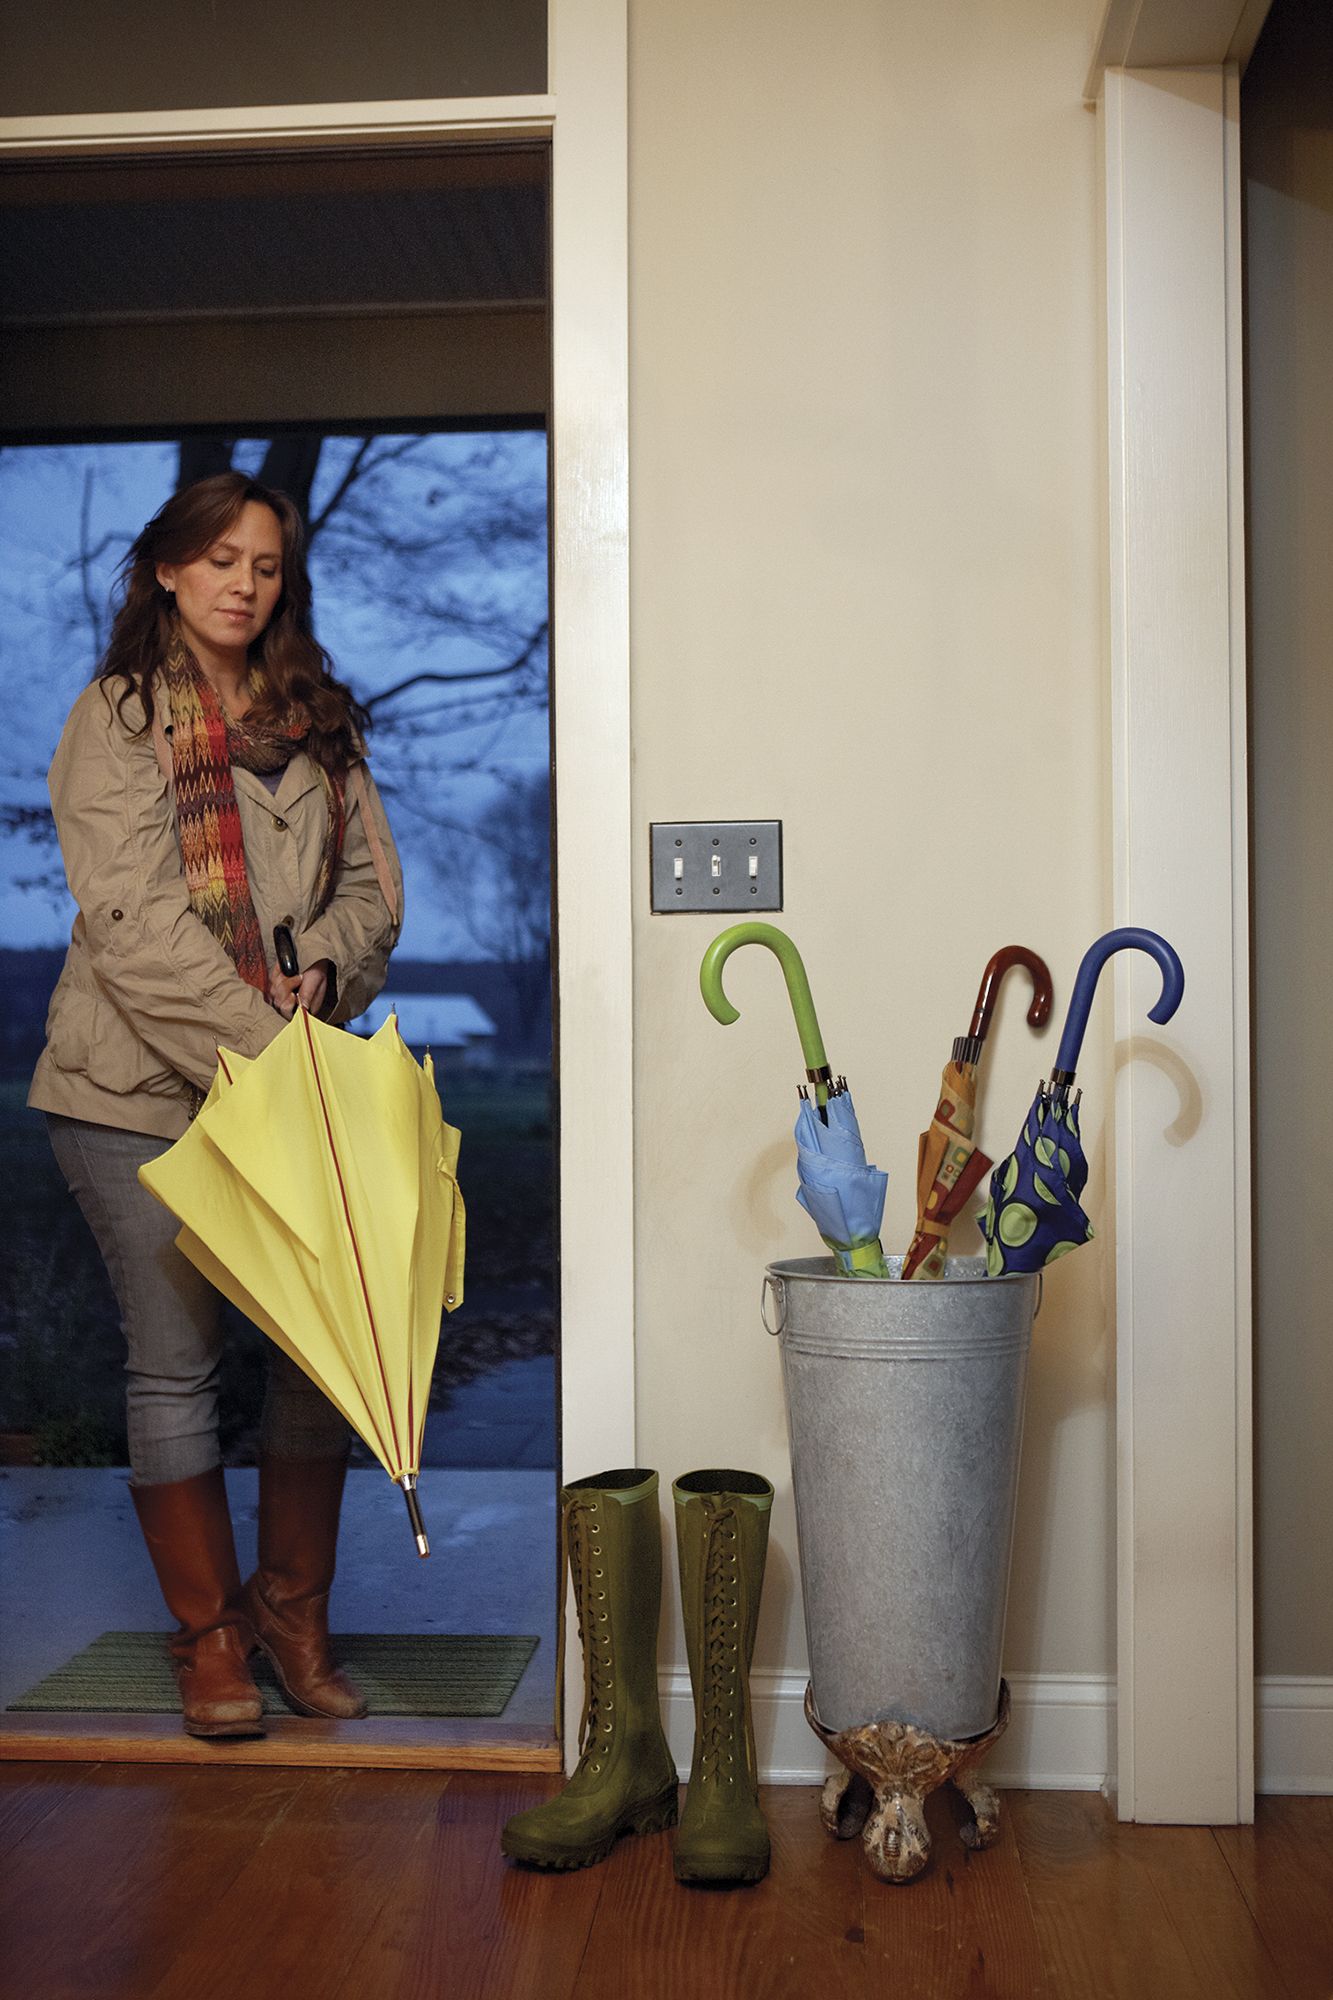
Overview on How to Build a Tub-foot Umbrella Stand
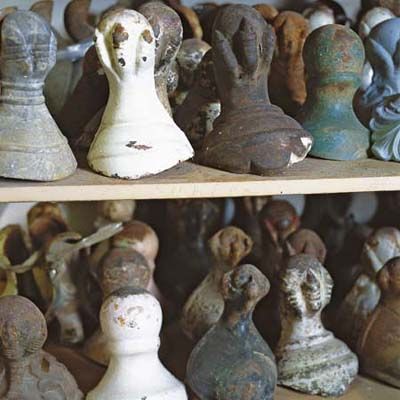
They’re small, they’re orphans, and they’re usually quite dirty. Still, iron bathtub feet are among the star attractions at salvage yards. It’s no wonder, really, with their intricate castings of lion paws with drawn claws and eagle talons gripping balls.
The feet you find today typically date to the late 1800s or early 1900s. They were used to elevate the rounded tub basins to give the vessels a furniturelike look.
You’ll be hard-pressed to find a matching set of four feet, but pairs and even three of a kind are easy to come by. Expect to pay between $10 and $25 for each foot. Designs were most elaborate in the 1890s—the peak of the Victorian era, when Americans craved embellishment. These ball-and-claw feet had wide “ankles” decorated with flowers, vines, or shells that wrapped the base of the tub like shields. They were quite large—about 5 inches wide by 7 inches tall—and weighed 4 or 5 pounds each. By the early 1930s, when the popularity of claw-foot tubs began to fade, feet were often small unadorned balls supported by smooth ankles.
If you’re trying to find an exact replacement for a missing or damaged foot on your old tub, you may have trouble, because each tub manufacturer had its own method for attaching the feet, typically via some sort of bracket extending from their back side. Far easier, and more fun, is to integrate orphaned feet into a creative reuse project, like this umbrella stand with a round base.
Step 2
Trace the Bucket’s Bottom
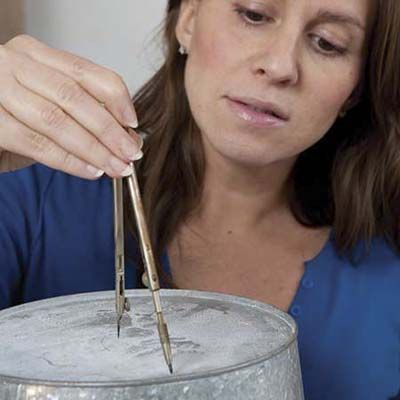
Measure the diameter of the bucket’s bottom. Using a ruler and compass, trace a circle with a diameter 1 to 2 inches smaller than the bottom.
Step 3
Cut the Mounting Disk
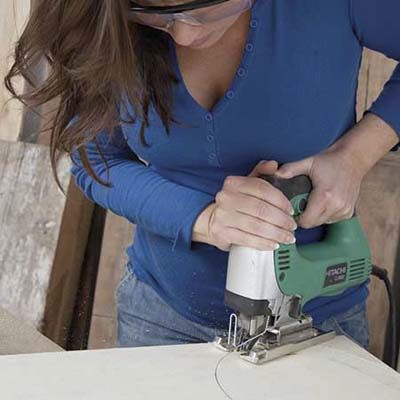
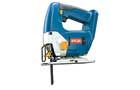
Trace the circle on a piece of ¾-inch plywood, and use a jigsaw to cut out the disk. This will be fixed to the bottom of the bucket and provide a stable surface on which to mount the feet.
Step 4
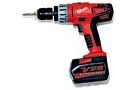
Drill Out the Tub Feet
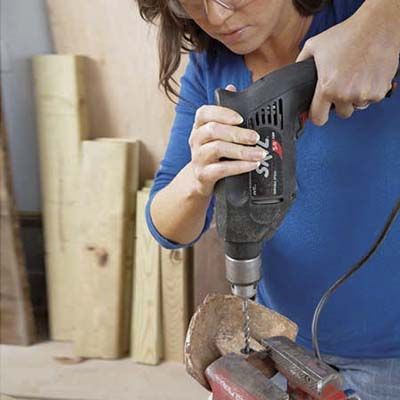
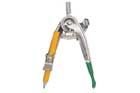
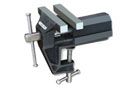
Clamp the feet to your worktable or in a vise (as shown), and drill holes through the iron brackets that extend from the backs of the feet. Some may already have holes or slots, depending on how they were attached to the tub they supported.
Step 5
Arrange the Feet
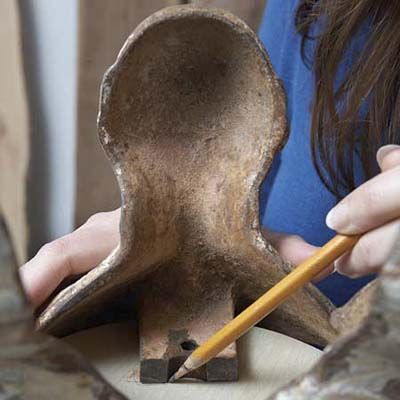
Arrange the feet on the wood disk where you want to attach them. Trace the outline of each foot’s iron bracket, and mark its holes for screws. Then set the disk on your worktable, and drill all three holes.
Step 6
Drill the Bucket
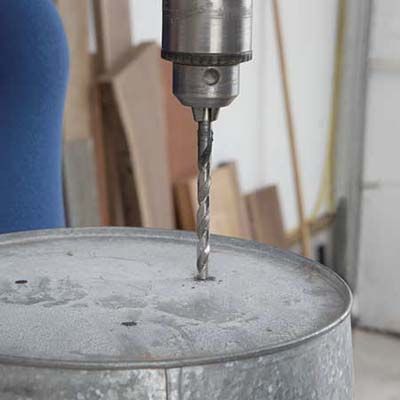
Place the wood disk on the bucket’s underside, and mark where to drill holes in the metal bottom. Remove the disk and bore the holes.
Step 7
Bolt It
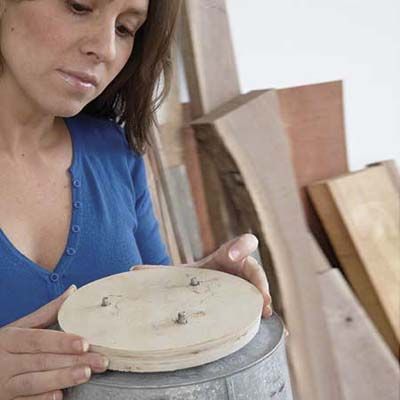
Insert 2-inch bolts through the bucket holes from the inside out, and use duct tape
to temporarily secure the head of each bolt. Turn the bucket over and place the wood disk on the bottom, fitting its holes over the bolts.
Step 8
Attach the Feet
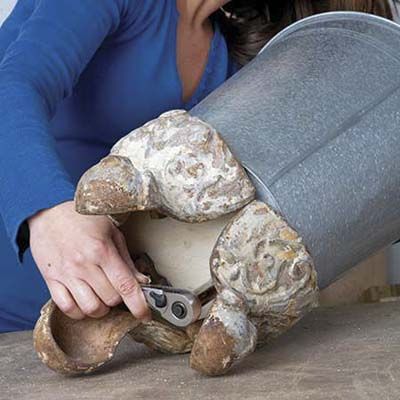
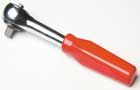
Now add the feet, using the tracings on the disk as a guide to make sure each foot is properly aligned. Remove the duct tape. Twist a nut onto each bolt, and tighten with a ratchet.
Step 9
Patina the Bucket Surface
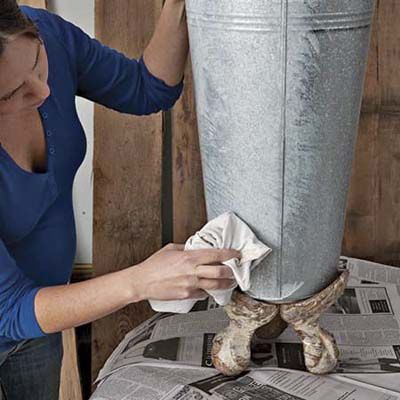
To give the metal bucket a patina to match the feet, brush on a wash that’s 1 part white paint to 3 parts polyurethane. Then dab with a rag until you achieve the look you want. Let dry, and place your new umbrella stand by the front door so that it’s ready to be christened on the first rainy day.