Project details
Skill
3 out of 5ModerateRequires mid-level woodworking skills
Cost
About $60 to $80
Estimated Time
4 to 6 hours
In this video, This Old House general contractor Tom Silva creates wall-hung storage for tools and supplies.
Building a tool storage cabinet
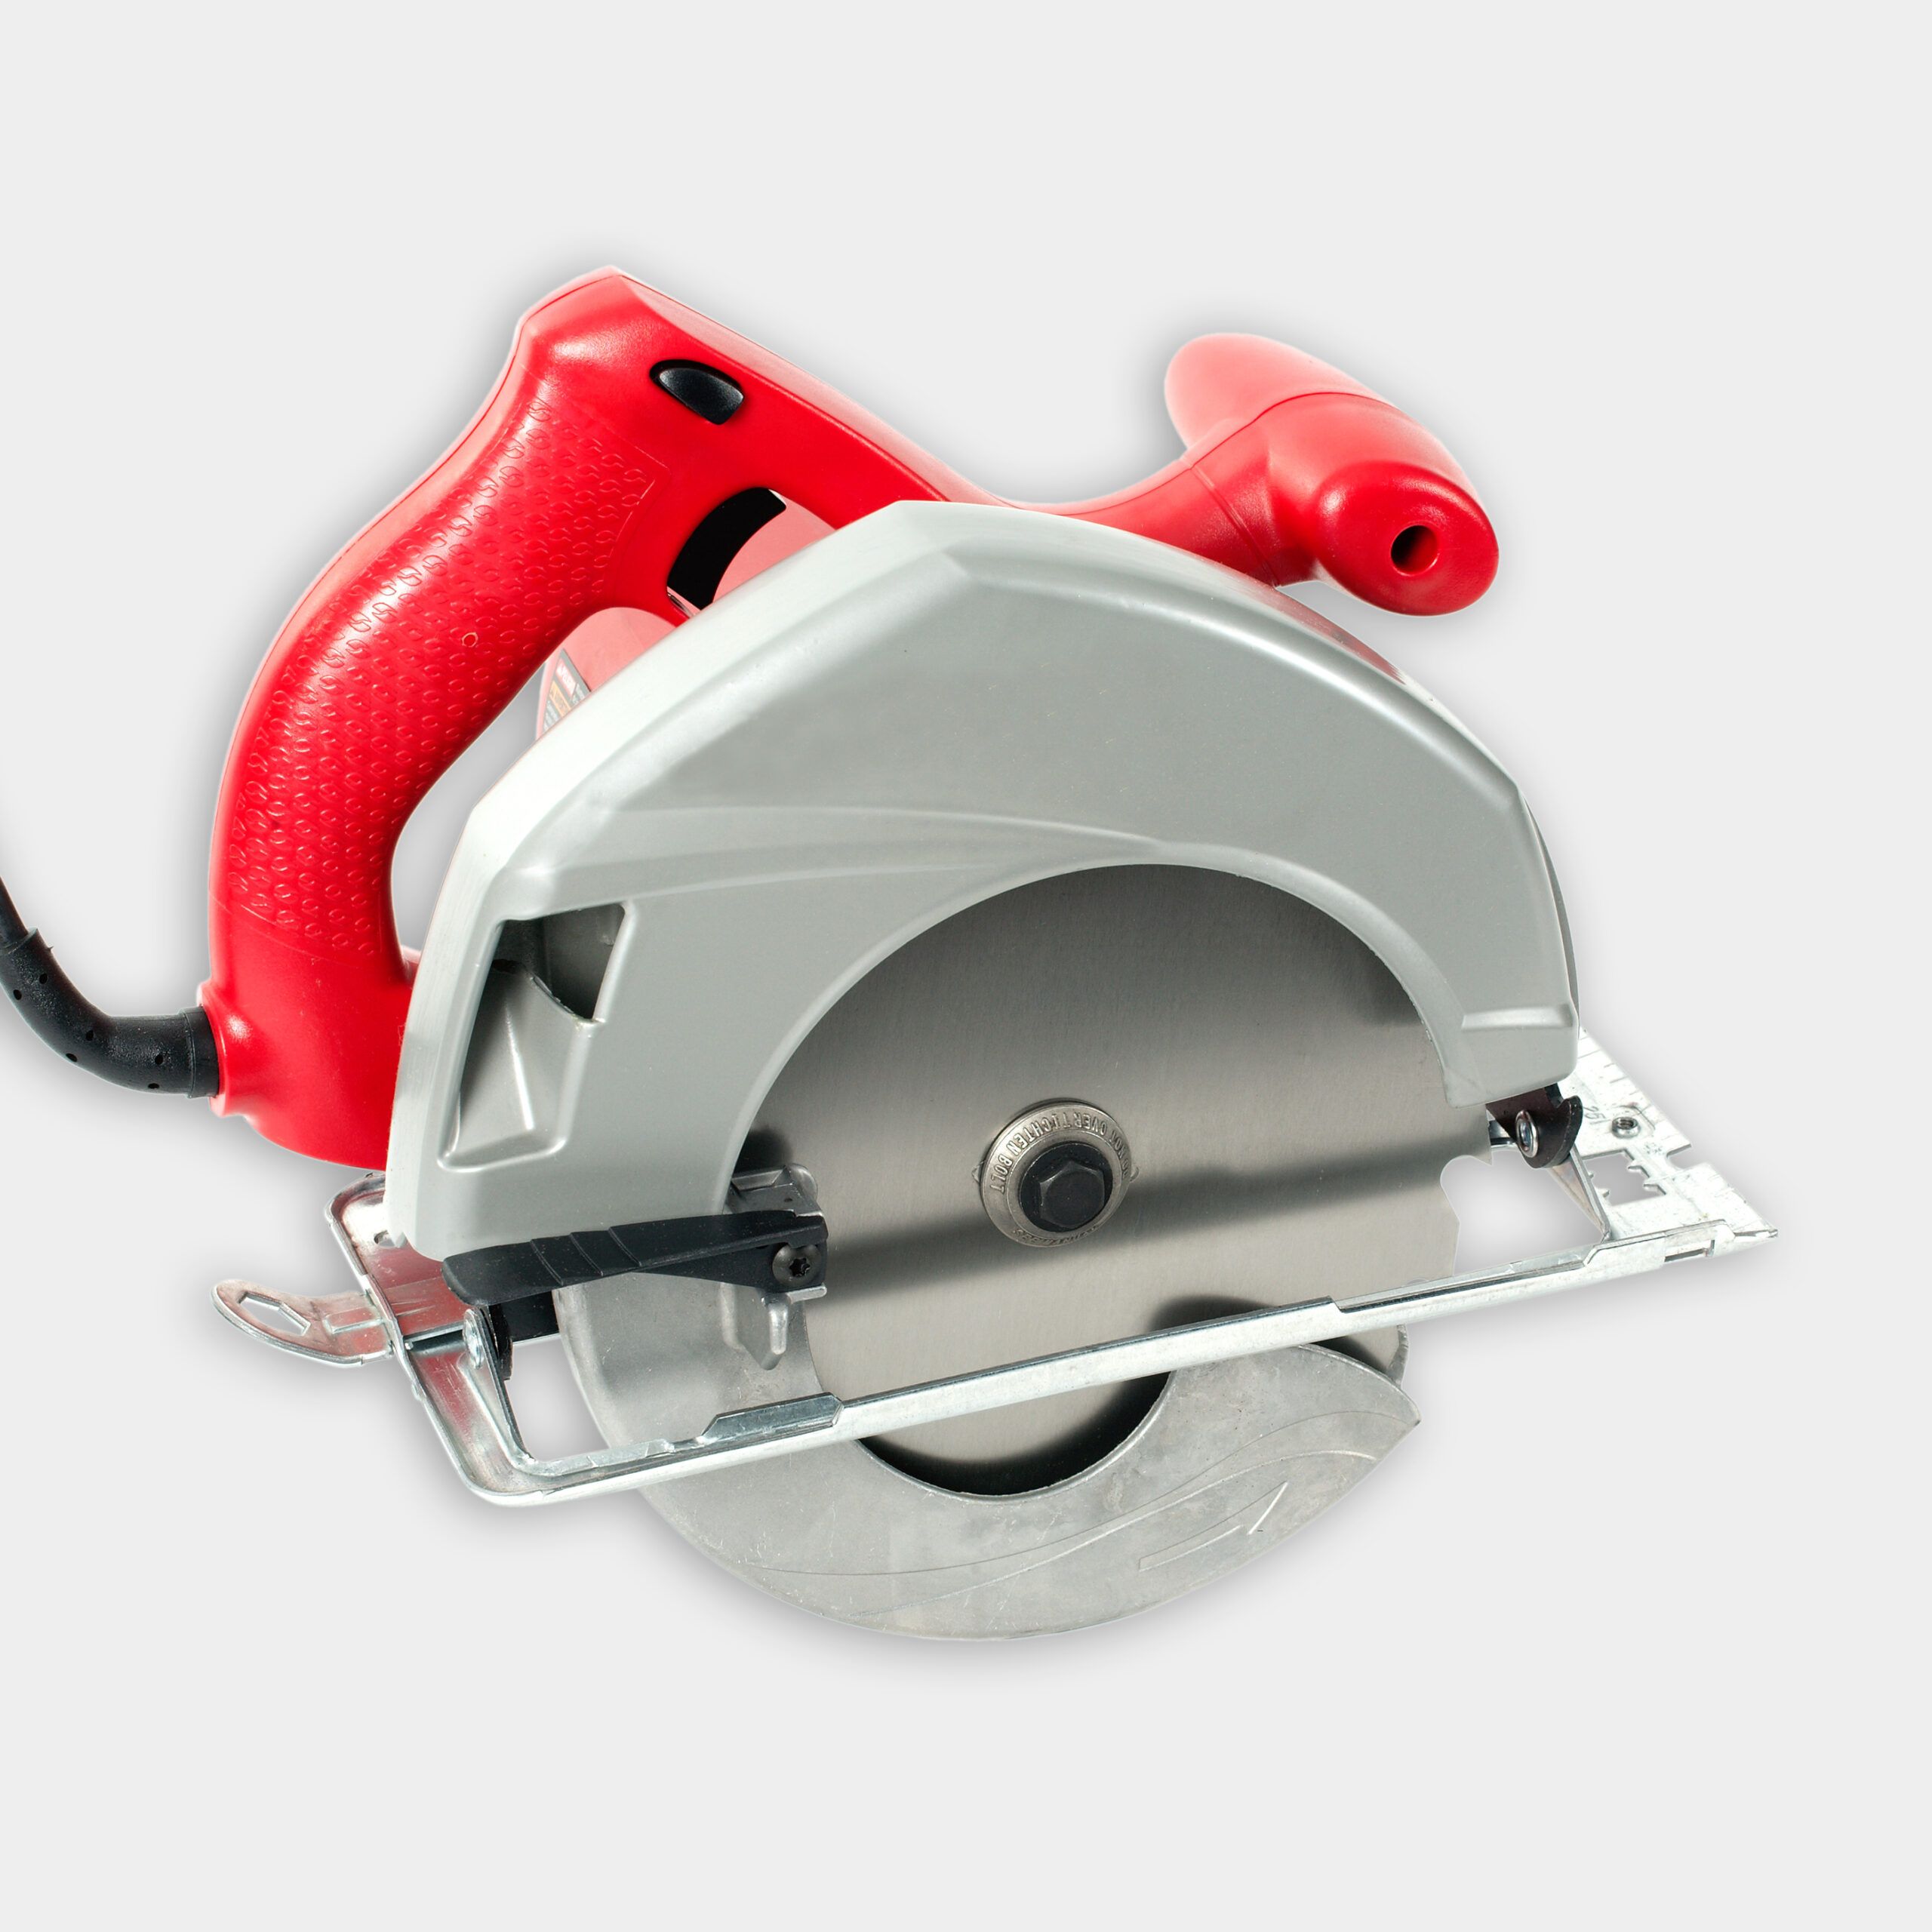
- Use a circular saw to crosscut a 4×8-foot sheet of ¾-inch A-C plywood down to 5 feet long.
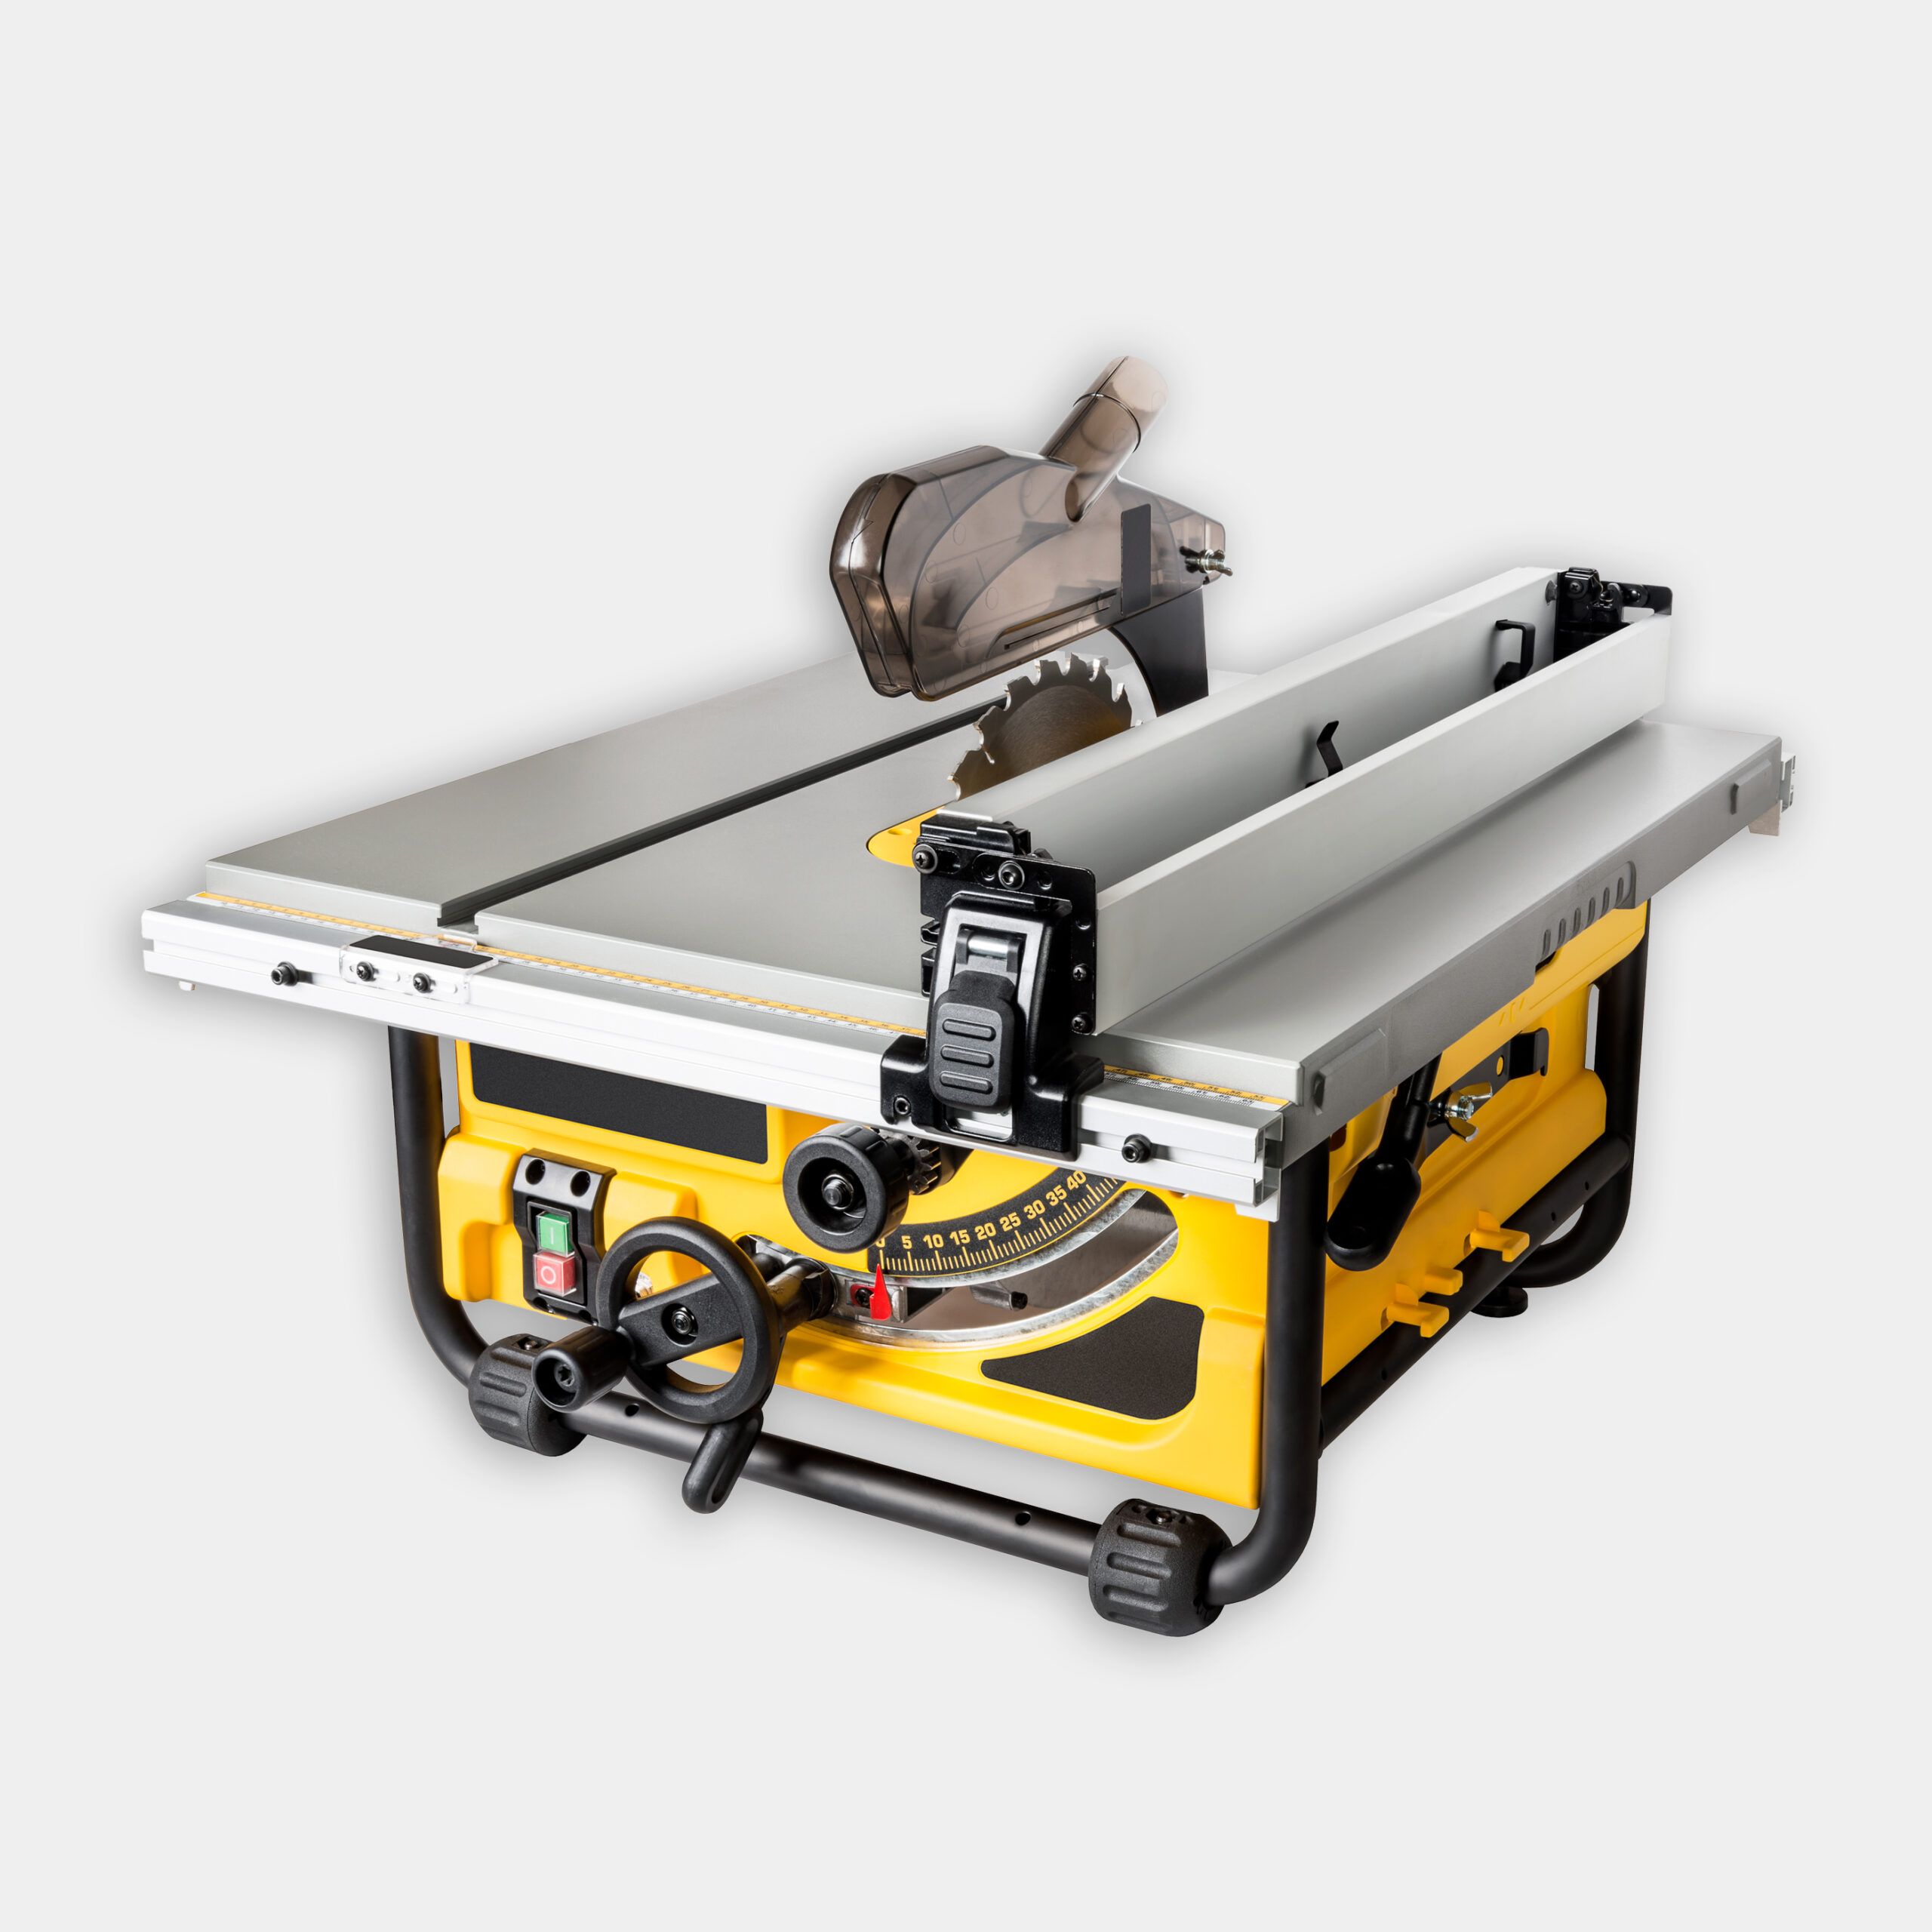
- Rip the ¾-inch plywood to width on a table saw to form the cabinet’s top, bottom, sides and center divider.
- Adjust the table saw blade and rip fence to cut a rabbet into the rear edge of the two sides of the cabinet.
- Install a stacking dado blade in the table saw and cut shallow grooves in the cabinet sides and center divider for metal shelf standards.
- Screw a shelf standard into each groove cut by the dado blade.
- Use a pocket-hole jig to bore pocket-screw holes into the ends of the cabinet’s top and bottom.
- Fasten the top and bottom to the sides with 2-inch pocket screws.
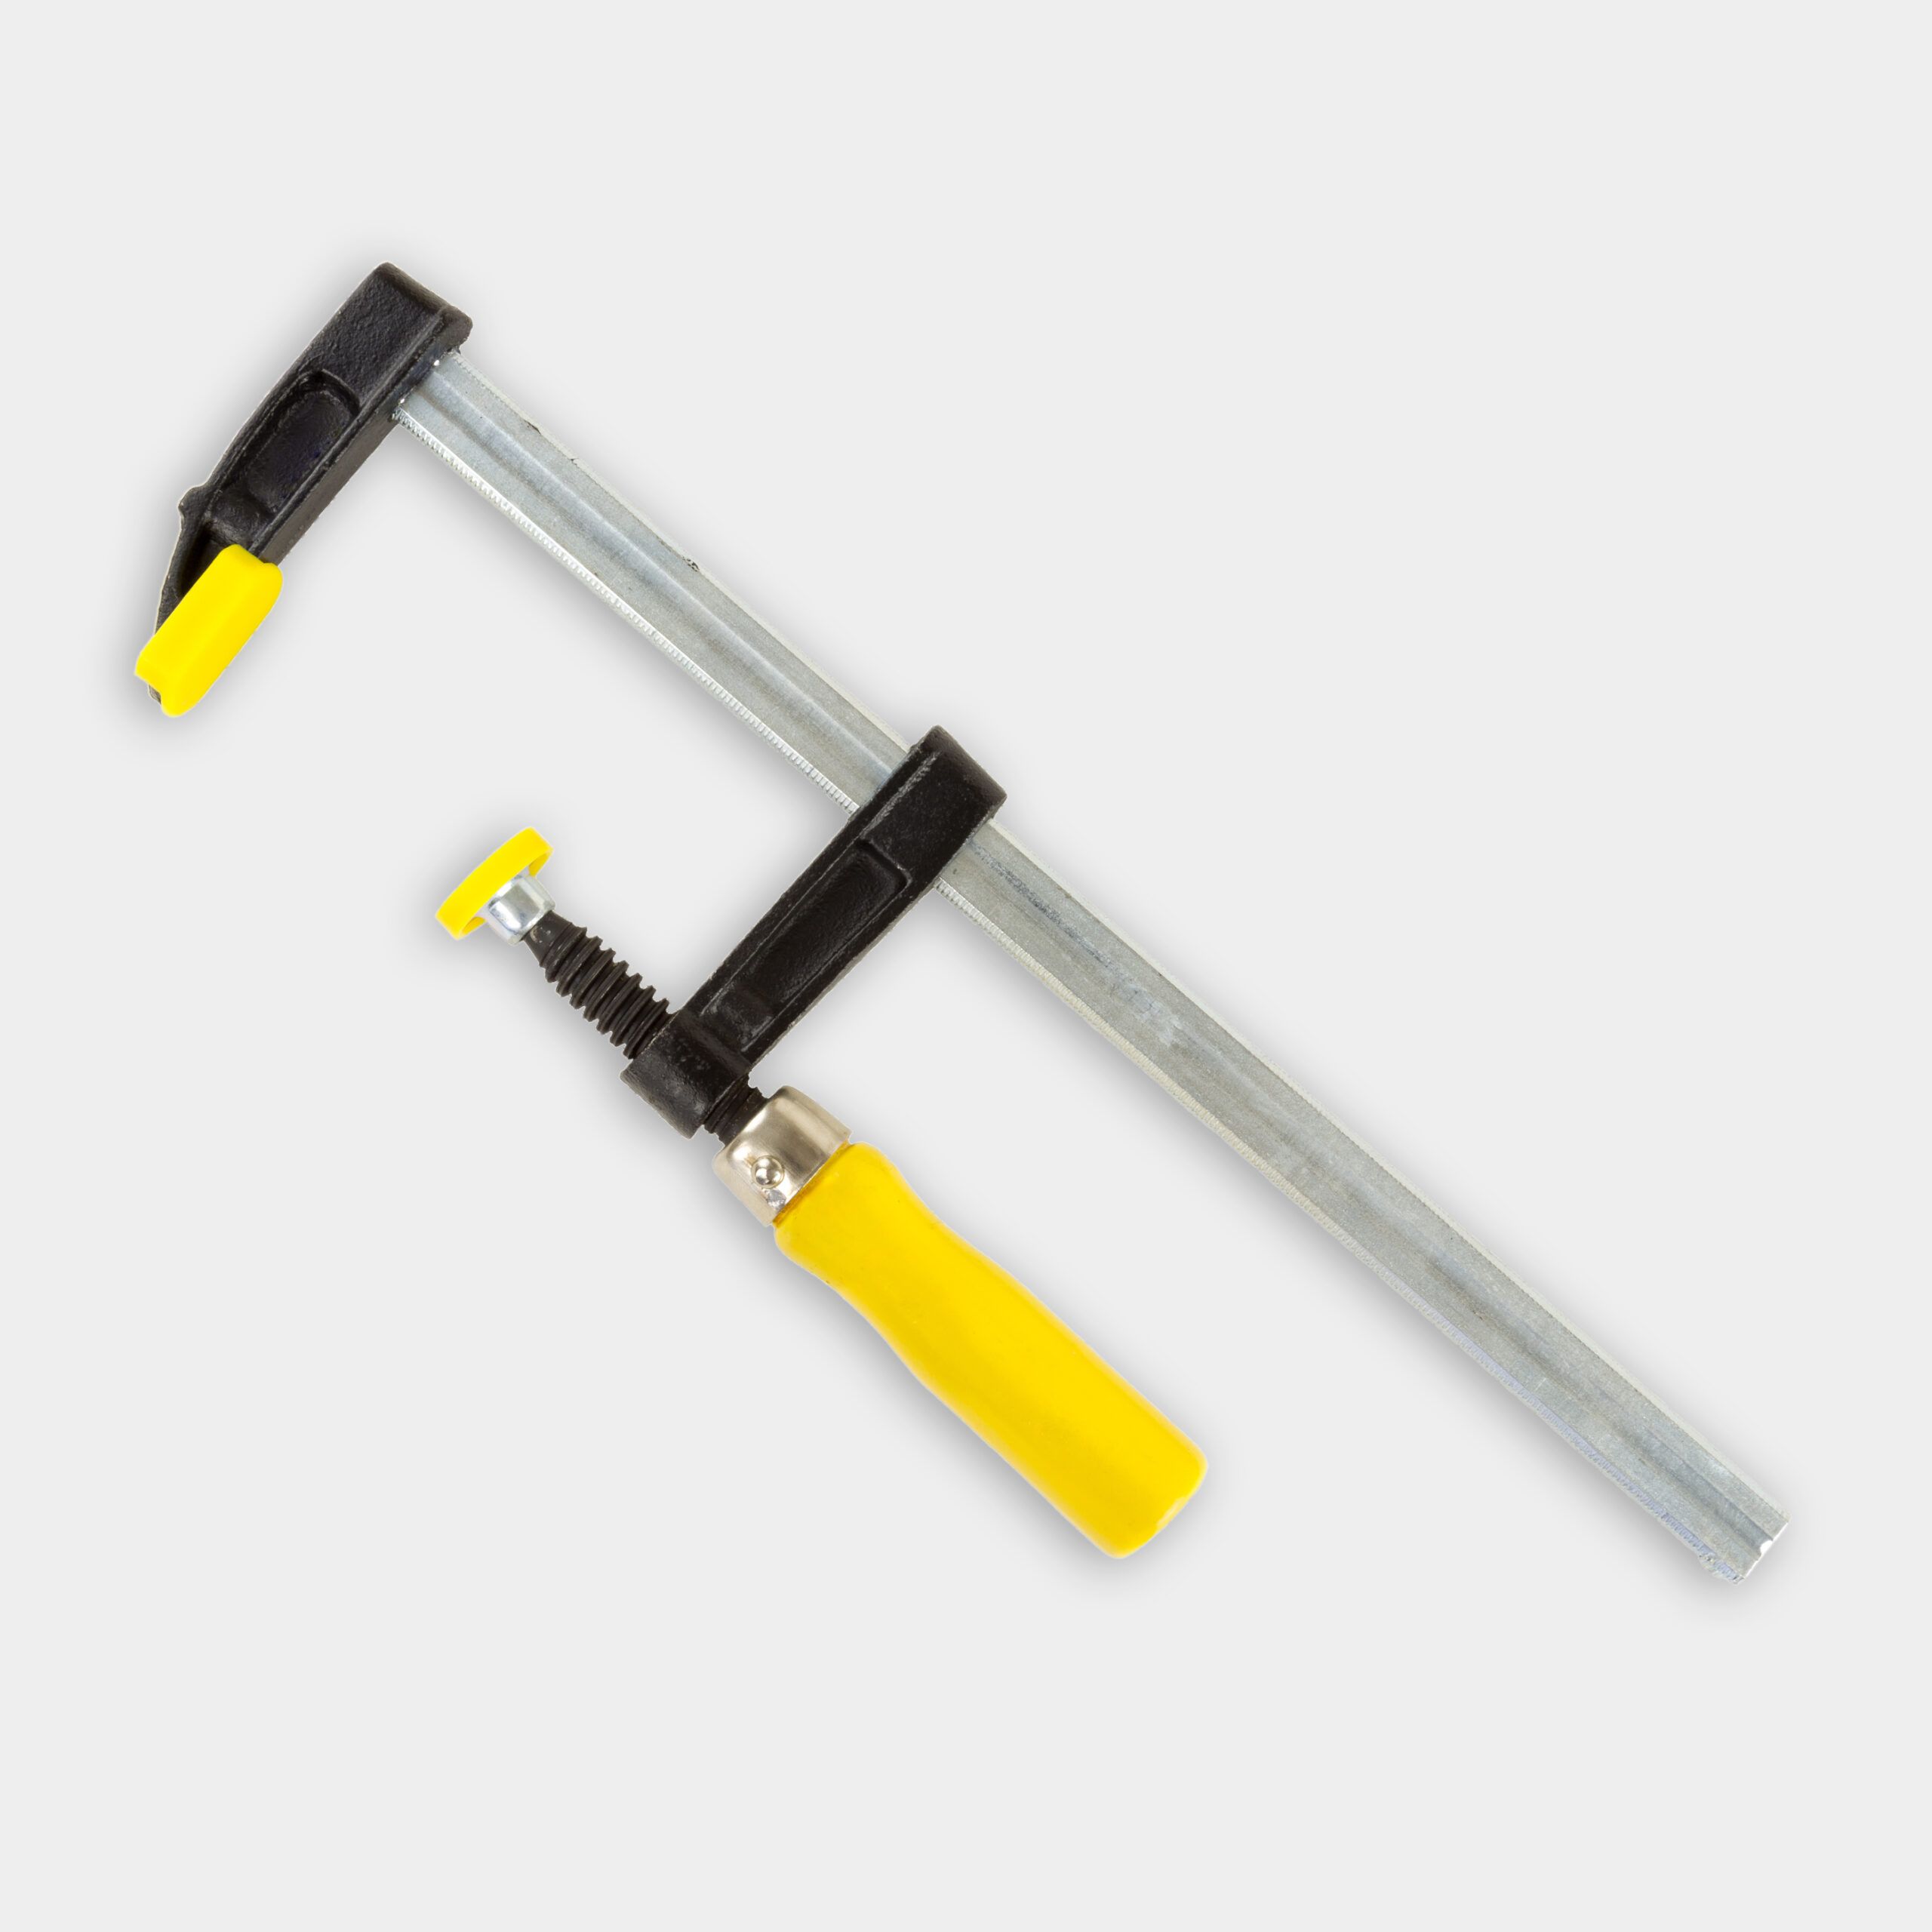
- Place the center divider between the top and bottom and hold in it place with a bar clamp. Secure the divider with 2-inch screws.
- Cut the cabinet back from ½-inch plywood.
- Lay the cabinet face down. Apply carpenter’s glue to the rabbets in the rear of the cabinet, and also to the edge of the top, bottom and center divider.
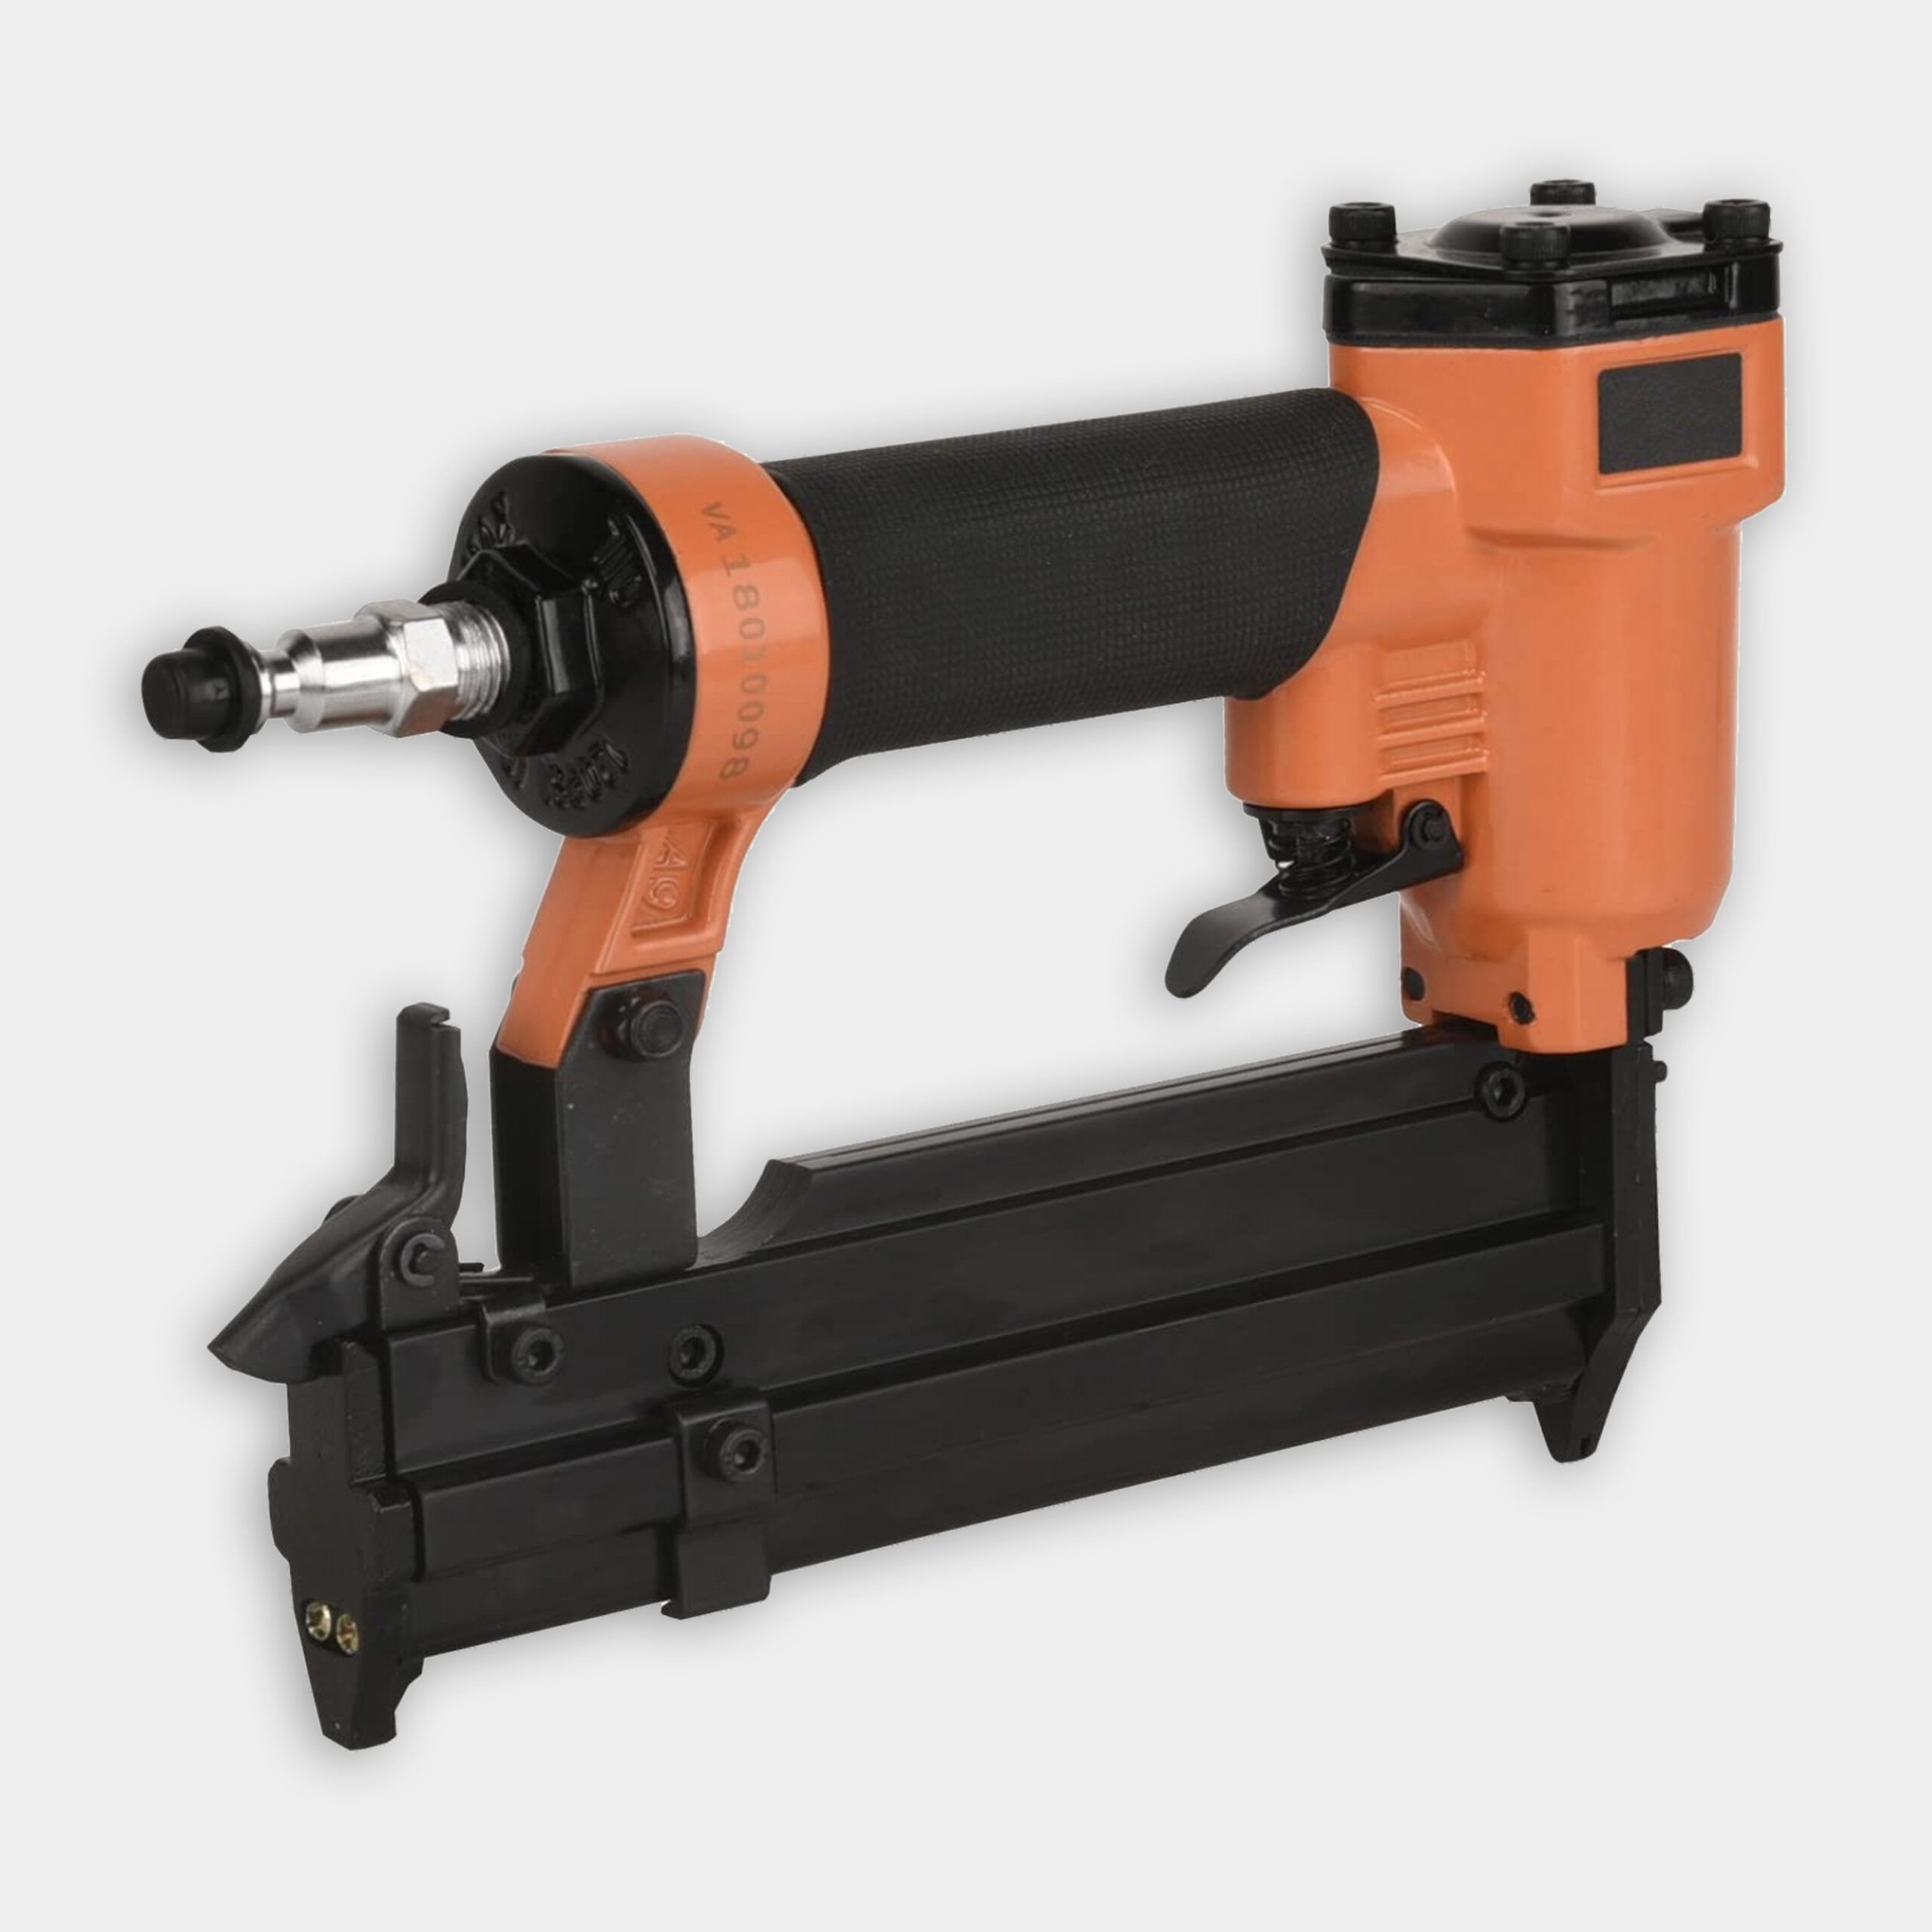
- Set the ½-inch plywood back into place and tack it with a pneumatic pin nailer and 1-inch pin. Secure the back with 1 ⅝-inch screws.
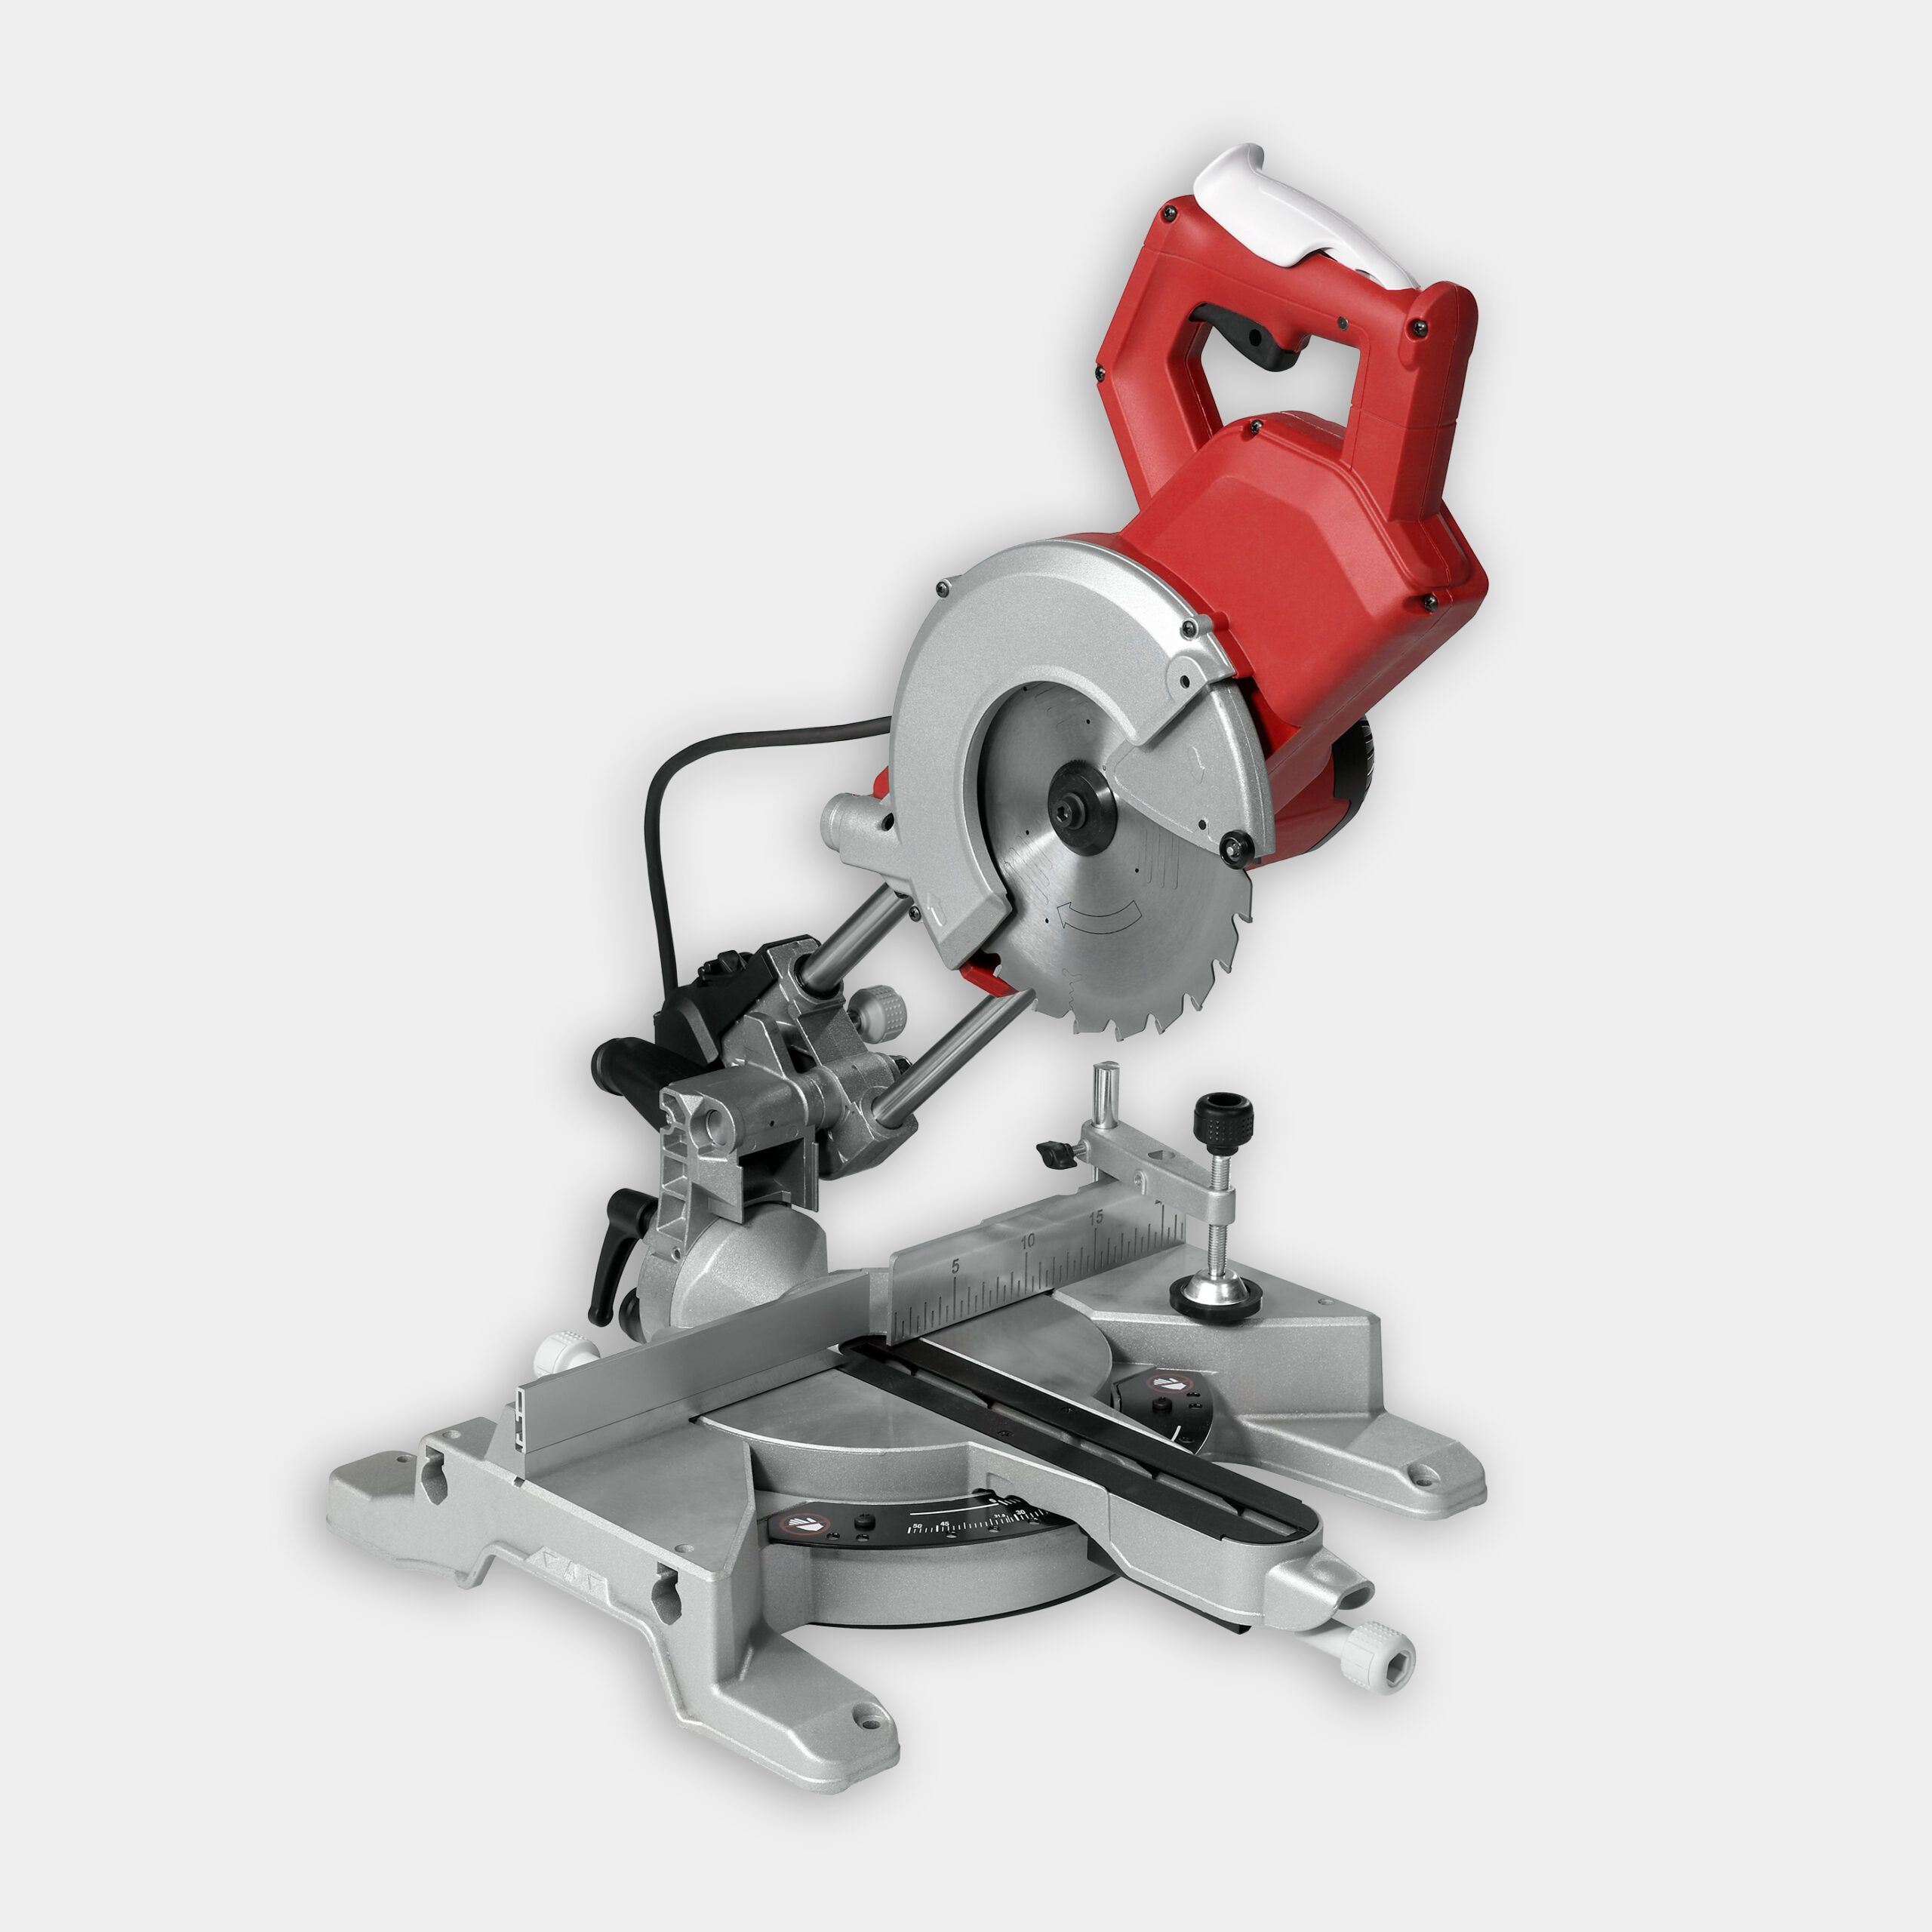
- Use a miter saw to crosscut 1×3 pine to length; make two vertical stiles and two horizontal rails for each cabinet door.
- Then, use the table saw to cut grooves into the edges of the stiles and rails to accept the ¼-inch perforated hardboard panel.
- Adjust the table saw blade and rip fence, and use a miter gauge to cut a tenon into both ends of each rail.
- Use the table saw to cut two door panels from ¼-inch perforated hardboard.
- Spread glue onto the tenons and then clamp two rails to one stile. Tack together each corner joint with a pin nailer and ⅝-inch pins.
- Slide the door panel into the grooves cut in the doorframe, then glue and nail on the remaining rail. Don’t apply glue to the door panel.
- Repeat Steps 16 and 17 to assemble the second door.
- Attach the doors to the cabinet with continuous piano hinges.
- Fasten one pull handle to each door.
- Cut and install four ¾-inch plywood shelves.
- Mount the cabinet to the wall, making sure you screw securely into the wall studs.