Project details
Skill
Cost
Estimated Time
When summer comes around, you want to fling open the door and enjoy summer’s delights: warm evening breezes, chirping crickets, and sweet-scented flowers. A wooden screen door can help you experience all those things while keeping critters out, and by assembling one with a door kit, you’ll have more flexibility than the limited number of designs at a lumberyard.
Millwork companies can make door kits based on your measurements and design preferences. All you need is the glue, screening, and a little time to build the screen door of your dreams.
Measuring and Planning Your Screen Door
A well-fitting screen door starts with accurate measurements and proper planning. Take time in this step to measure carefully and choose the right materials.
Taking Accurate Door Measurements
Measure the height and width of your door opening in several places, as older homes may have settled unevenly. Use the smallest measurements possible so your screen door will fit properly.
Choosing the Right Wood for Your Door
The best wood for a screen door should be durable and resistant to warping. Cedar is a good choice as it’s naturally resistant to rot and insects. Pine is another popular option, especially if you plan to paint the door. Whatever wood you choose, make sure it’s straight-grained and free of knots for stability.
Choosing the Right Screen Material
When evaluating screening options, consider the climate and how you’ll use your door. Fiberglass is a popular material for its durability and ease of installation. It’s also less likely to dent or crease than metal screens. However, aluminum screening is a good alternative if you prefer a more traditional look or need extra strength.
In the video below, This Old House general contractor Tom Silva goes through the steps of building and hanging a screen door.
How Screen Door Kits Work

Wood screen door kits aren’t difficult to assemble, will save you money over buying a completed door, and provide a very practical, period complement to your home. The kit contains most of the door’s components: mortised-and-tenoned rails and stiles, screen-frame inserts and trim, and decorative brackets. The kit does not include glue, screening, spline, hinges, and latchsets—some of which may be available from the same company that sells the kit.
Building the Door Frame
Your first task is to check the frame meets your specifications, assemble the parts, and secure them together with glue and dowels.
Checking the Fit
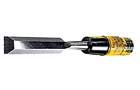
Before you begin, check the door’s fit by dry-assembling the parts without glue. If a tenon doesn’t fit its mortise, pare it down with a chisel.
Assembling the Frame
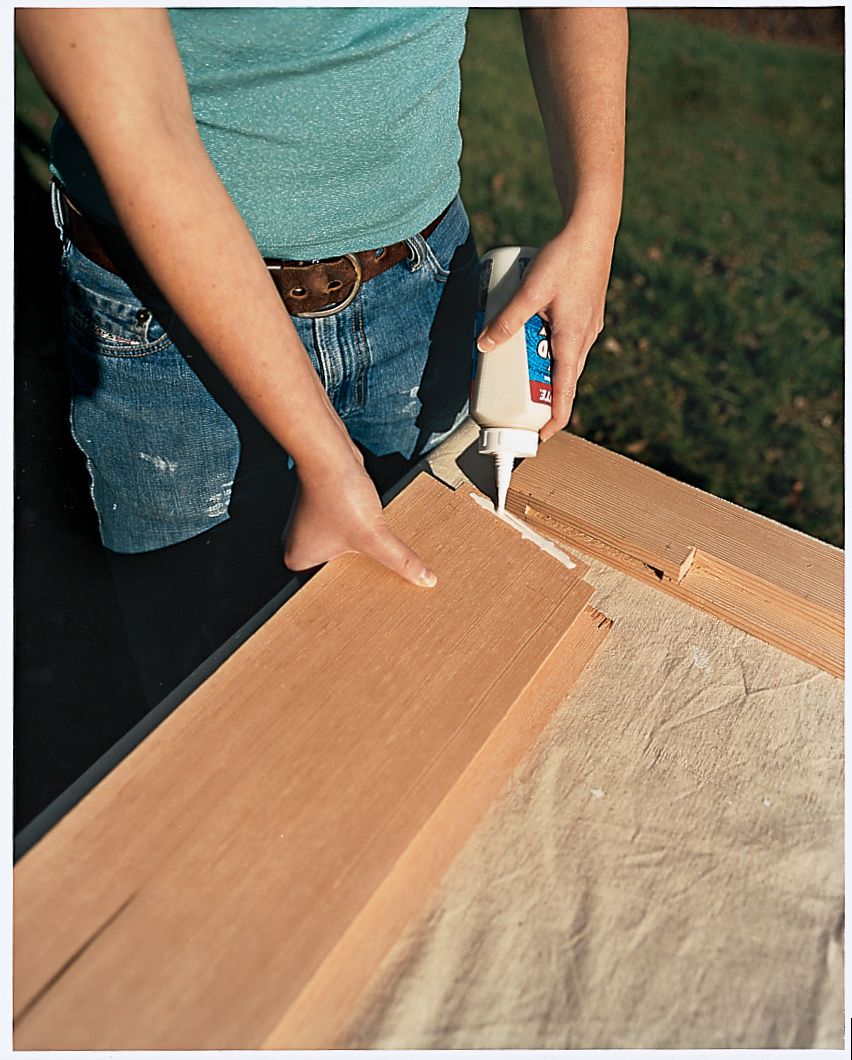
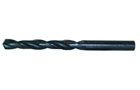
With the door assembled, lay out the center stile so it butts the center of the middle and bottom rails. Make two marks on either end of the stile that overlaps with the rails. Using those marks for reference, drill two centered, ¼-inch-diameter by ⅞-inch-deep holes into both ends of the stile. Then drill corresponding holes in the two rails, making sure those holes are also centered.
Take the door apart, then glue ¼-inch-diameter by 1 1/2-inch-long hardwood dowels into the holes in the stile and fit it together with the middle and bottom rails.
Apply glue to the tenons on all the rails, then reassemble the entire frame.
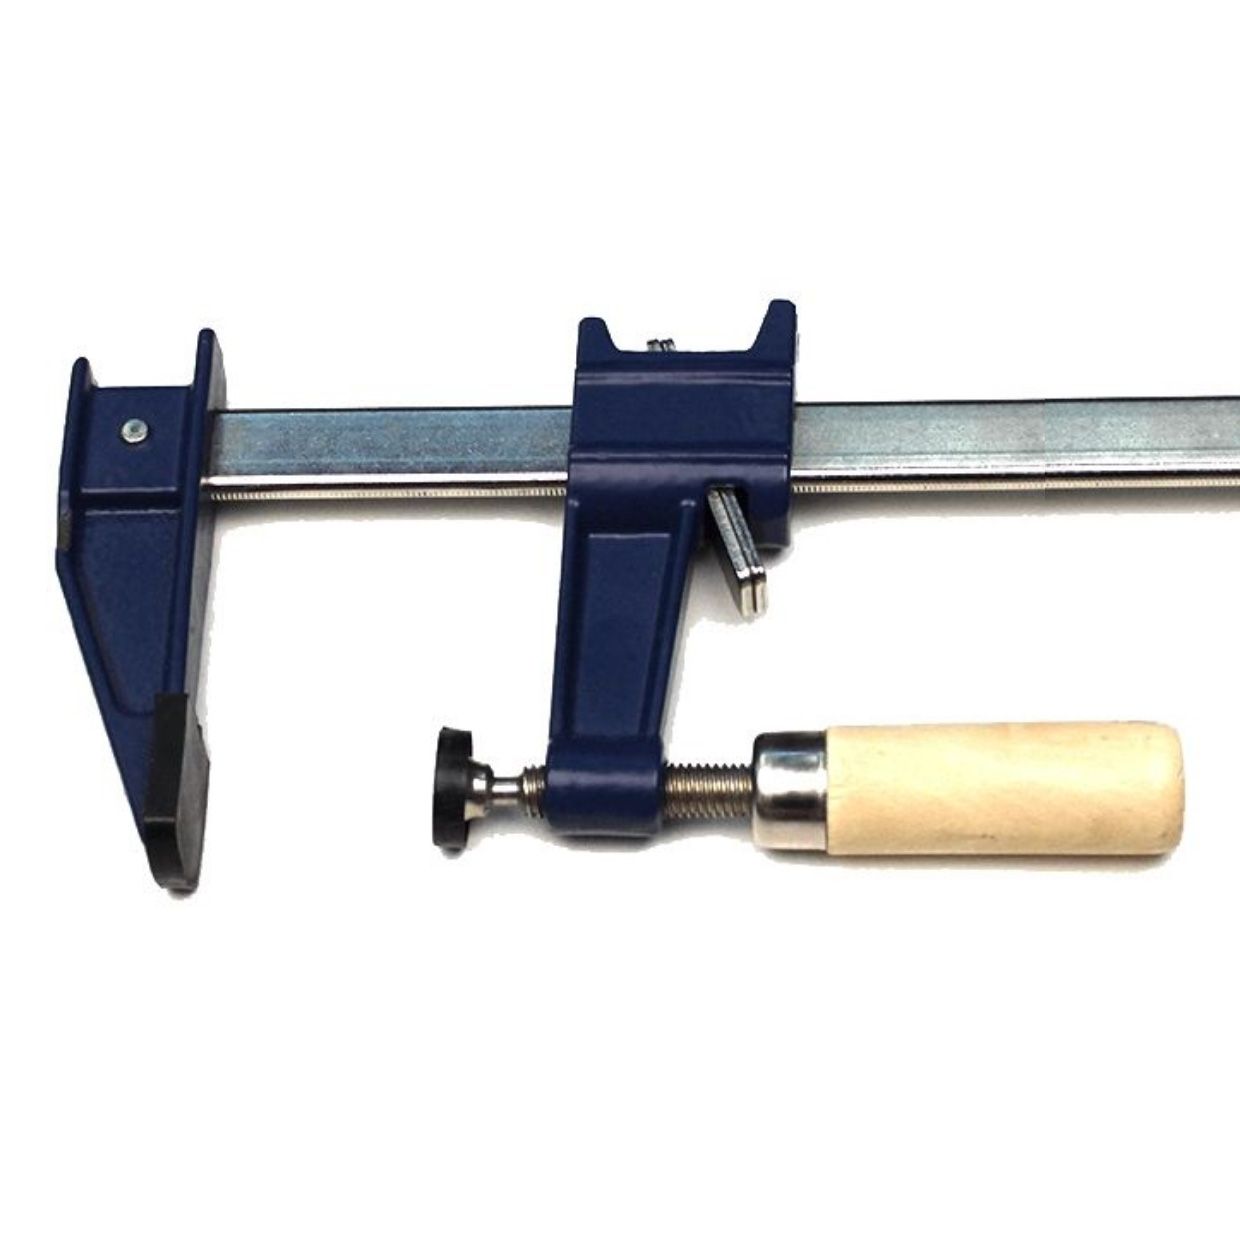
Clamping the Frame and Checking for Squareness

Use 4-foot-long pipe or bar clamps to draw the frame together tightly. Apply clamps horizontally across the door, alternating between the front and back faces so the wood does not bow.
Next, check for squareness by measuring from corner to corner diagonally in both directions. Adjust the clamps until these measurements are equal, indicating a square frame. Act quickly in this step—if the glue sets, making adjustments will be tricky.
Locking the Joints with Dowels

For added strength, reinforce the mortise and tenon joints with dowels. Drill 1/4-inch holes through the stiles and into the tenons, about 1/2 inch from the inside edge of the stile.
Apply glue to 1 1/2-inch-long dowels and tap them into the holes you drilled. Let the glue dry overnight before removing the clamps and sanding the dowels flush.
On the front face of the door, glue and nail frame molding inside the screen-opening perimeter with ¾-inch brads.
Preparing the Screen
With the frame assembled, it’s time to add the screen. Ultimately, you want a taut, durable screen to keep insects out and let airflow through.
Assembling the Screen Insert Frames
To put together the screens’ frames, use glue and brads at the corners. Paint, stain, or varnish the frame as desired, and let it dry fully before proceeding.
Attaching the Screen to the Frame

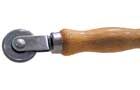
Cut a piece of screen about 2 inches larger than the opening on all sides. Use the convex wheel on your spline roller to gently press the screen into the groove around the frame’s perimeter. Then, use the roller’s concave side to push the rubber spline into the groove, securing the screen. Trim excess screen close to the spline using a utility knife.
Hanging Your New Screen Door
Proper installation ensures your screen door functions correctly and lasts for years to come. Carefully align the door properly and secure it firmly to the frame.
Shimming the Door in the Opening

Stand the completed door—minus the screens—in the doorway opening. Align its face flush with the face of the door casing.
Tap in wood shims around the door to hold it in place. These should maintain a 1/8-inch space along the sides and an approximately 3/16-inch space at the top and bottom.
Installing the Hinges
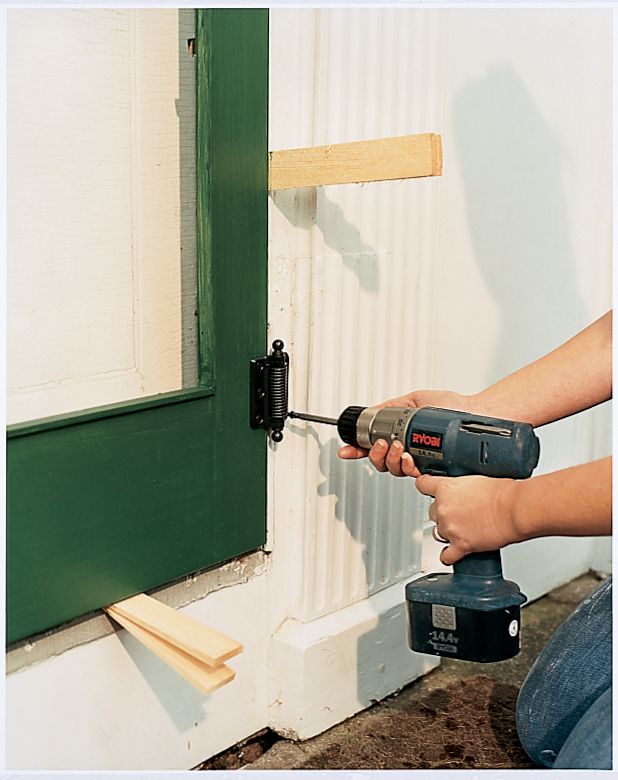
Mark the hinge locations on both the door and the frame. You’ll install three hinges: one 5 inches from the top, one 5 inches from the bottom, and one in the middle. Drill holes as necessary and screw the hinges in place.
Installing the Screens and Hardware

Once the hinges are securely in place, check that the door opens and closes smoothly, adjusting the hinge screws if necessary. You may need to plane the edges slightly if the door binds in any spots.
Slip the screen inserts into place and secure them with wooden turn buttons mounted to the back side of the door.
Install a no-mortise latchset centered on the door’s middle rail. Line the latch case up to the edge of the rail on the inside of the door, then mark the spindle location. Drill a 9/16-inch-diameter hole at this mark.
Hold the latch case on the door, thread the lever’s spindle through the hole, then screw the case down.
Troubleshooting Common Problems
Even well-built screen doors can develop issues over time. Knowing how to address these problems can help extend the life of your door and maintain its functionality.
Dealing with Warping or Sagging
If your door begins to warp or sag, check that all joints are still tight. If some are loose, reinforce them. You may be able to correct minor warping by adjusting the hinges or adding a turnbuckle to the bottom of the door. In severe cases, you might need to replace warped components.
Fixing Screen Tears or Holes
You can often replace small tears in the screen with a patch kit available at most hardware stores. If a hole is larger, replacing the whole screen is usually best. Remove the old spline and screen, cut a new screen to size, and install it using the aforementioned spline roller technique.
Our Conclusion
Whether you opt for a simple design or something more elaborate, the satisfaction of creating a beautiful and practical screen door is well worth the effort. With kits from a millwork company, the process can become far easier. However, you should still take your time with each step, especially during the measuring and assembly phases, to ensure a well-crafted final product.