Project details
Skill
Cost
Estimated Time
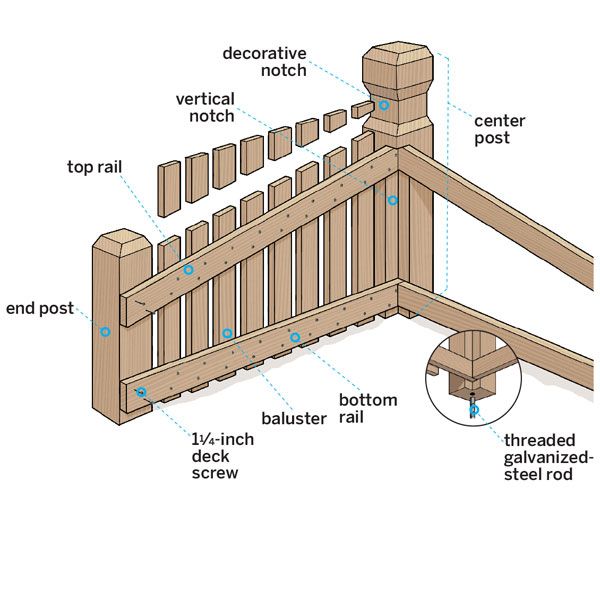
A well-proportioned driveway marker lends a bit of white-picket pizzazz that will help any house stand out among its peers. The design at right, by This Old House contributor Christopher Beidel, owner of Pernt, a handmade-furniture company, in Brooklyn, New York, has the added benefit of being relatively easy to build. Nearly all the cuts can be made with a miter saw and a circular saw. And pressure-treated lumber makes the project sturdy and capable of standing up to the elements for many years. Follow along on the next page as Christopher pieces it together.
Download cut list for this project.
Step 1
Overview for How To Build a Decorative Driveway Marker
DAY-TO-DAY TIMELINE
Saturday: Cut the parts and make the decorative notch (Steps 2–12).
Sunday: Assemble the frame, attach the balusters, and paint the marker (Steps 13–18)
Download cut list for this project.
Step 2
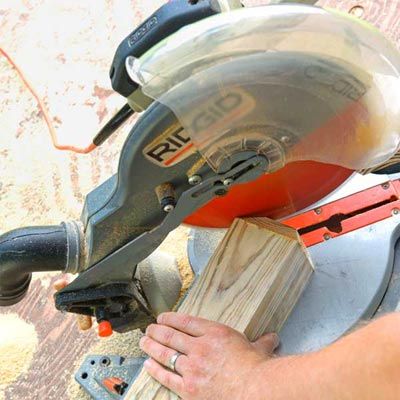
Rough Cut the Balusters
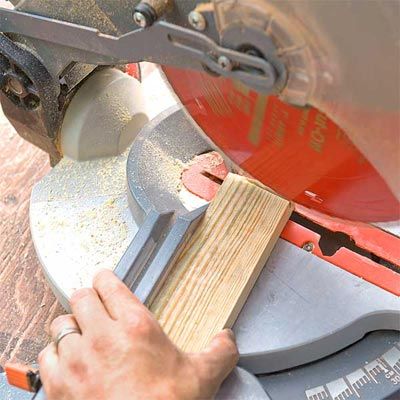
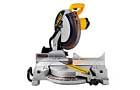
Use a miter saw to chop the 1x3s into 16 pieces for the balusters according to the cut list. Adjust the blade to 12 degrees and trim off one end of each baluster, as shown.
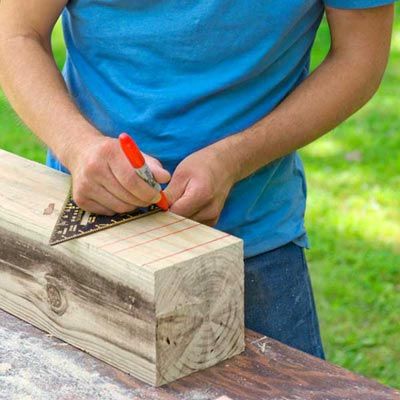
Step 3
Trim Balusters to Length
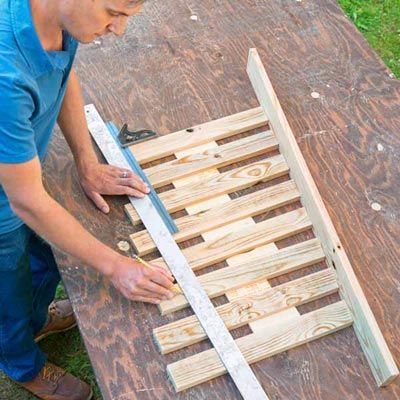
Lay out eight rough-cut balusters on your work surface, using spacers to set the distance between them—1½ inches in our case. Line up the angled ends against a board. At the other ends, measure and mark the outside edge of the tall baluster at 20 inches and the short one at 14 inches. Use a straightedge to connect the points, and mark a cutline across each baluster, as shown. Reset your miter saw to 90 degrees and cut each piece. Now you have eight balusters of declining length, each with an angle on top that lines up perfectly with its neighbor. Use the first set of balusters to trace cutlines on the second set, and cut them to match. Set all 16 aside.
Step 4
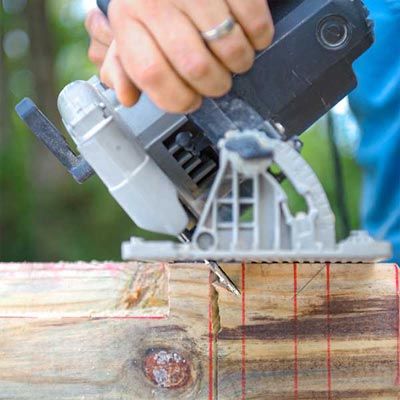
Crosscut the Center Post
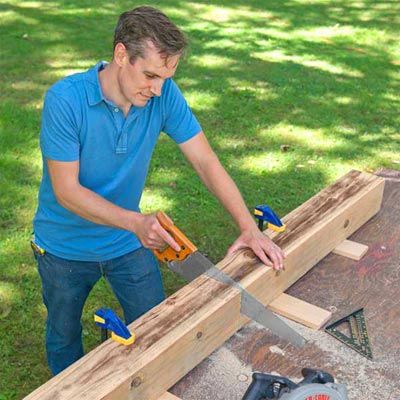
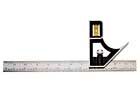
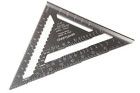
Measure and mark the 6×6 center post according to the dimensions on the cut list. Use a rafter square to transfer the dimensions around the post. Set your circular-saw blade to its maximum depth and make a crosscut on each face. Complete the cut with a handsaw, as shown.
Step 5
Bore an Anchor Hole for the Center Post
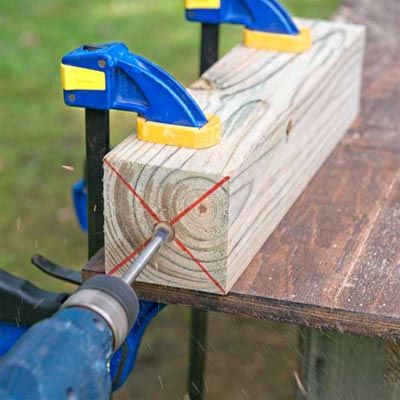
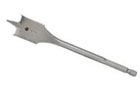
The marker will be plenty heavy, but it’s not a bad idea to anchor it with a steel rod. Clamp the post to your work surface and mark the center point of the bottom. Using a ¾-inch spade bit, make a hole for the rod by drilling into that point as far as the bit will go.
Step 6
Mark the Notches to Lay out the Center Post
Mark the cutlines for the horizontal and vertical notches in the center post. The horizontal notch around the top is decorative. The vertical notch at the back of the post is there to anchor the rails but won’t be visible in the completed piece.
Step 7
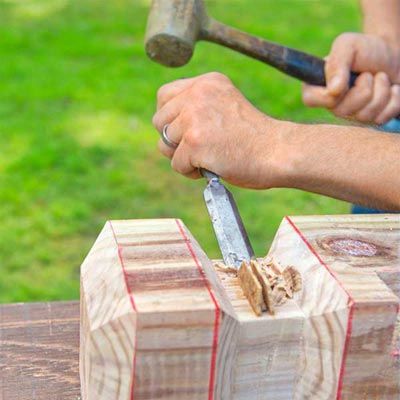
Cut the Vertical Notch for the Center Post

Adjust the blade depth on your circular saw to 1½ inches. Starting at the bottom end of the post, make a rip cut along one line, as shown, until you reach the top of the mark. Rotate the post 90 degrees and rip the adjacent line; the second cut should connect with the first. Use a handsaw to partially crosscut the waste piece where it’s still connected at the top of the notch. Then use a hammer and chisel to cut out the rest of the waste.
Step 8
Bevel the Top of the Center Post

Set the saw blade to full depth and adjust the angle to 45 degrees. Use a cut-off hunk of 6×6 from Step 4 to support the shoe of the saw, as shown. Crosscut along the topmost mark, on each side of the post, to create a bevel all the way around.
Step 9
Create the Decorative Notch: Make the Bevel Cuts
The horizontal notch begins with parallel 45-degree cuts angling in toward one another. Set your circular saw blade to 45 degrees and match the blade depth to the face of the top bevel. Cut along the notch’s top and bottom outlines, as shown, on all four sides. Set the blade back to 90 degrees, and adjust the blade depth to ¾ inch. Make two straight cuts, all the way around the post, that connect with the angled cuts.
Step 10
Make the Kerf Cuts

To remove the excess material in the notch, make a series of closely spaced kerf cuts through the band on all four faces of the post.
Step 11
Clean up the Notch
Clamp or brace the post to your work surface, and use a hammer to knock off any remaining fins of material. Then hold the blade of a chisel nearly parallel with the face of the notch and tap the end of it with a mallet to pare back any remaining saw marks.
Step 12
Cut the the End Posts to Length
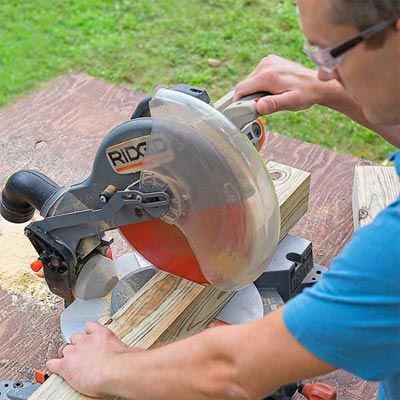
With your miter saw set to 90 degrees, cut two 4x4s to length. Depending on the size of your blade, you may need to cut into each face of the post to slice all the way through it.
Step 13
Bevel the Tops of the End Posts
Set your miter saw to 45 degrees. Mark a line all the way around the post, ¾ inch below the top. Clip all four corners along the line, as shown.
Step 14
Attach the First Bottom Rail
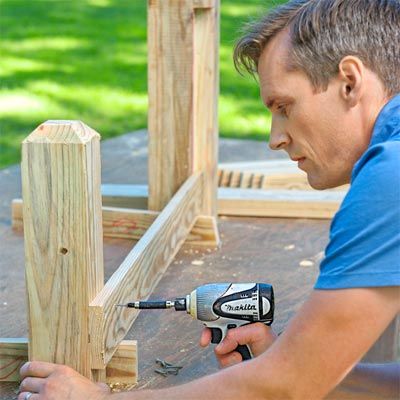
Cut the bottom rails to length; note that one rail is ¾ inch shorter, to maintain even baluster spacing when it’s butted into the first rail at the notch. Stand the center post and an end post on your work surface, and set two balusters on edge to establish the rail height. Then butt the longer rail into the notch at one end and flush with the end post at the other. Use two deck screws at each end to attach it to the posts, as shown.
Step 15
Attach the Remaining Rails
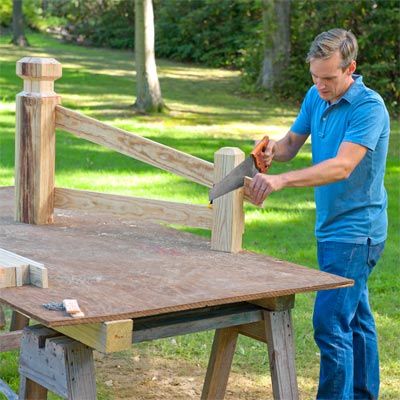
Set your miter saw to 12 degrees and trim off one end of each top rail. Butt the angled end of one rail into the top of the notch, and use a drill/driver and two deck screws to secure it. Attach the other end where it meets the end post. Use a handsaw, as shown, to trim off any overhanging rail. Follow the same steps to attach the rails on the perpendicular side. At the notch, they will butt into the rails you just installed.
Step 16
Attach the Balusters
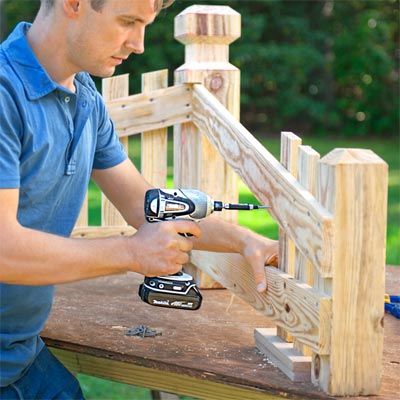
Use spacers to keep the balusters off the table (and thus the ground) and to set the distance between them. To hide fastener holes, work from behind the assembly and screw through the rails and into the balusters.
Tip: If you need to level the marker, use rods on all three posts. Thread a nut and a washer onto the rods, and turn the nuts to adjust the height of the posts.
Step 17
Paint the Piece
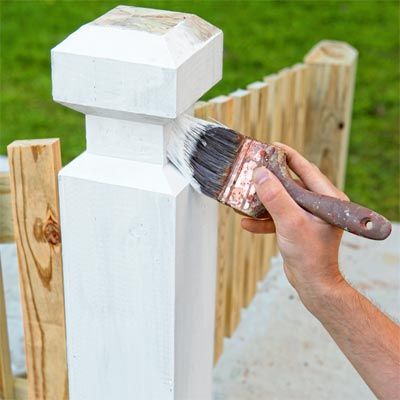
Pressure-treated wood tends to retain moisture from the treatment process, so it’s best to let it dry for two to four weeks prior to finishing. When it’s ready, use a good-quality water-based primer on all exposed surfaces, and paint it.
Step 18
Install the Steel Rod to Finish
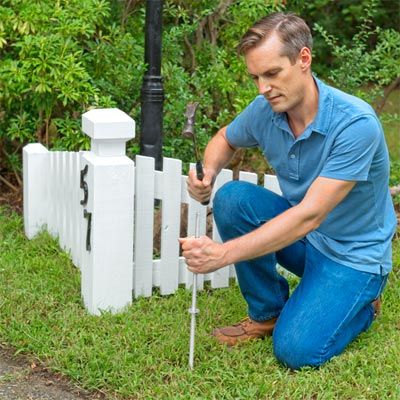
Hammer a short length of ½-inch steel rod into the ground where the center post will go. Then, with a helper, lift the assembly and slip the center post over the rod, using the hole you drilled in Step 5.